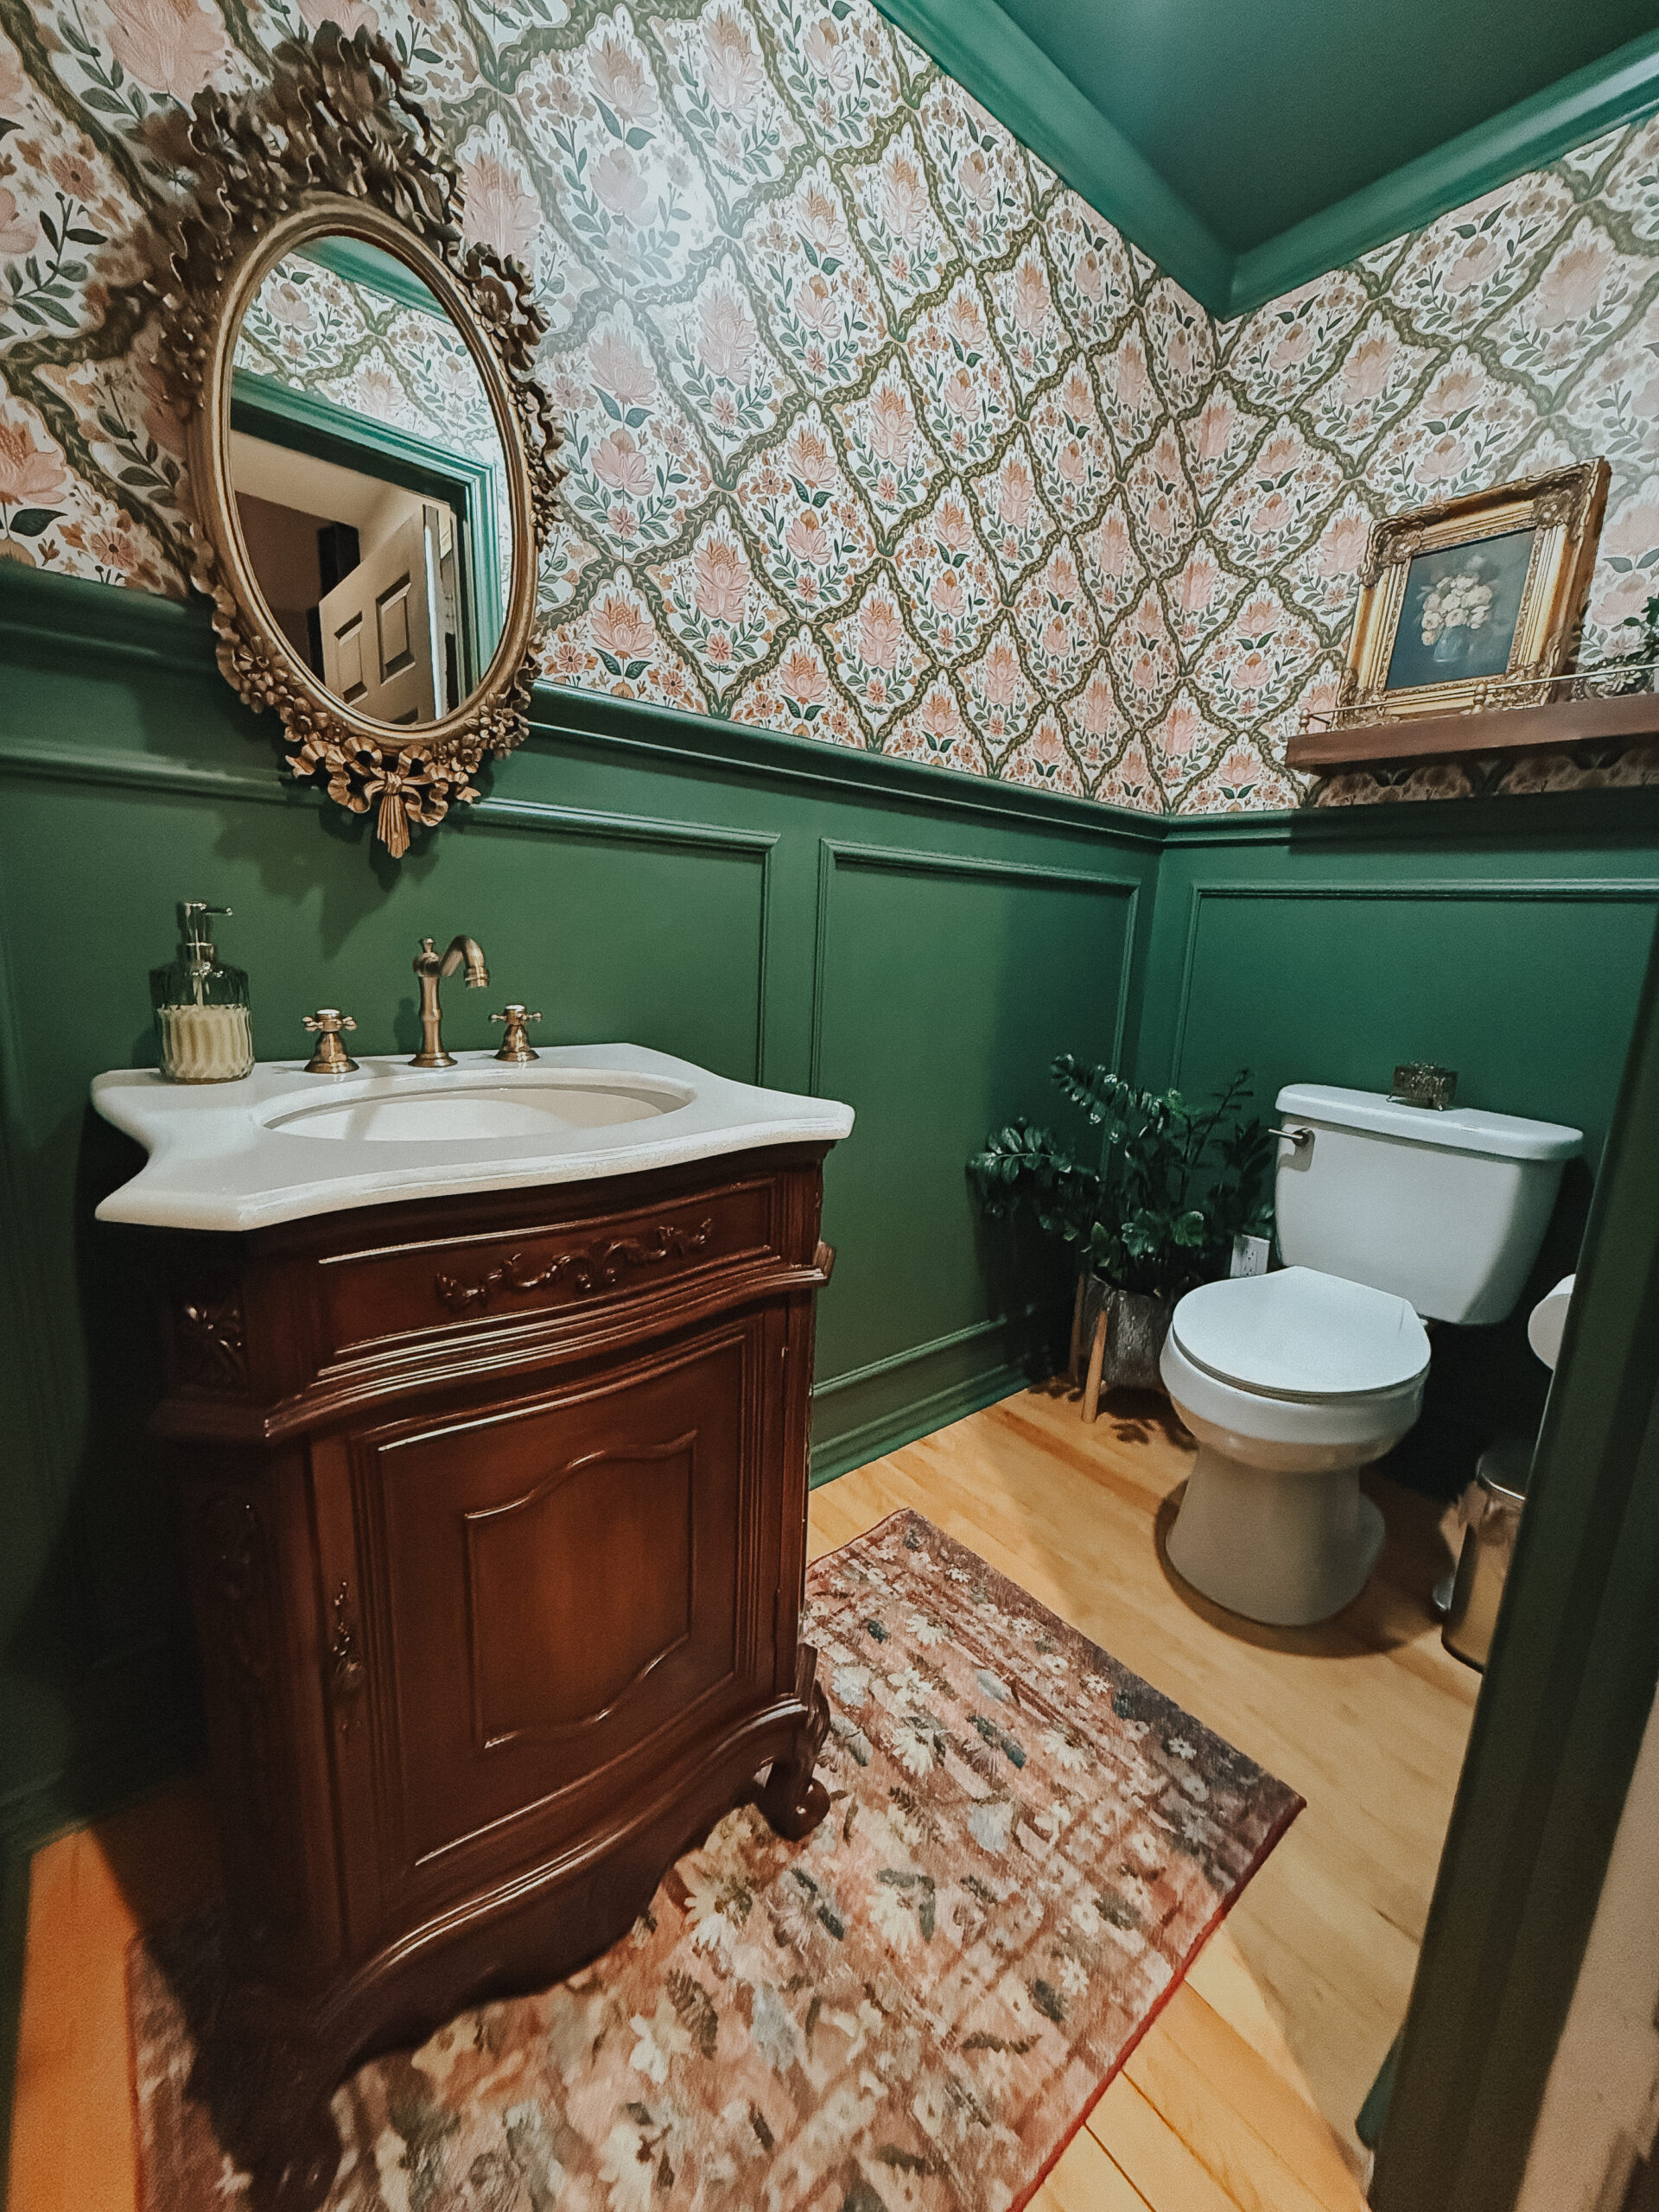

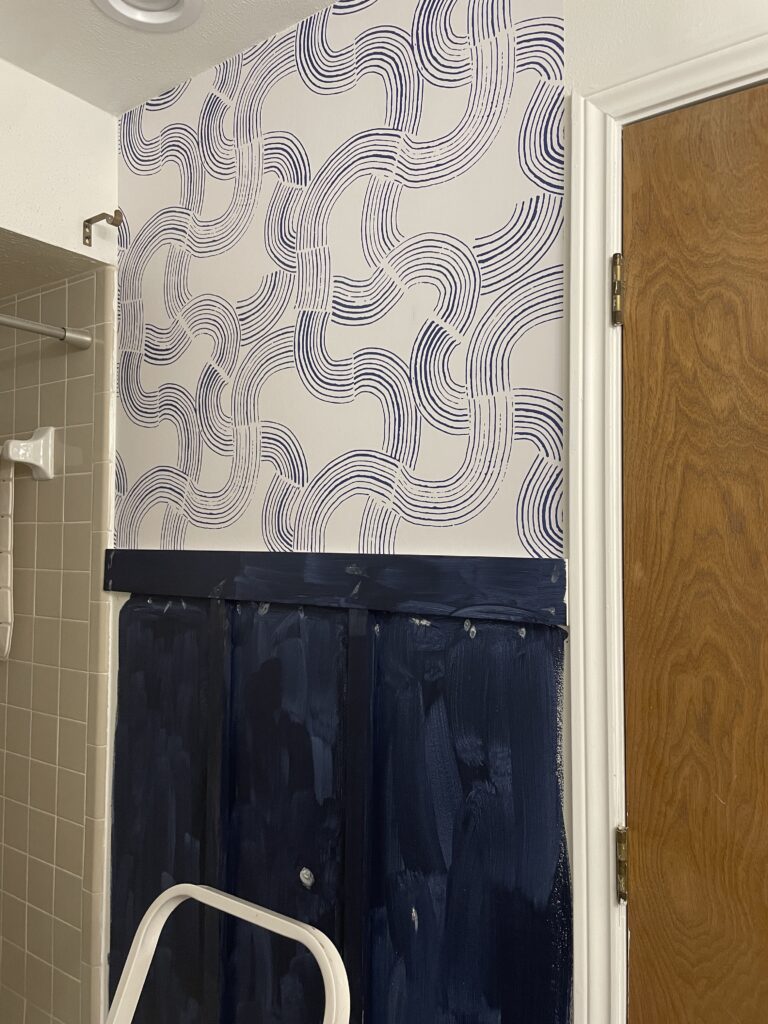
Here we are in week 2 of the challenge. While I feel like I’m ahead of the 8 week schedule for the challenge, I still have quite a bit to do since I decided to wallpaper the entire room vs. the one wall behind the vanity that I originally planned.
Let me tell you why I decided to do that. Having a single wall with wallpaper and the other walls just painted with a solid color creates a focal point. A focal point draws your eye to that wall and chops up the room. For smaller rooms, especially in a bathroom, you don’t necessarily need a focal point and I definitely do not want to chop up the room or break up the space. Why? Because it is already broken up in its layout naturally. Therefore, I want the wallpaper to bring it together to create cohesion and a unified space instead of trying to draw your eye to the vanity wall. I mean, why? It’s a vanity wall with a mirror and lights. It doesn’t serve a purpose to draw attention to it more than any other place in the room. 🙂 Does that make sense?
So, my suggestion to anyone debating on wallpapering a room, especially a small one, is to just wallpaper the entire room. It will not make it look smaller, and in fact, it can make it appear bigger due to the reasons above. Now that I made that clarification, let’s dive in to our updates!
Tip: As always, my product links are in my LTK shop. These are affiliate links so I may earn a small commision.
I tackled the floors and countertops around the same time because the countertops had several steps and a waiting period so I knocked out two birds with one stone. I was not smart and I did not take a pic of the cork floors by themselves before I covered them in this vinyl peel & stick tile. This tile was SO easy to work with and it is thick and sturdy. Since it is vinyl, it is waterproof/resistant so I didn’t have any qualms about using it in here. Plus, this is our guest bath so it isn’t used super often anyway.
However, I am going to replace these floors with real tile at some point just because I found an amazing tile I absolutely LOVE from Lowe’s and it is a bit pricey, but since there is only 37 sq ft of floor in here, it would be under $300. YAY!! Back to the floor…
So here is a quick video showing my process. Seriously, anyone can do this!! It was VERY easy and since this room didn’t have any crazy cuts or curves it was even easier. Just peel the back off and press down. To cut, I used a sharp utility knife and then snapped it off. That’s it!
Next week I’ll show you the board and batten. I am going to try to get a detailed post written up on how I did my b & b, as there are numerous ways to do it. See you next week! And, as always, my product links are in my LTK shop.