
It’s almost that time! Warmer spring air, flowers to be planted, fresh decor and projects to start. I’m sharing a few fun, easy DIYs for any skill level that you can try this Spring (or anytime!)
This post contains affiliate links for your convenience. I may earn a small commission through the Amazon Affiliate & LTK Program. This in no way adds any cost to you. The fees help me maintain and pay for the use of this site. Thank you for your support!
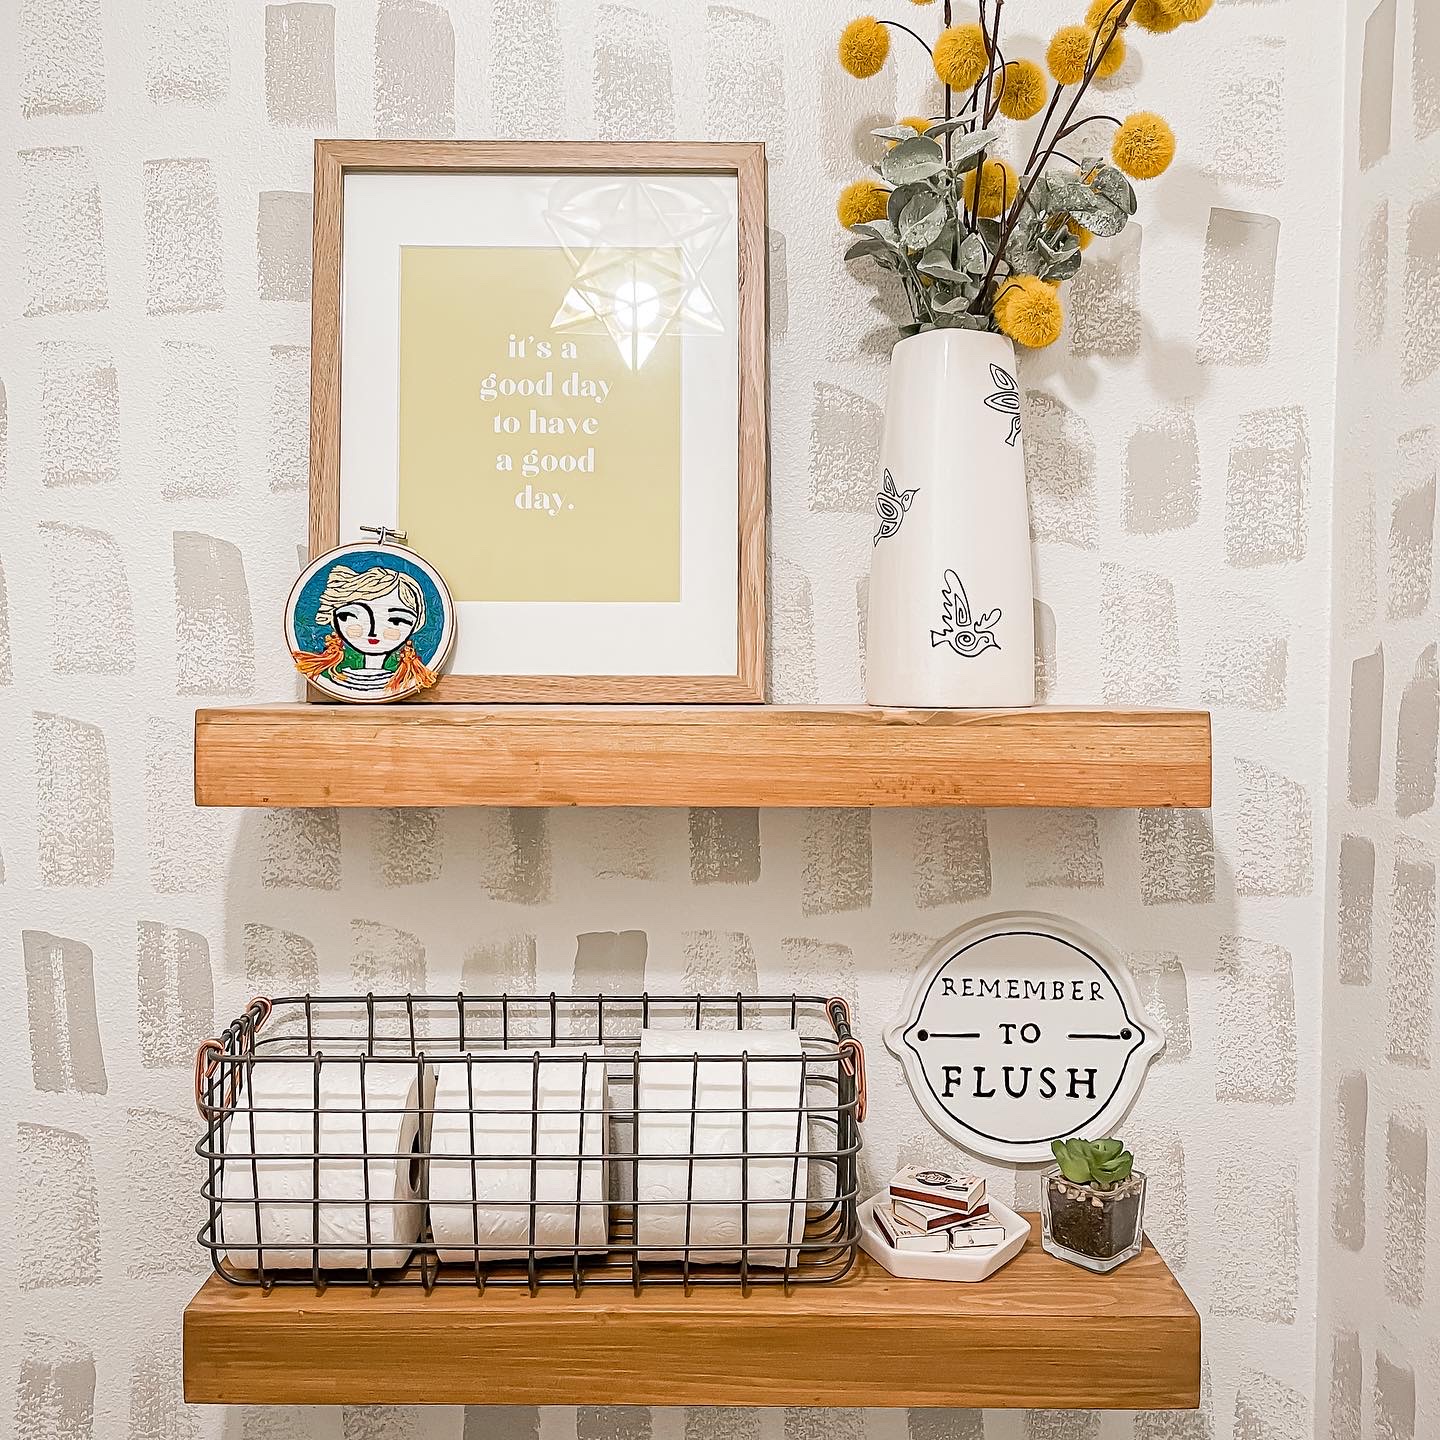
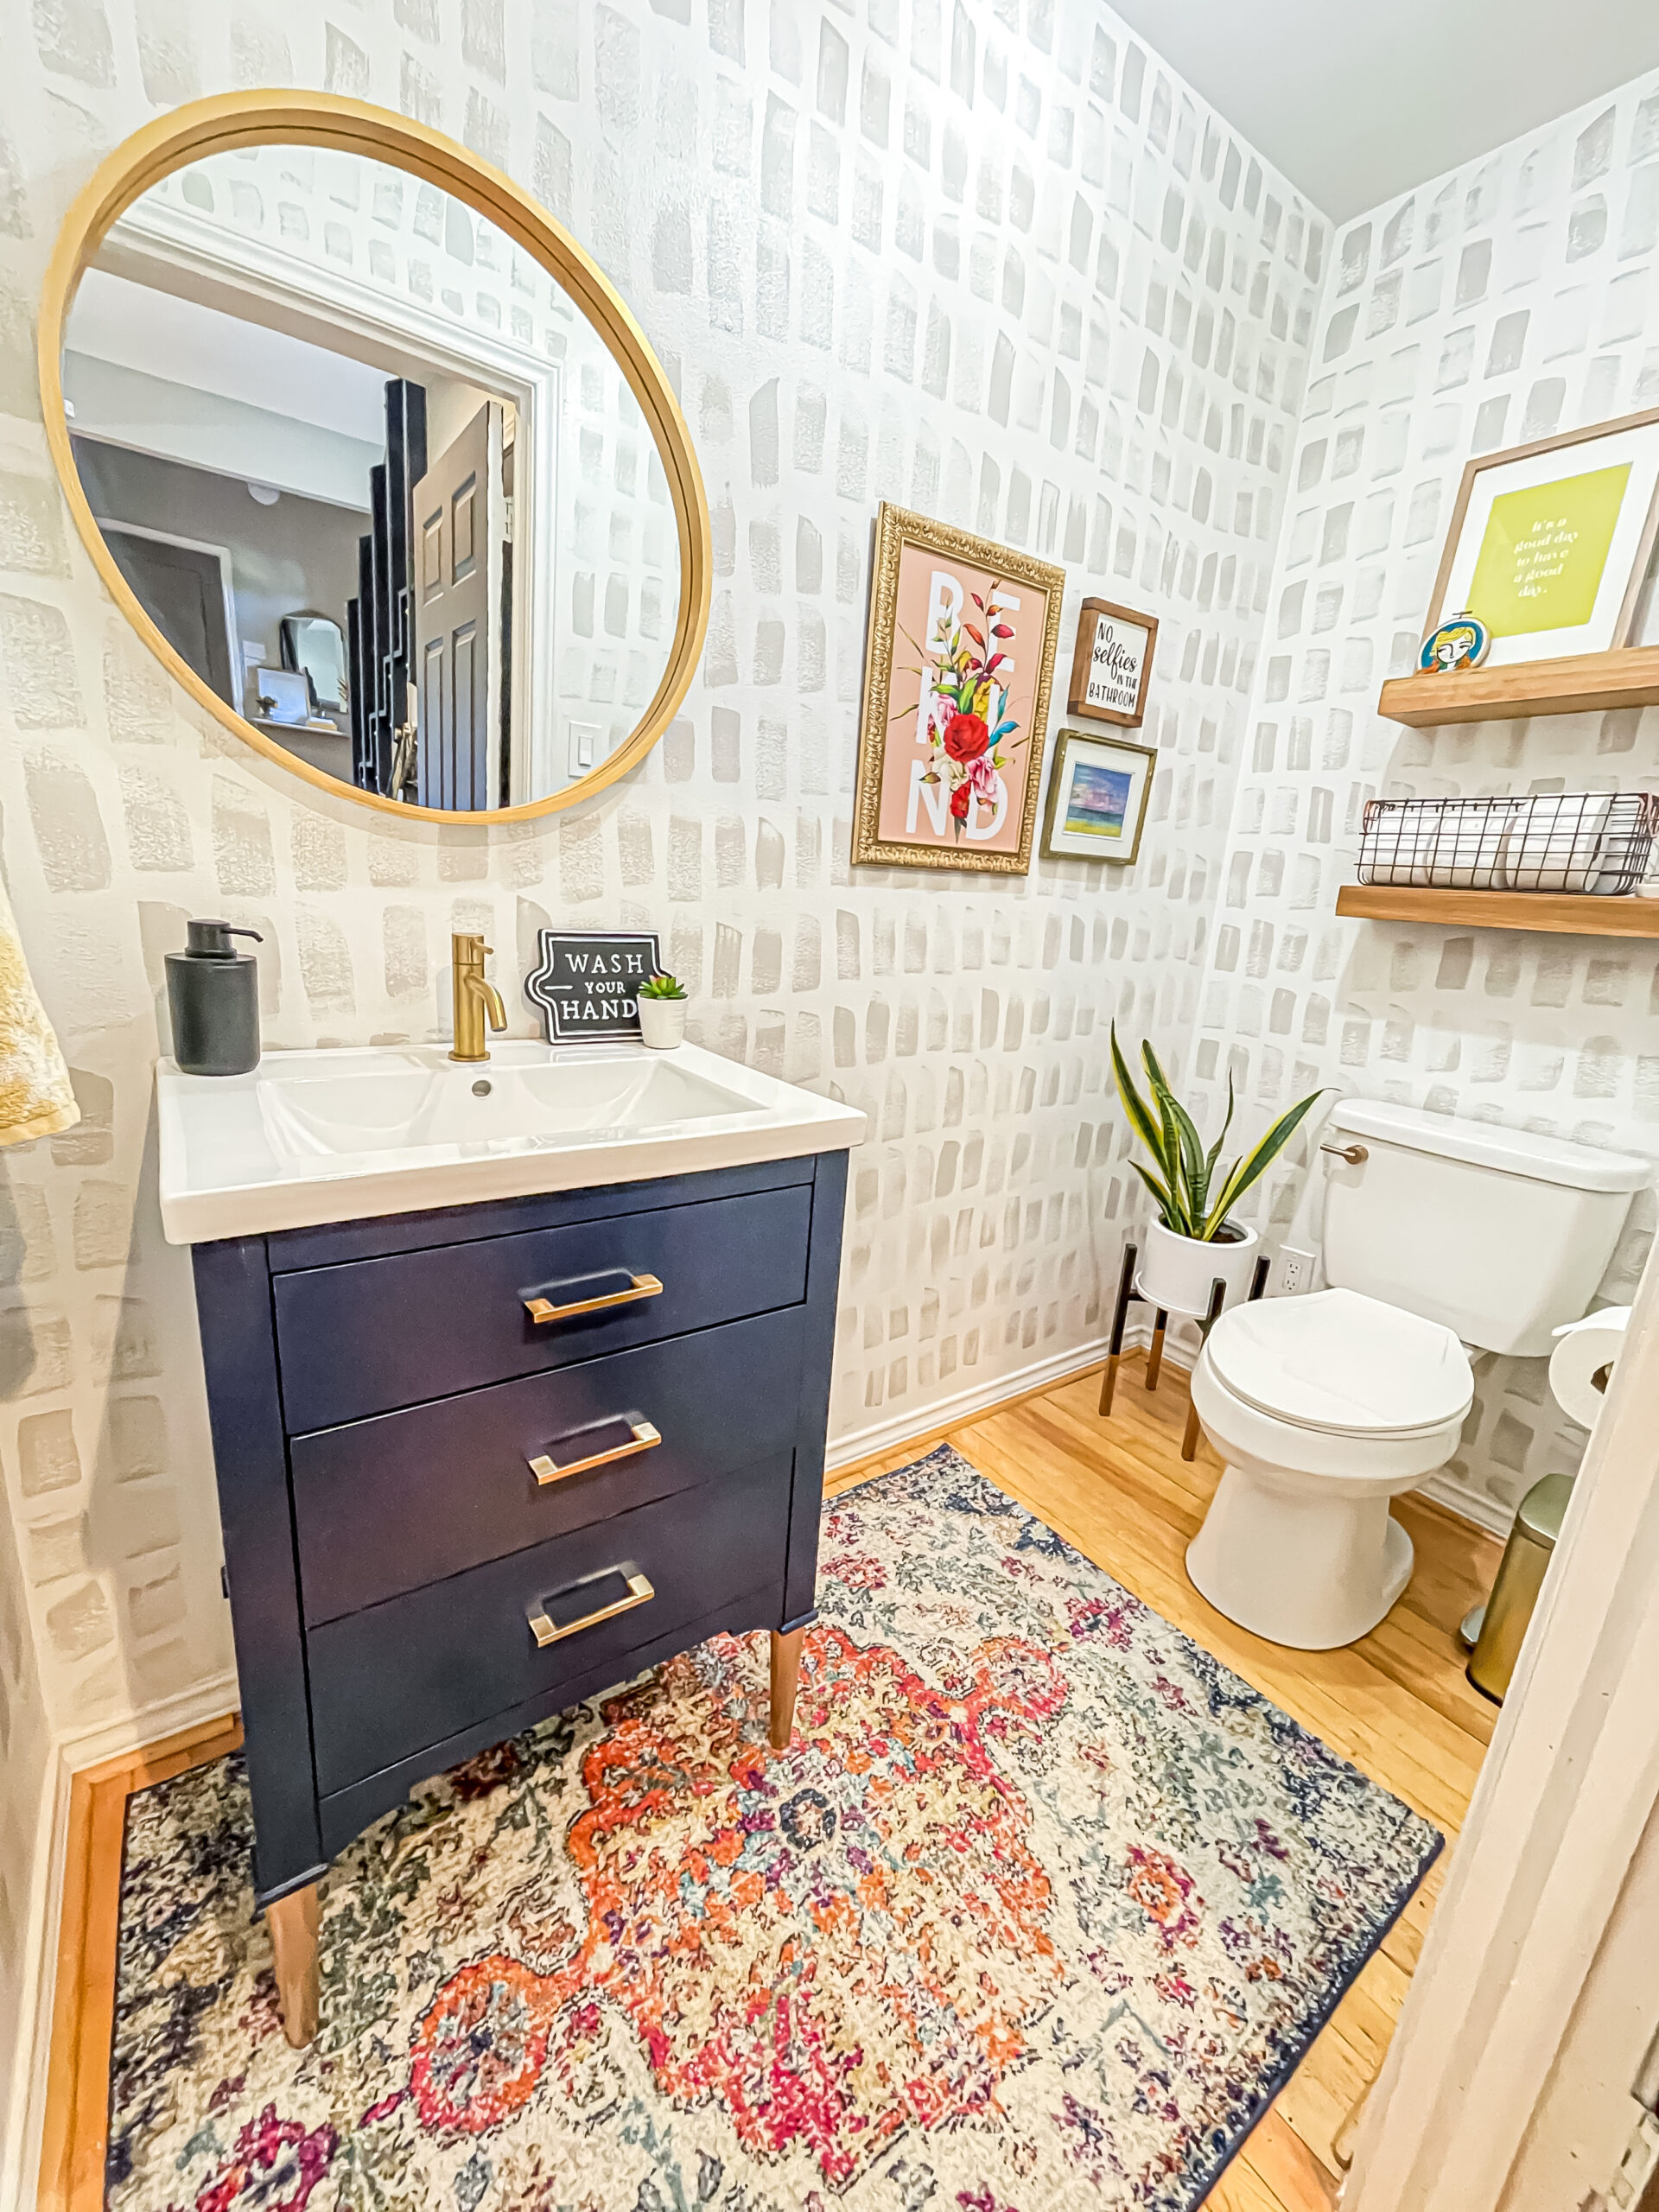
Paint wallpaper onto a wall
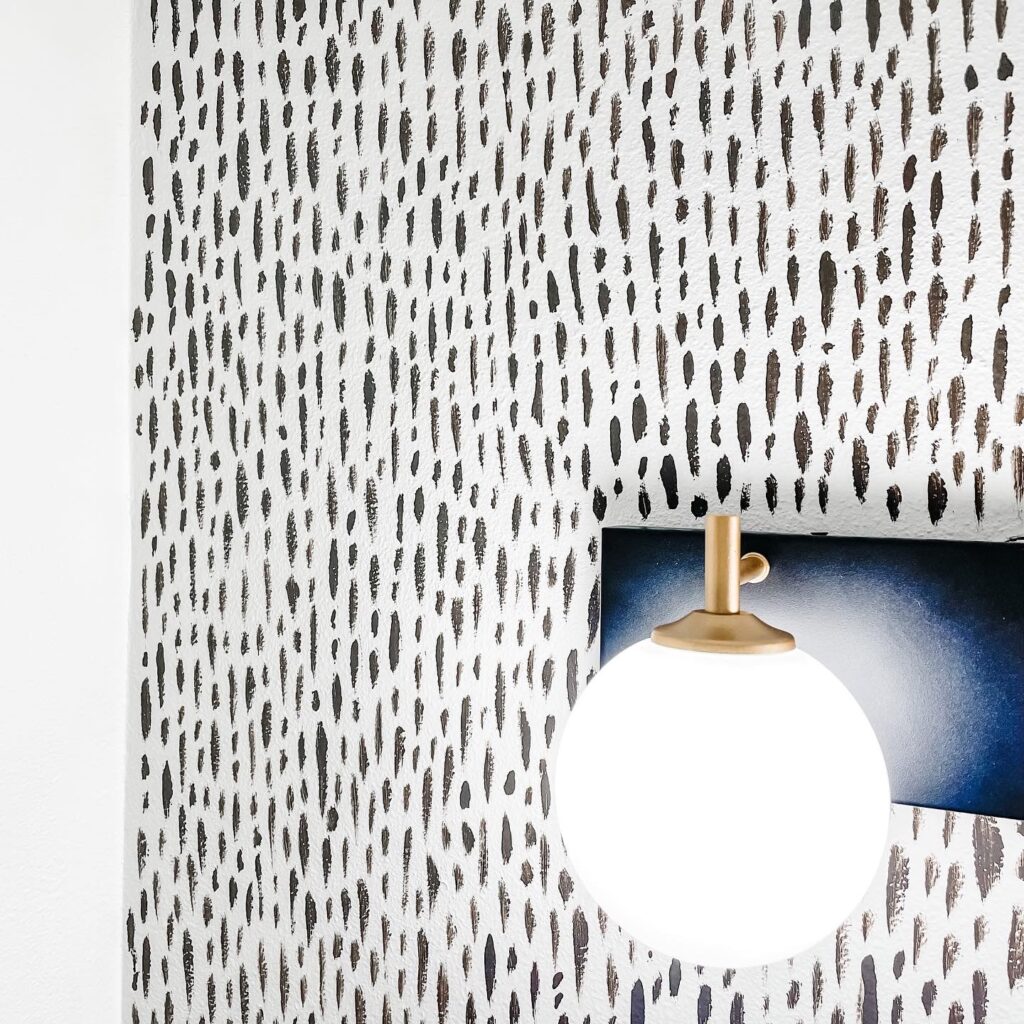
If you aren’t ready to tackle hanging wallpaper, painting it on is another really easy option that is beginner-friendly! All you need is latex paint—leftover wall paint or a cheap can from your local hardware store’s Oops section is a great one to use. I had this gray paint leftover from the walls in the house. I wanted a bit bigger brush strokes so I used a 1 1/2″ brush and just dipped it in the can then brushed it on the length I wanted. I just kept on brushing in no straight pattern and without re-dipping my brush in the paint. I wanted it to look a little textured so I just let the paint run out. Then I dipped it again and started again. It took only about 30-40 minutes to do this entire half bath. I will say, in the boys’ bathroom (green vanity pic) I did a small pattern and it took MUCH longer. It was tedious. And it was just one wall! So be aware of that if you want small brushstrokes. I used a small craft brush for theirs. I used the same technique but did different size stroke lengths and a few dots here and there for a different look. I love how it turned out, and more importantly my boys love it.
Adding Ceiling Medallions to a door/doors
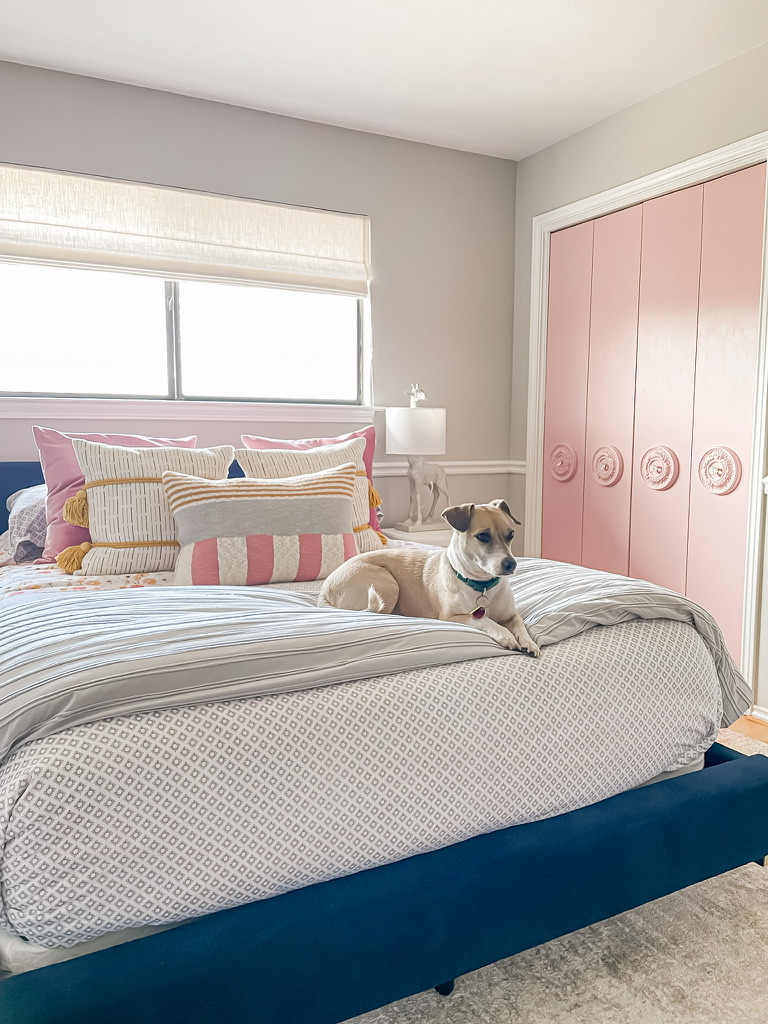
This is one of the most cost effective and easy DIYs on this list. All you need is a flat door or set of doors like these. Go search online at Home Depot.com or Lowes.com and Amazon until you find the ceiling medallion that calls your name. Here are the ones I used. Be sure to measure the width of your door first so you leave at least 2-4 inches from the edge so it looks like it was made that way and not forced on there. 😉 Since my doors were a bit narrow, it took me some time to find the 7 1/2″ wide medallion that I loved. If you have a single door or a wider door, there a more options for the bigger sizes. They come primed, so that is a plus! We used liquid nails to attach to the doors then we used a brad nailer to nail them on. I caulked around the edges then painted the doors and medallions all at one time. Drill a hole the size of your knob screw and attach them from the back. I wanted knobs that looked a bit vintage so I landed on these crystal ones. I think they turned out perfectly. This is a very easy one day project that is beginner friendly!
Add a stair runner to bare stairs
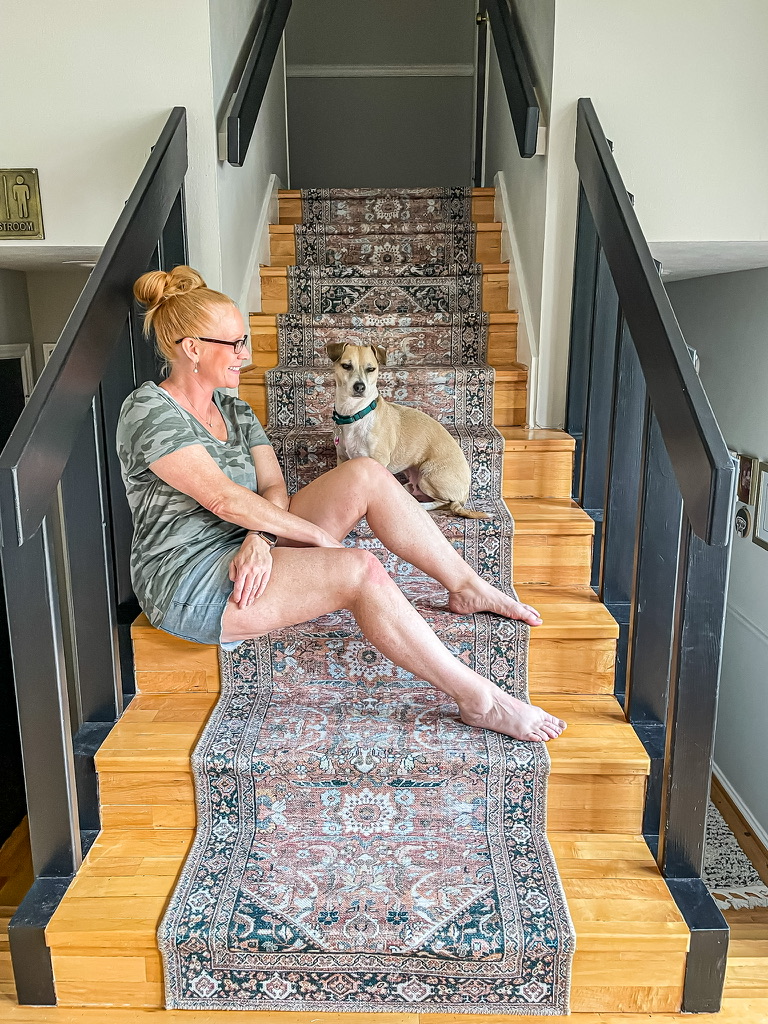
I absolutely love the look of a stair runner. Not only is it aesthetically pleasing, it adds a cushion and an automatic no-slip surface. It also dampens sound—especially good if you have kids or pets that run up and down your stairs. If you have a carpet stair runner I also think it is fun to remove the carpet and add your own. It adds a new pattern, color and a touch of personality.
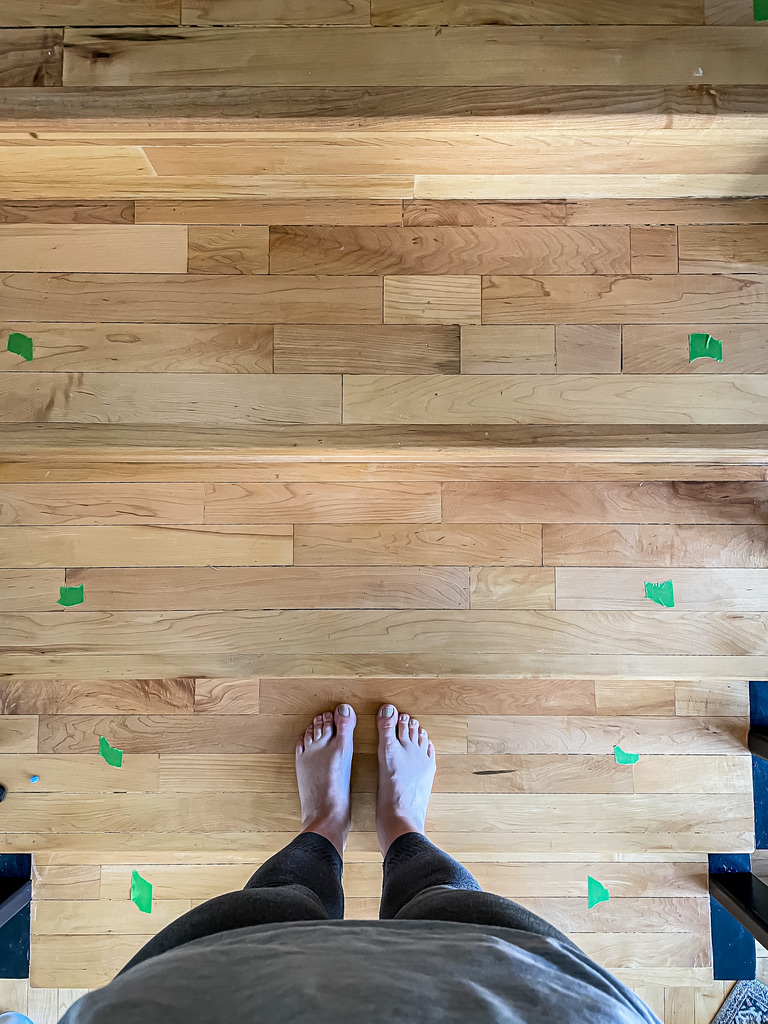
Adding a stair runner is an intermediate project level but I think anyone can do it. It does require math and patience though!
First, measure the width of your stairs. Not just one, but each one. Not all the stairs are exactly the same width, believe it or not! After that you can mark the center. Take the width of your stair runner and divide by 2. Here is the stair runner I used. Measure that distance out from the center marking of the stair. Place a piece of tape there on each side. This makes a guide as you lay down the runner and ensures it is centered from top to bottom. Once that is done, make sure you know exactly where you want to start. I started from the bottom and went up, but I know many who do the opposite. I did this because I knew I was going up on the landing and down our hall. You can also just stop at the top of the stairs. Going at a left or right turn up the stairs isn’t the easiest job and I messed it up a bit, but you can’t tell unless you really look at it. The easiest an beginner friendly way is to stop at the top.
When you are ready to start attaching it, I suggest using carpet tape. It is super sticky and really holds well. I placed a strip on the front of each stair riser and on the top of the stair at the front and back. Then, I secured it right up under the riser in the crease with a nail gun. It is still in great shape and I just love how it feels! And, yes, it really does cut down on the noise!
Paint old worn wicker furniture to look natural
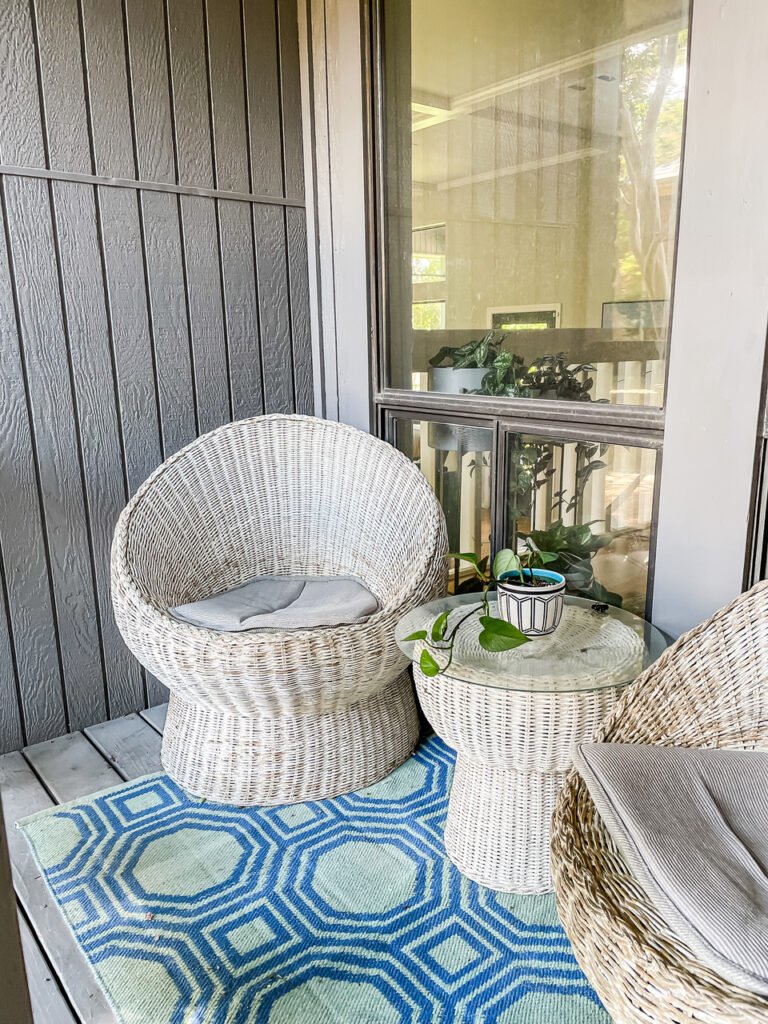
When we bought this house in December 2019, I asked the seller if she would leave those chairs. She said yes and I couldn’t wait to get my hands on them to make them pretty again! These egg shaped or barrel chairs are not only hard to find, but if you do find them they are pretty pricey. I loved the shape and look of them but the old white paint was chipped and cracked all over. Even though it took me a year to finally tackle them, I did it and it only took a few hours! Here are some similar ones I found that are super cute!
I first toyed with the idea of painting them a fresh coat of white, but ultimately I thought they would look great as a warm, natural-looking wicker wood color. I set out to find a spray paint kit that looked like wood. I did not find it in-store anywhere, but I did find it online here.
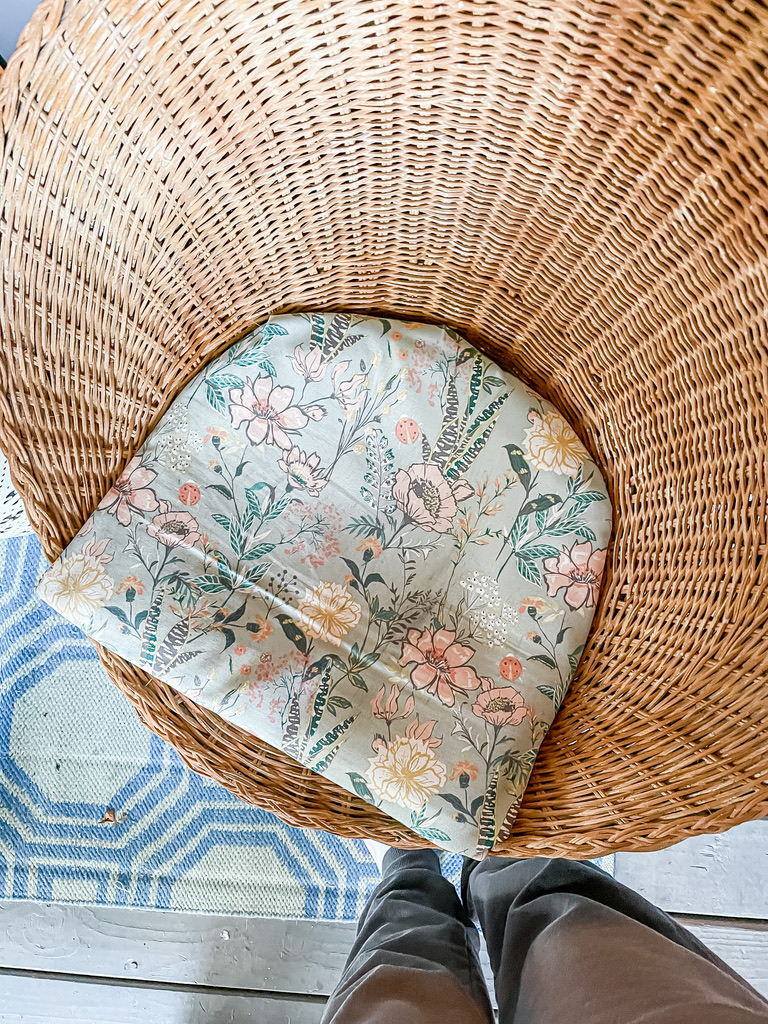
It couldn’t be easier to apply! Super beginner-friendly project again! Just spray on one of the cans then spray on the other. I was a bit skeptical, but wow look how they turned out!!
To remove the old paint I rented a power washer but I later read that is very harsh on wicker, so I suggest using a scrub brush. So that is how I finished it. I didn’t get all the paint off of one and only most of the paint off the other. So, I will say as an honest review, if you have old paint still on there the paint has chipped off from the chair that I didn’t get all the original paint off of. So be aware of that and try to get as much off as possible. The chair with the most paint removed has held up beautifully for over a year.
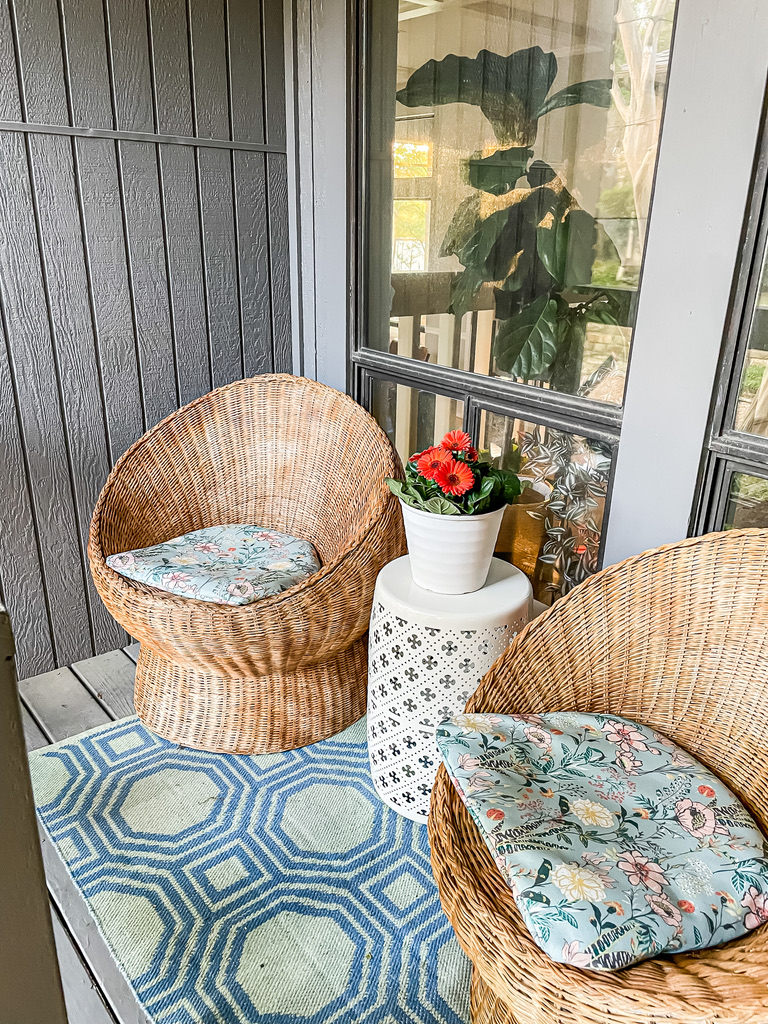
Now, I wanted to keep these cushions because they fit perfectly and they were an odd size and shape. So, I went to my local Home Depot and found these cute cushions and removed the cover because they were a bit big. I just safety pinned them to the back to fit since I’m not great on the sewing machine. I finished them off with a cute garden stool/table and a potted daisy for our bedroom porch. I think they look brand new and I just love them. I am also glad I decided to go with the natural look vs. a color because it really looks great with the gray porch and blue rug. Adds warmth.
Create a frame for your TV
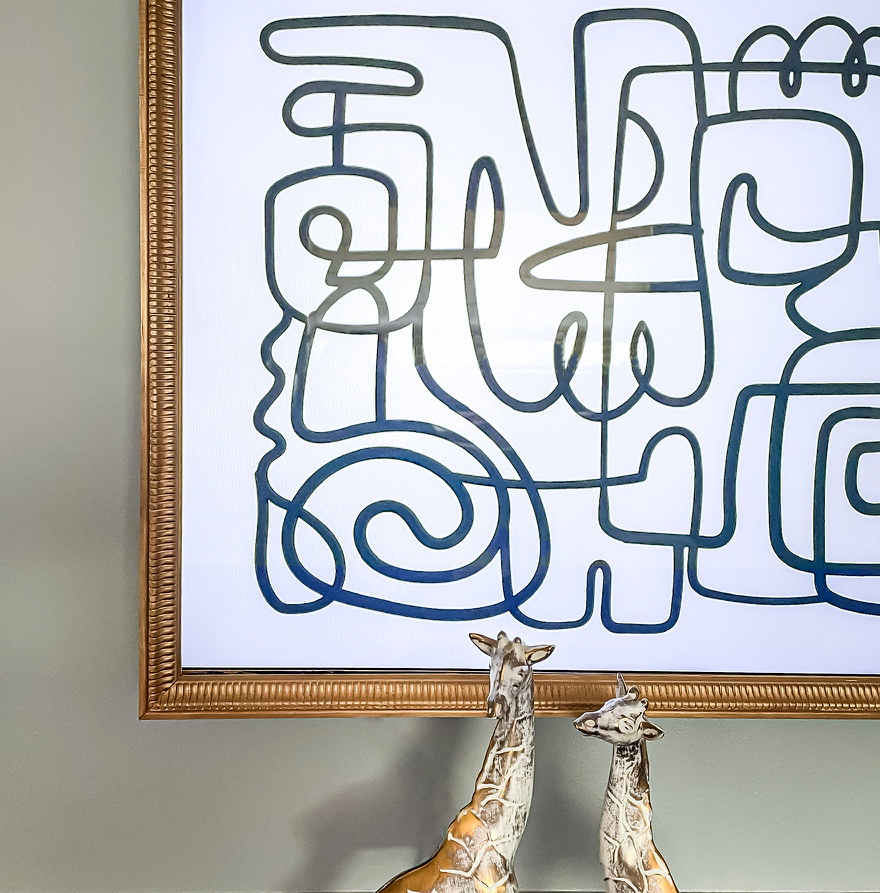
This is a beginner to intermediate project. It can be done with and without tools or a miter saw. First visit a hardware store and select the trim moulding you want. I got this beaded 1-1/4″ moulding, but if you want a more robust look or frame, go for the bigger trim. They have plain and ornate, choose which one you’ll want. I picked out my trim and measured my TV. You’ll want to have it wide enough to cover the edge of the TV, as some TV frames are wider than others.
If you do not have a miter saw for cutting the 45º angled corners, these miter shears are amazing for small jobs like this. Measure from the bottom right corner to the top right corner for your first side cut. Make sure you hold it up on the TV first to see if your measurements will be correct and you’ll have enough hanging over the edge for the top and bottom piece to meet up too. Once all your calculations are correct, cut your angles. Glue the corners together with wood glue and ideally you’ll want to clamp them to hold them for several hours while they dry. Another non-tool alternative to securing them with a brad nailer after gluing is to add these corner braces on the back of each corner. {Be sure to get the right size for your corners.}
Now is the fun part! Paint your frame the color of your choice. I used Antique Gold Rub n’ Buff then went over it with a little black craft paint for an antique look. Spray paint works great too. Now there are numerous methods to hanging these, but I wanted the easiest method possible so I used these Command strips on each corner. These are the heavy duty ones and I made sure to follow the directions on attaching them. They’ve held up perfectly.
Paint upholstery to look & FEEL like leather!
This is one of my favorite DIYs, as it is a simple concept and so easy to execute. All you need it the upholstered furniture you want to makeover, latex satin paint, and fabric softener. Yep! That is the secret ingredient to making it not only look like leather, but FEEL like leather and not feel crunchy.
I wanted to makeover this suede-ish chair into a camel leather. So I set out to find the right formula of paint to fabric softener ratio for that buttery softness. I found through some trial and error that 50/50 ratio of paint and softener works the best.
I bought a tan and a darker tan (on same paint swatch so that they go together in tone). I started by mixing my softener and paint into a cup. Now, I was doing this on a chair so I didn’t need a whole lot of paint. I bought the $5 paint samples for mine so I only spent around $15-$20 for paint & softener. I suggest getting a spray bottle and filling it with 50% water and 50% softener as well to spray between coats. This also helps with the softness and how the paint goes on really smoothly.
Start painting your base color and before it dries completely, go back in with your darker color and add paint to the creases and edges of the piece you’re painting. This adds that weathered and genuine leather look. Blend it in with a brush or paper towel. You may need to play with it until it looks right.
And really, that is all for this DIY. It is super easy and takes a day or so, depending on the size of your furniture piece.
These are only a few of the many DIYs you can try this Spring for your home. They add personality, fun and also offer you a chance to learn new things if you’re just beginning your DIY journey. Not every DIY has to involve tools or any skill, but they all involve patience and the motivation to start!