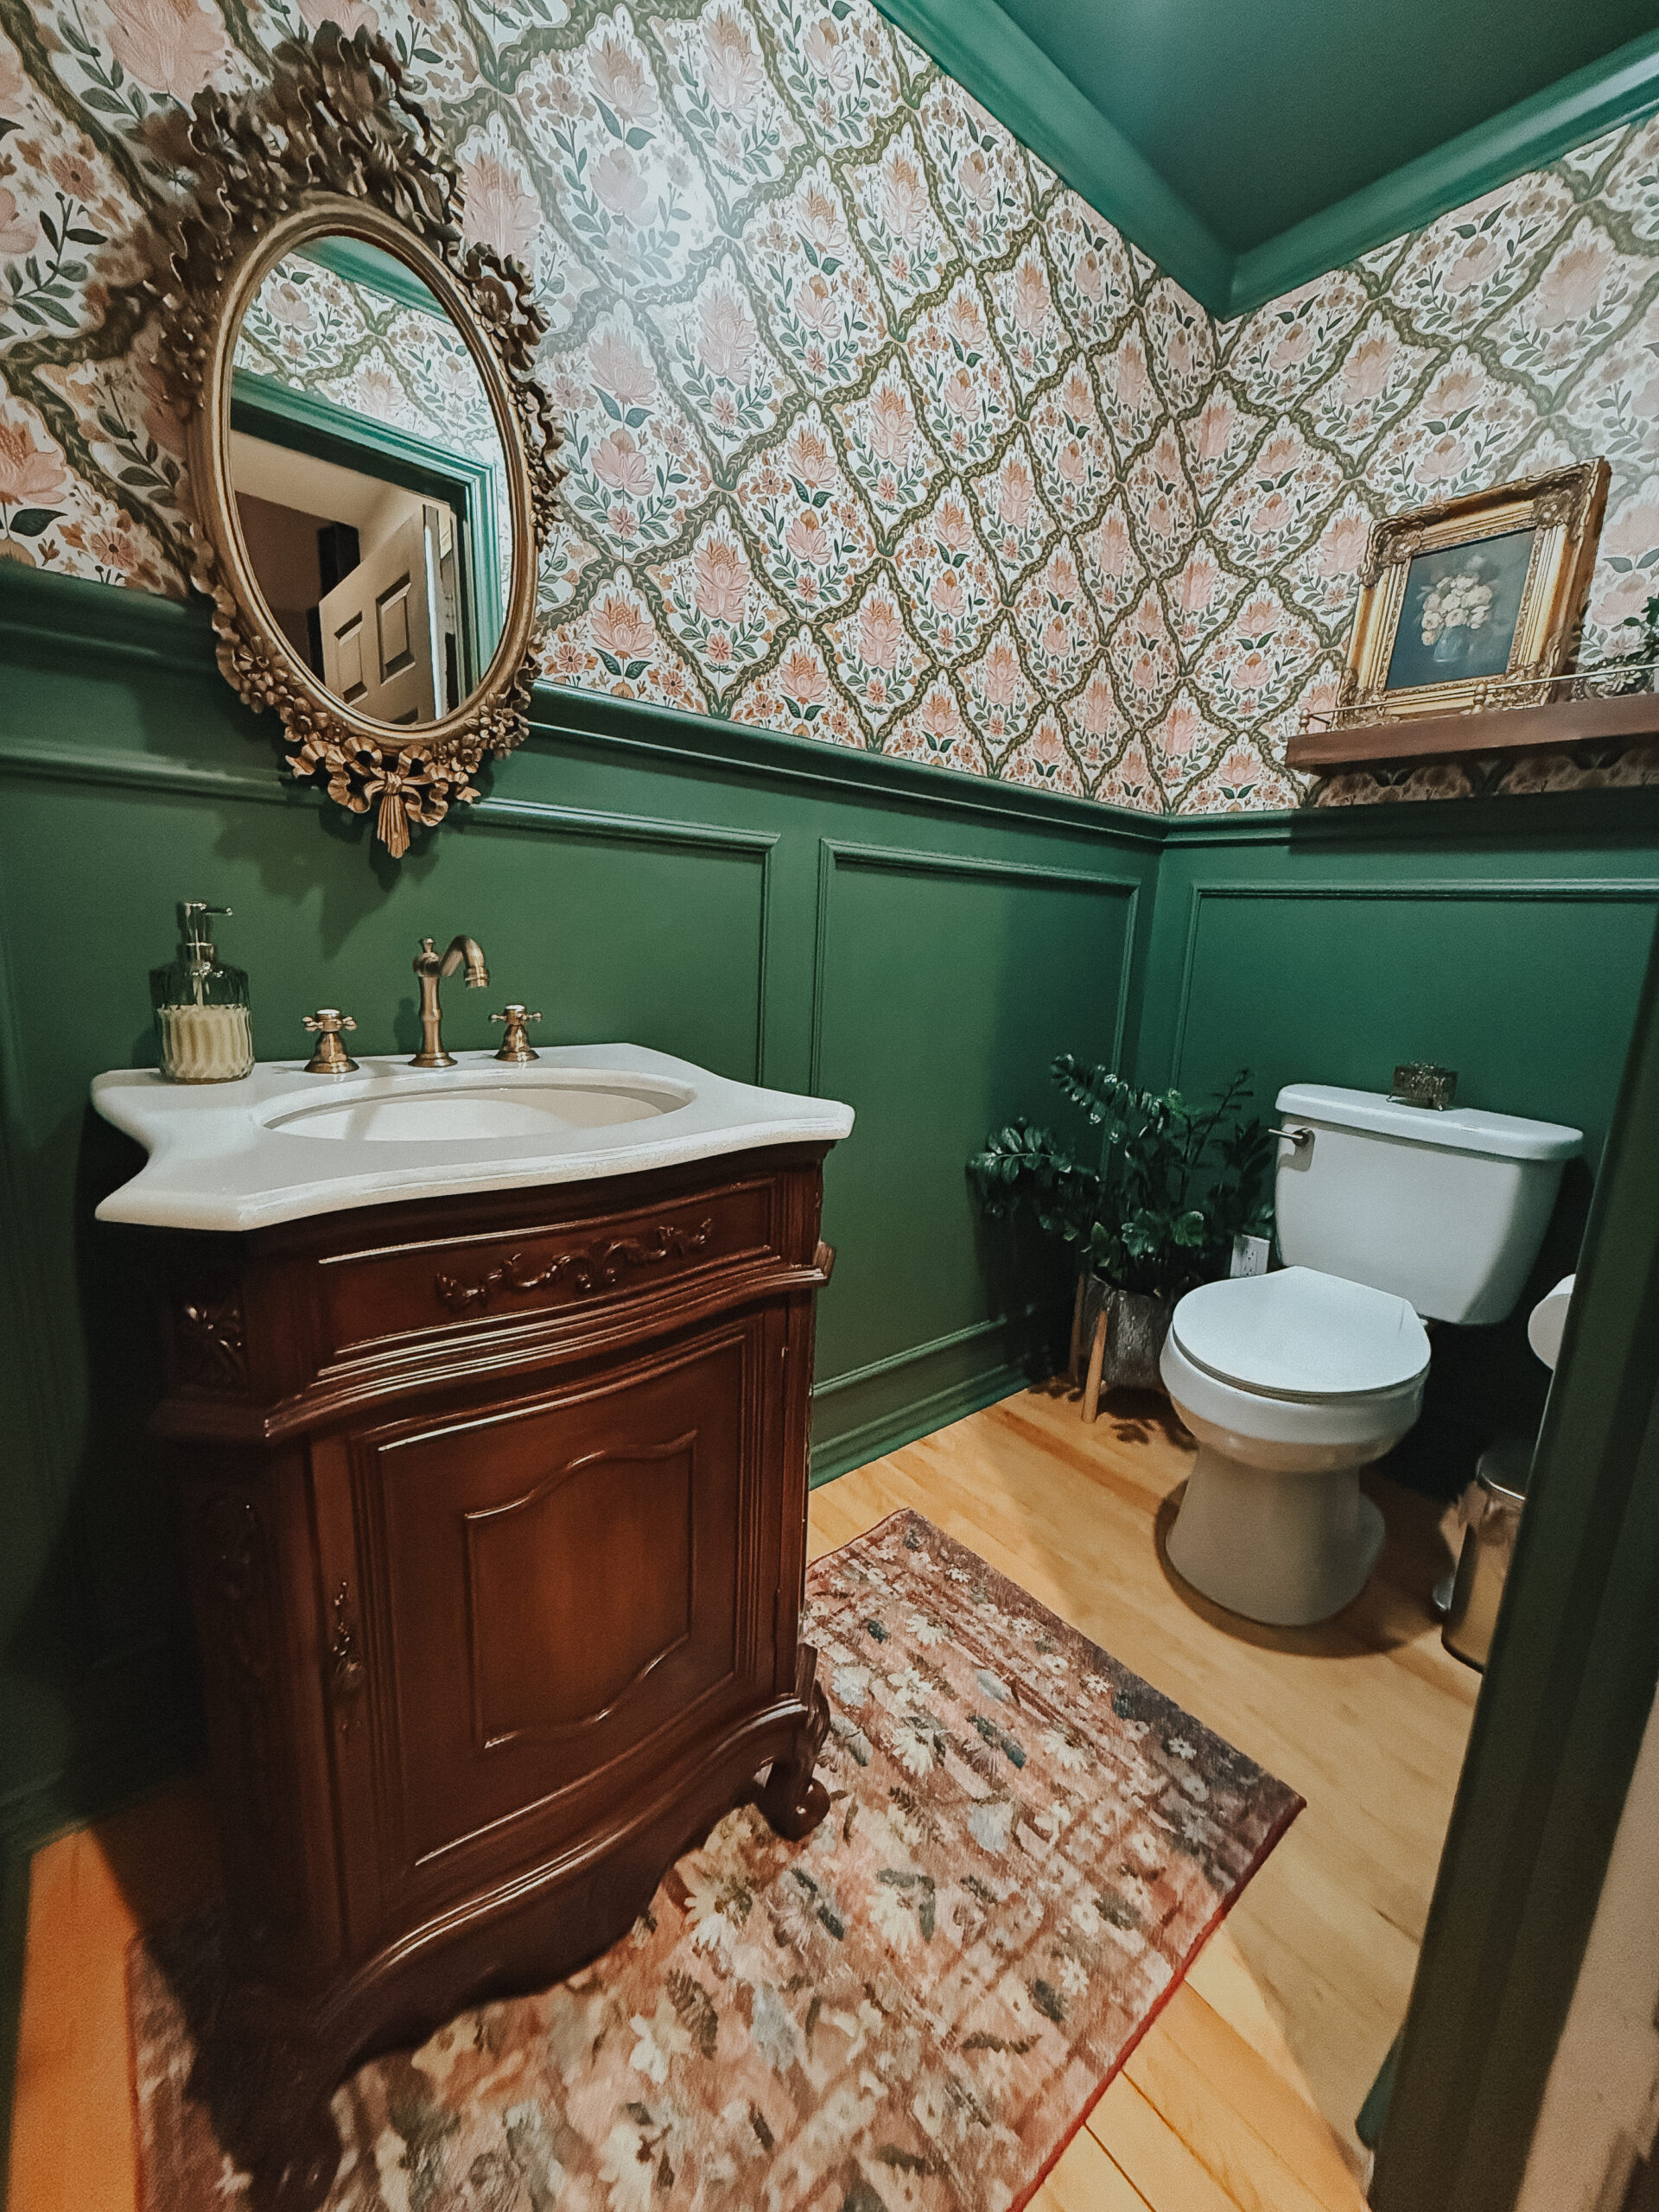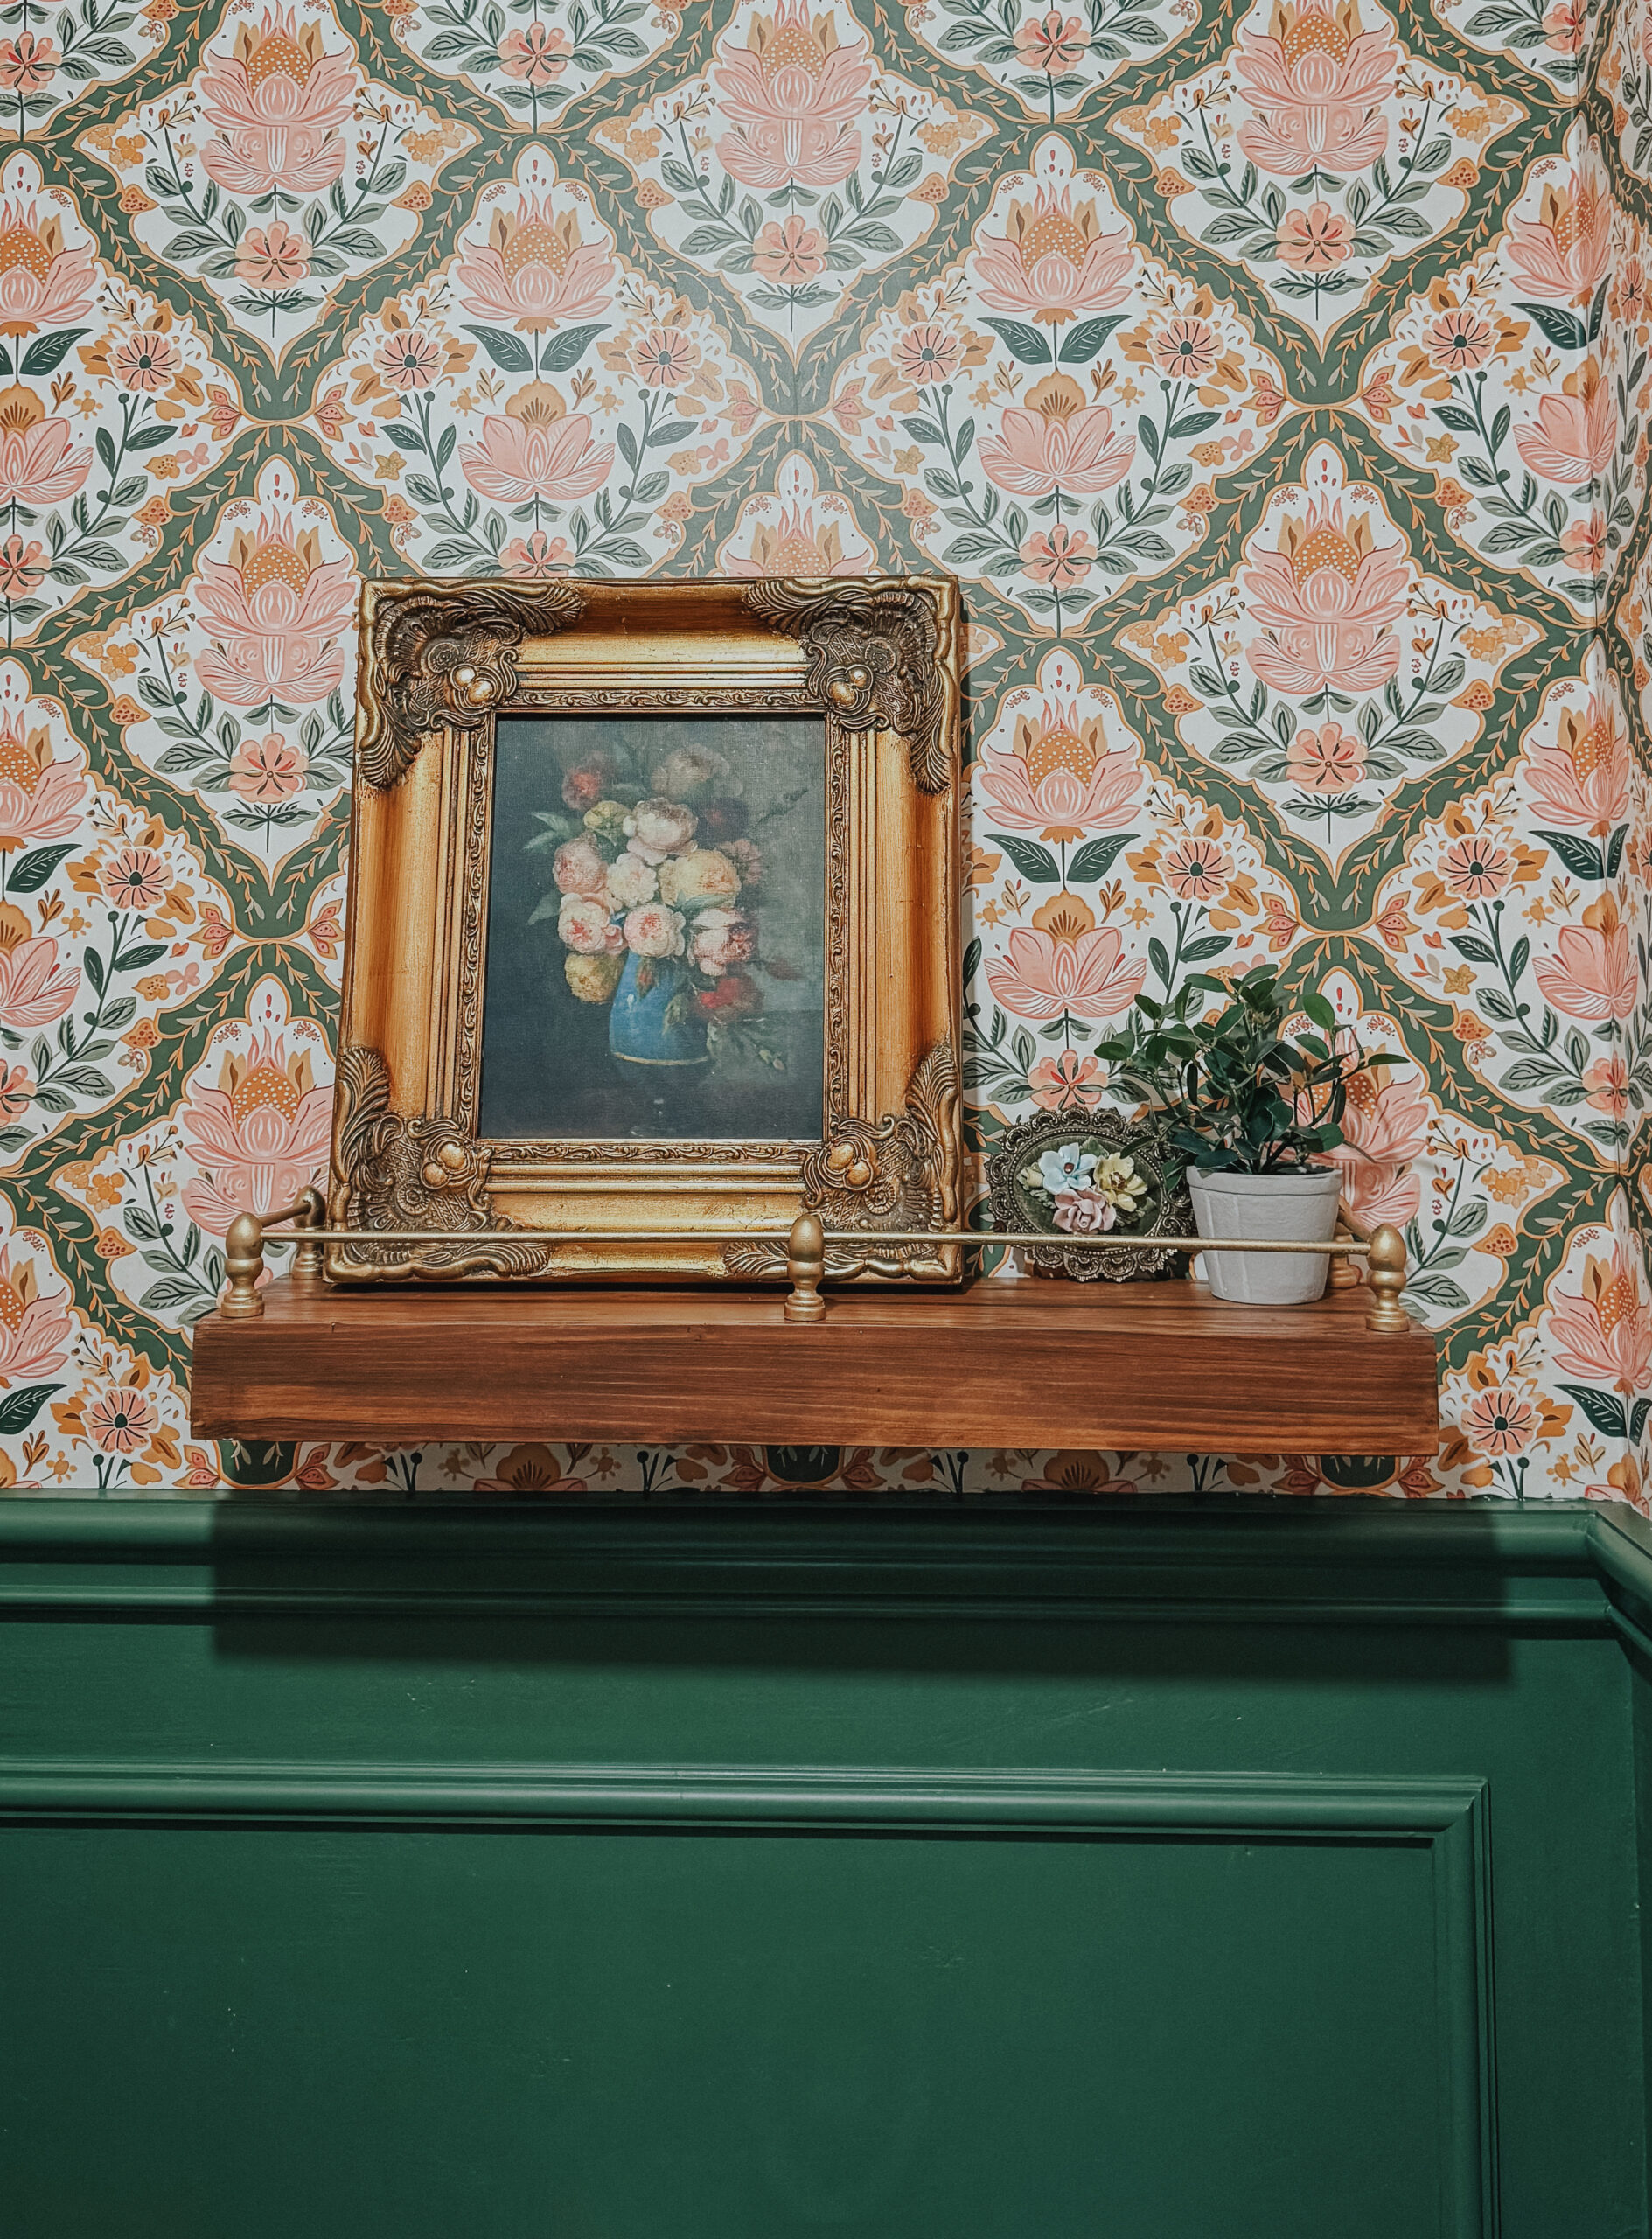

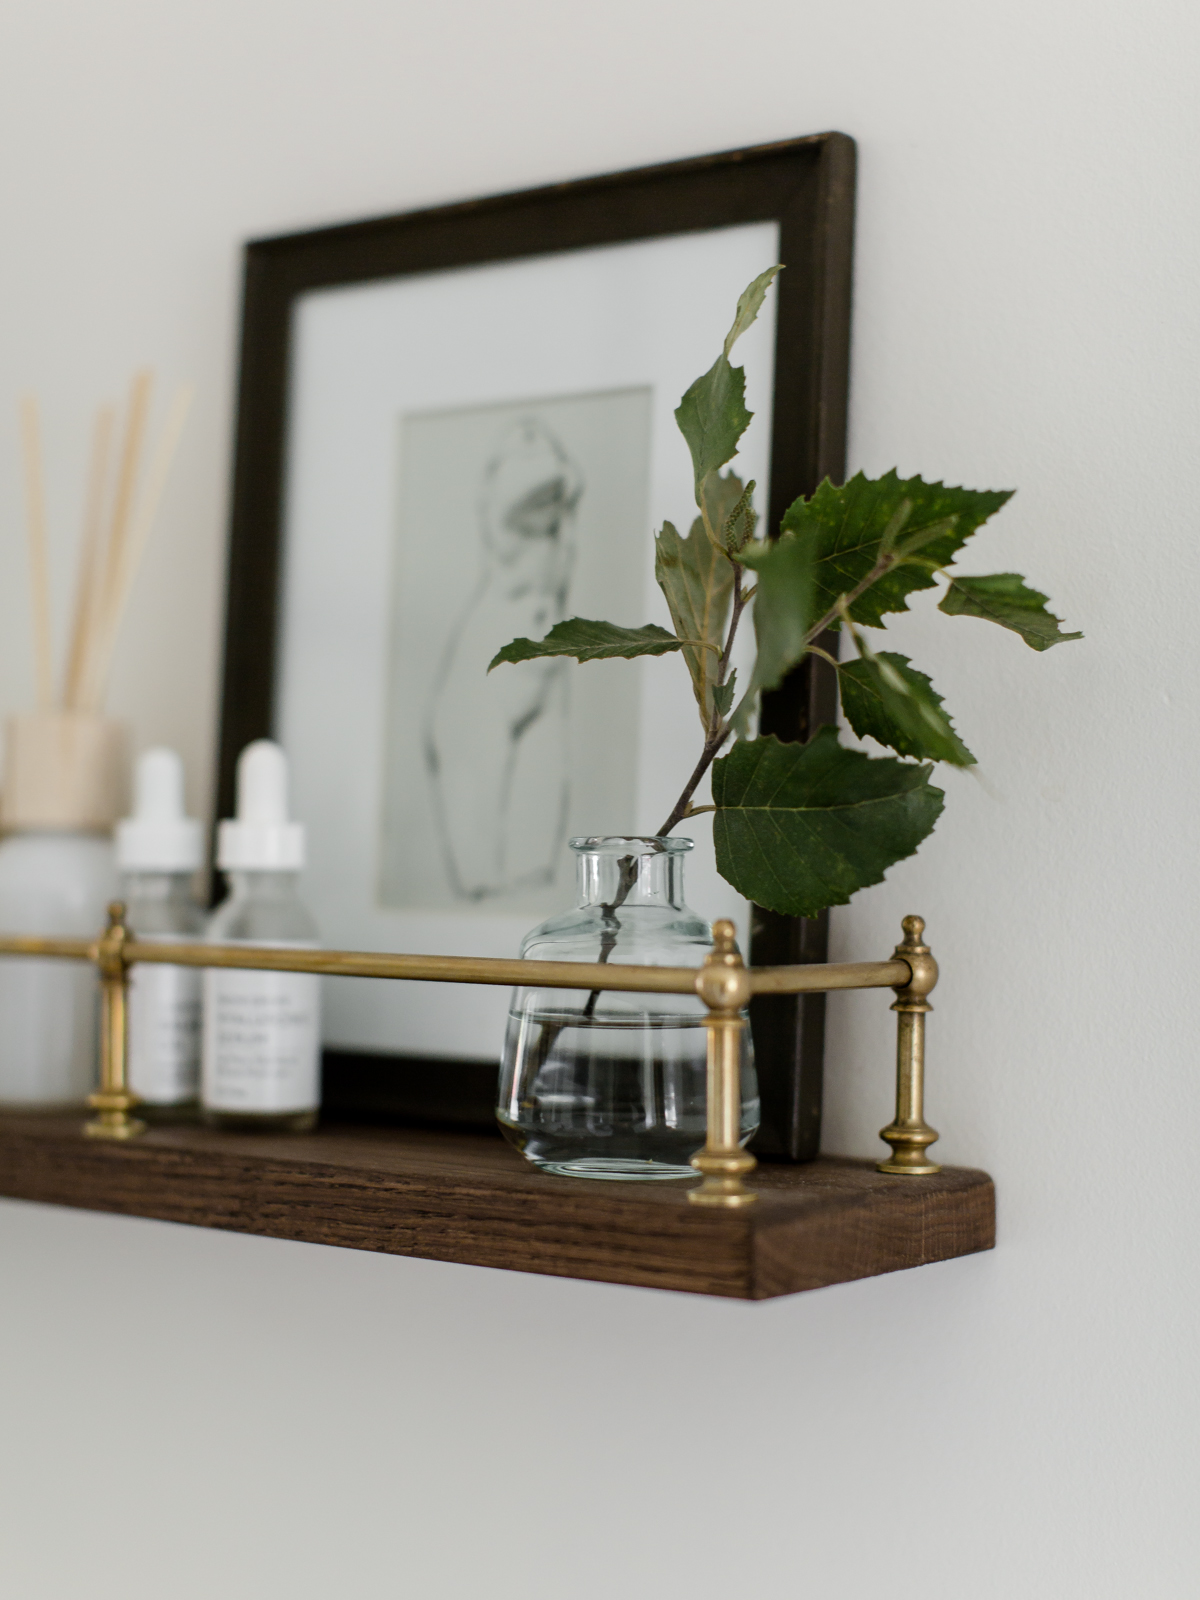
I recently became aware of brass gallery rails on shelves. I realize I am most likely behind the times and this is absolutely nothing new. But alas, I was “today years old” when I came across these beauties and I just knew they would be perfect for my powder room makeover.
I googled brass gallery rails faster than a toupee in a hurricane. And was quickly disappointed to find they are $$$. I wasn’t about to drop $100 on rails that go on a shelf! So what did I do? Yes, you are correct. I decided to DIY it. And let me tell you—it took less than $10 for one shelf and about an afternoon to finish.
Disclaimer: This post contains affiliate links for your convenience. I may earn a small commission through the Amazon Affiliate & LTK Program. This in no way adds any cost to you. The fees help me maintain and pay for the use of this site. Thank you for your support! Read my Disclosure & Privacy Policy here.
Supplies List
• Finials (there are tons to choose from!)
• Drill
• Floating shelves (these are the ones I have)
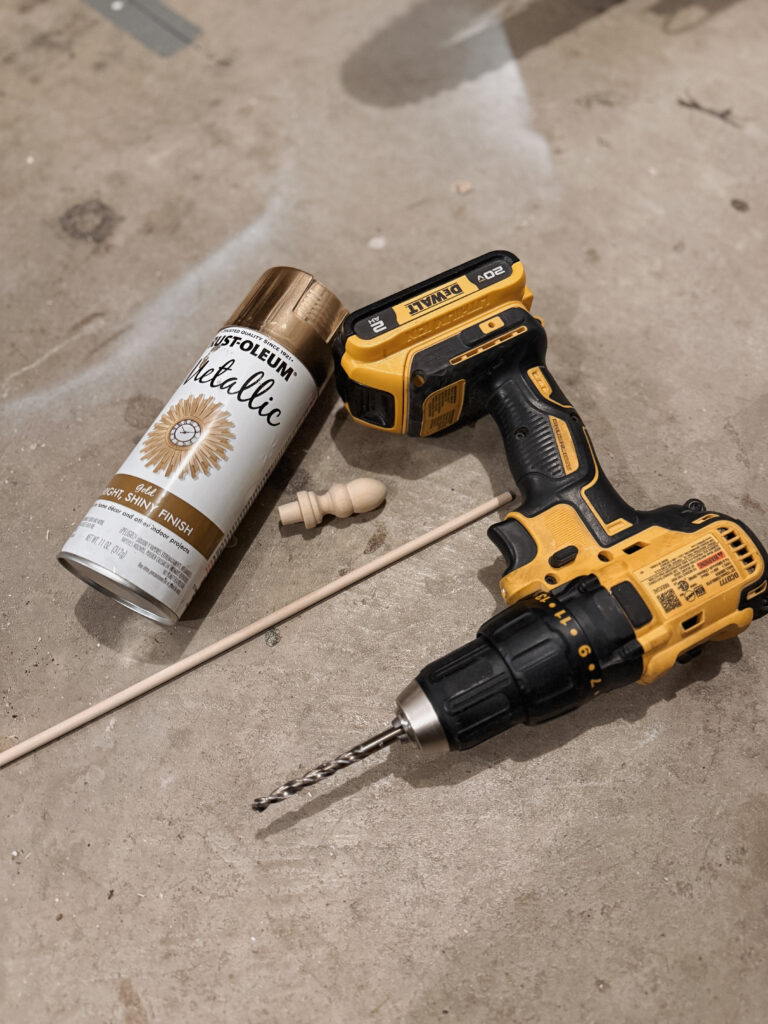
STEP 1:
I used clamps to hold my finial on the edge of a hard, flat and raised surface. Mine was plywood on sawhorses. Use what you have or will work best.
After it is secured, place a 3/8″ drill bit in your drill and drill in the middle of the finial, but only 1/3 way down. You don’t want to go all the way through. Your dowels will just set in the hole.
For the corner finials it can get a bit tricky because you need to drill on two sides. I just eyeballed it, honestly. Make them as 90º as you can so your dowels will set in them at 90º. I can be transparent and tell you mine were a bit off. I compensated for it by gluing in the dowels and holding them at 90º as best I could.
Since these finials that I chose had a little base on them that I wasn’t using, I clamped them on my work area again and sawed them off by hand. Took a couple of minutes. Then sanded the bottoms smooth. Not all finials will have this.
STEP 2:
Set up your finials and dowels to spray paint them. No instructions needed! Just spray them and they should be dry enough to handle in about 30 minutes. Usually less if you didn’t use the paint liberally.

STEP 3:
Set up your shelves and wipe them down really well. I measured the length of my shelves and marked my center point. I placed the middle finial there. Put your dowels in and you can eyeball how long your dowels should be by doing a dry run with all the finials in place. I used miter shears to cut the dowels in a snap. They are like scissors for wood!
STEP 4:
I also glued my 2 dowels into this finial with a dab of wood glue. I glued it on the shelf and waited a good 2 hours for it to dry. Rinse and repeat for all the finials and dowels.


I let them dry overnight just to make sure they were secure. But look how amazing these turned out!! I ended up only using one of the two shelves but I definitely will find a home for the second one. Let me know if you would do this beginner-friendly DIY to save hundreds!