
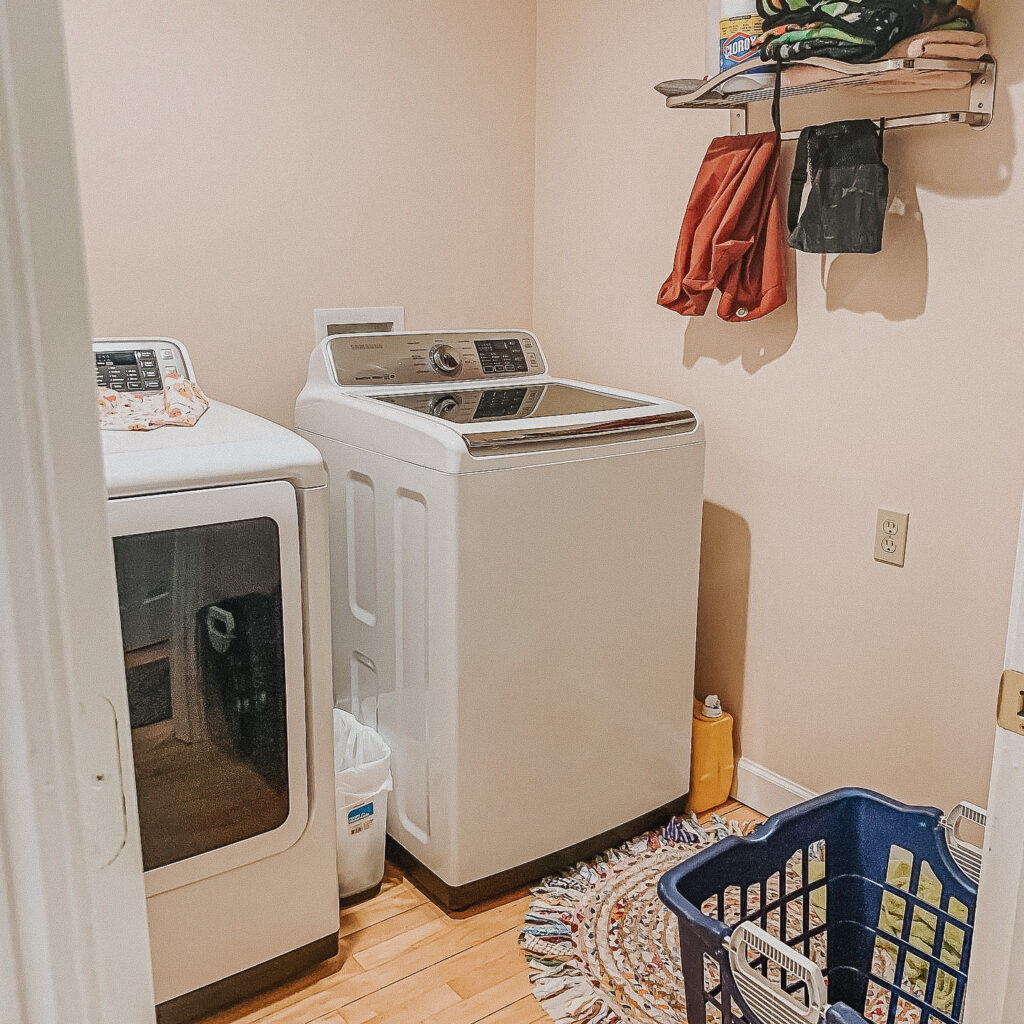
Having a cute, cheery and “fun” laundry room is probably at the bottom of most people’s lists. However, I believe that every room in your home reflects you and has an emotional impact on you. Doing laundry is a task most of us dread. So to create a room that is cheery and bright can make that task much more enjoyable. So I set out to do just that.
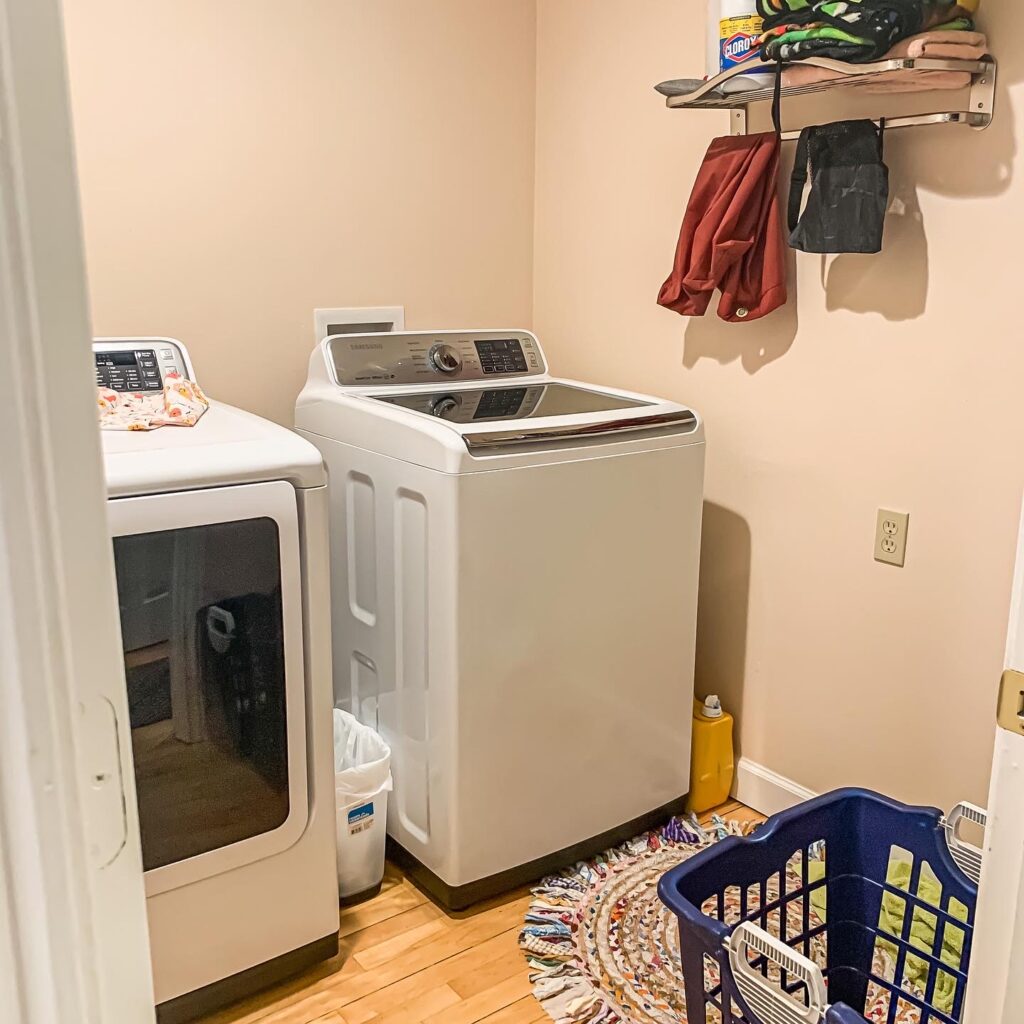
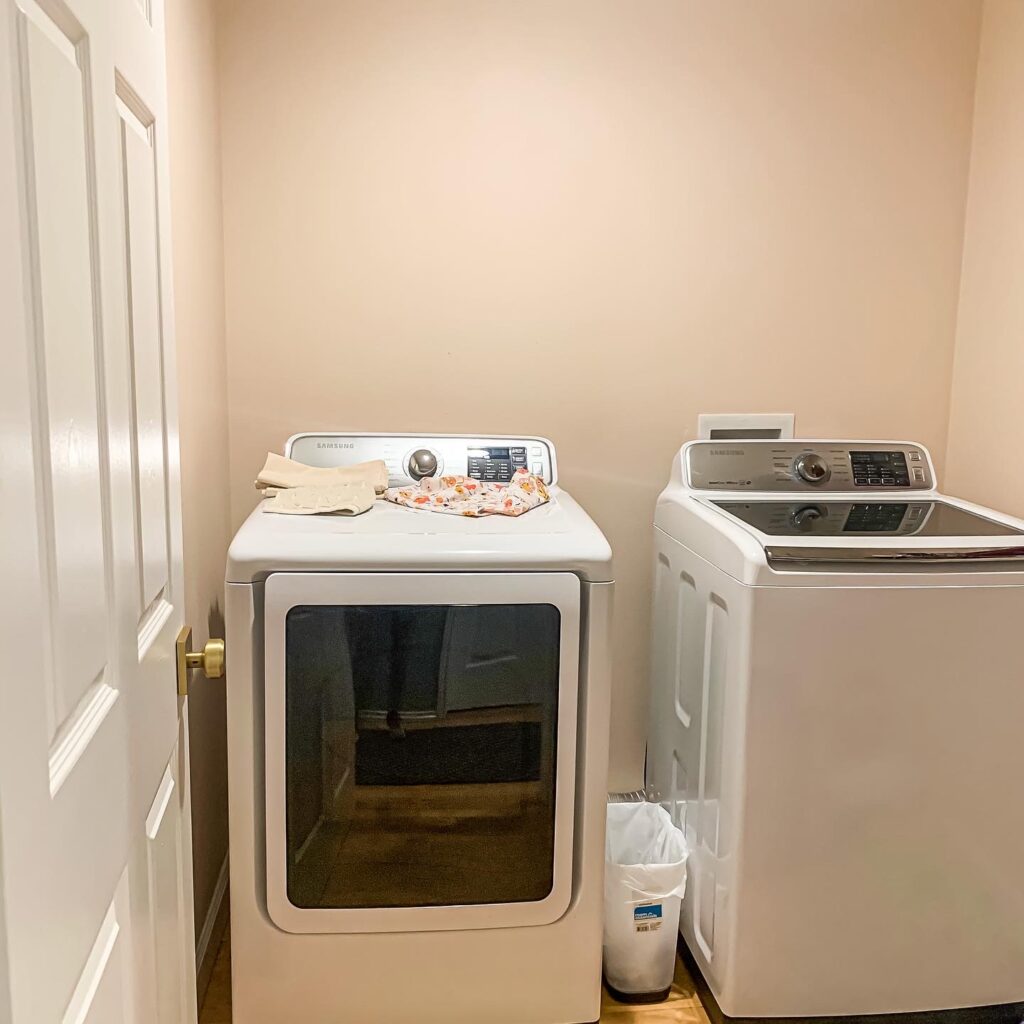
I knew it needed some functionality and storage. The room was painted a salmon, pink-ish tan. There was a wall rack on one wall that barely held anything plus it was too high for anyone to reach anything. So I set out to create a bright, cheery room with function.
Disclaimer: This post contains affiliate links for your convenience. I may earn a small commission through the Amazon Affiliate & LTK Program. This in no way adds any cost to you. The fees help me maintain and pay for the use of this site. Thank you for your support! Read my Disclosure & Privacy Policy here.
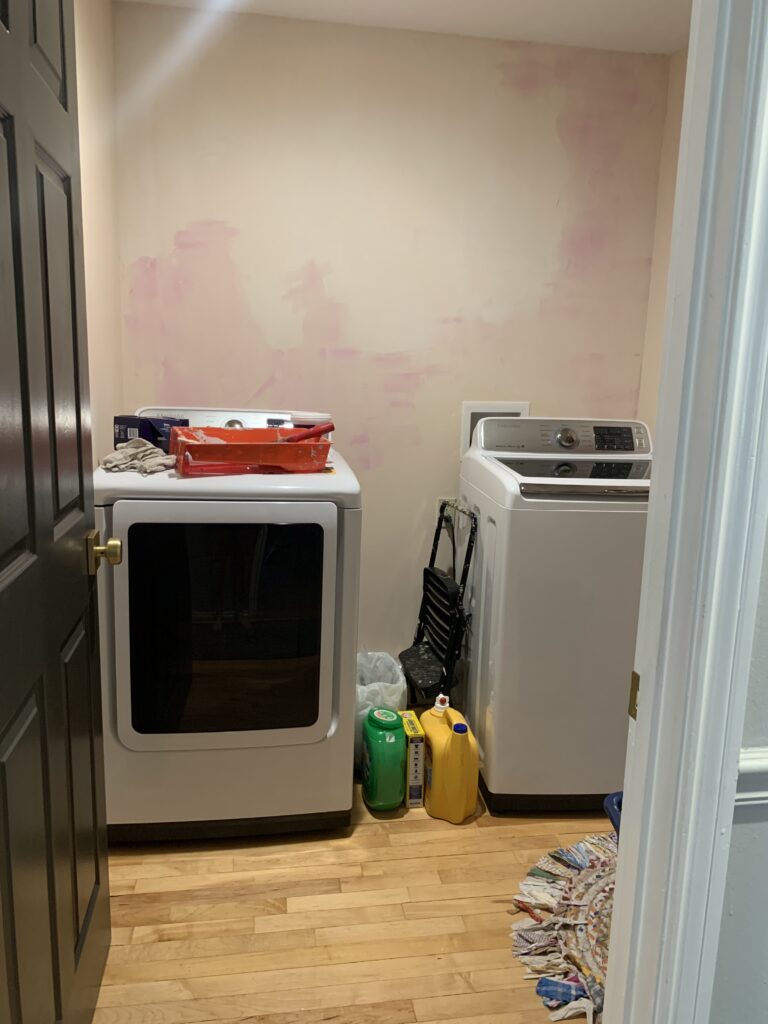
First, I found this amazing wallpaper from Hygge & West. I just wanted to do the back wall since it was my first time hanging wallpaper. The walls in here are slightly textured and to hang any wallpaper (peel & stick or traditional) you will need a smooth surface for best adhesion and staying power. Sanding the wall with an electric sander was an option, but it is soooo messy, so I decided to use joint compound and smooth the walls.
For this process you’ll need a taping knife to scrape the compound out of the bucket and onto the wall. Just smooth it out and scrape down the wall until smooth. If your texture is thicker, you’ll need to do a couple of coats. I like this particular compound because it goes on pink and dries white so you can tell where you’ve already been.
After my compound was dry I waited a day then I used a semi-gloss primer to paint the wall. I was also painting the other 3 walls a creamy white so I did that in a satin finish. It is important to wait at least a week to wallpaper over the primed wall so it can cure. Luckily, I did this room in 2021 and it took 3 months for my wallpaper to arrive so it was good and cured!
Now, as for giving you major pointers on hanging peel & stick wallpaper, I am not going to pretend to be a pro. However, I did learn a few things that I could have done differently to help. I did use these tips in our guest bath and it helped tremendously.
First, I highly, highly recommend a laser level. It will save your sanity. You will want to start the wallpaper in a corner but not the very corner, corner. I hope that high class English made sense. (this is the step I skipped and it made it so much harder). Start about an inch away from the corner. Place your level on the floor and see where your line goes. I promise your walls are not square. No one’s are. This is where you will want to draw a line down the wall vertically where the level line is. This is where you will start your first panel. Make sure to have at least 2-3″ overhang of wallpaper at the top. You will cut this off later.
Shopping resources below.
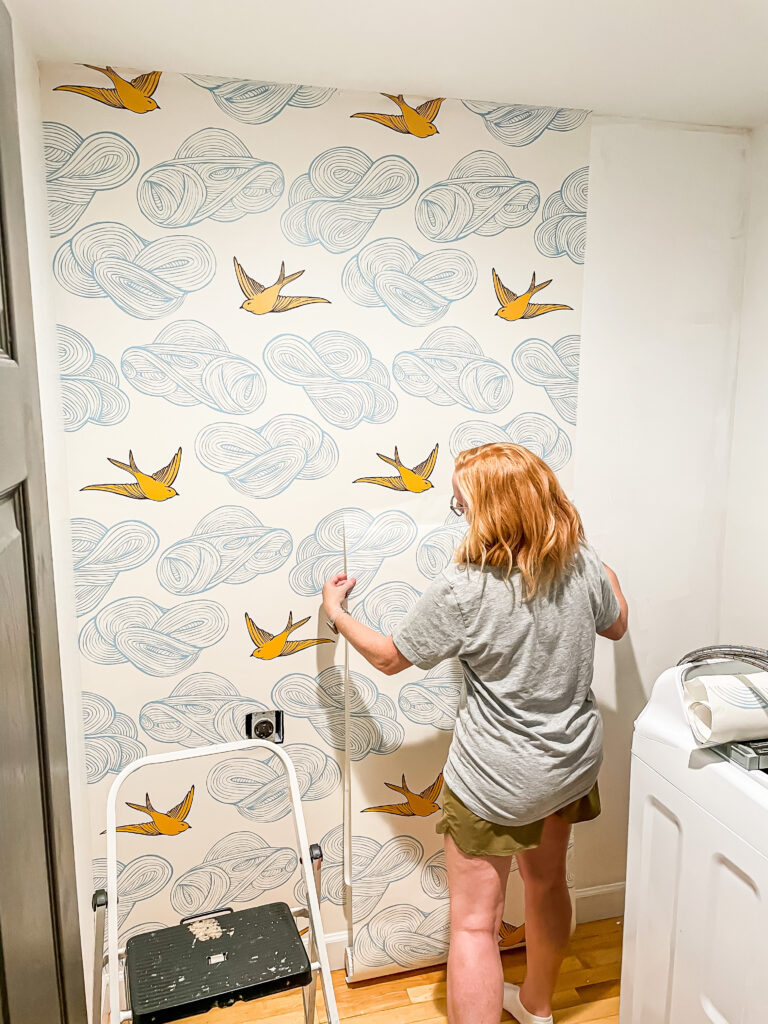
Start at the top of the wall and go down when hanging. You can buy a wallpaper smoother or just use a straight edge or credit card. Smooth downward as you go. After this, the rest is just lining up the next panel. If you level the first panel I promise the rest will go smoothly!
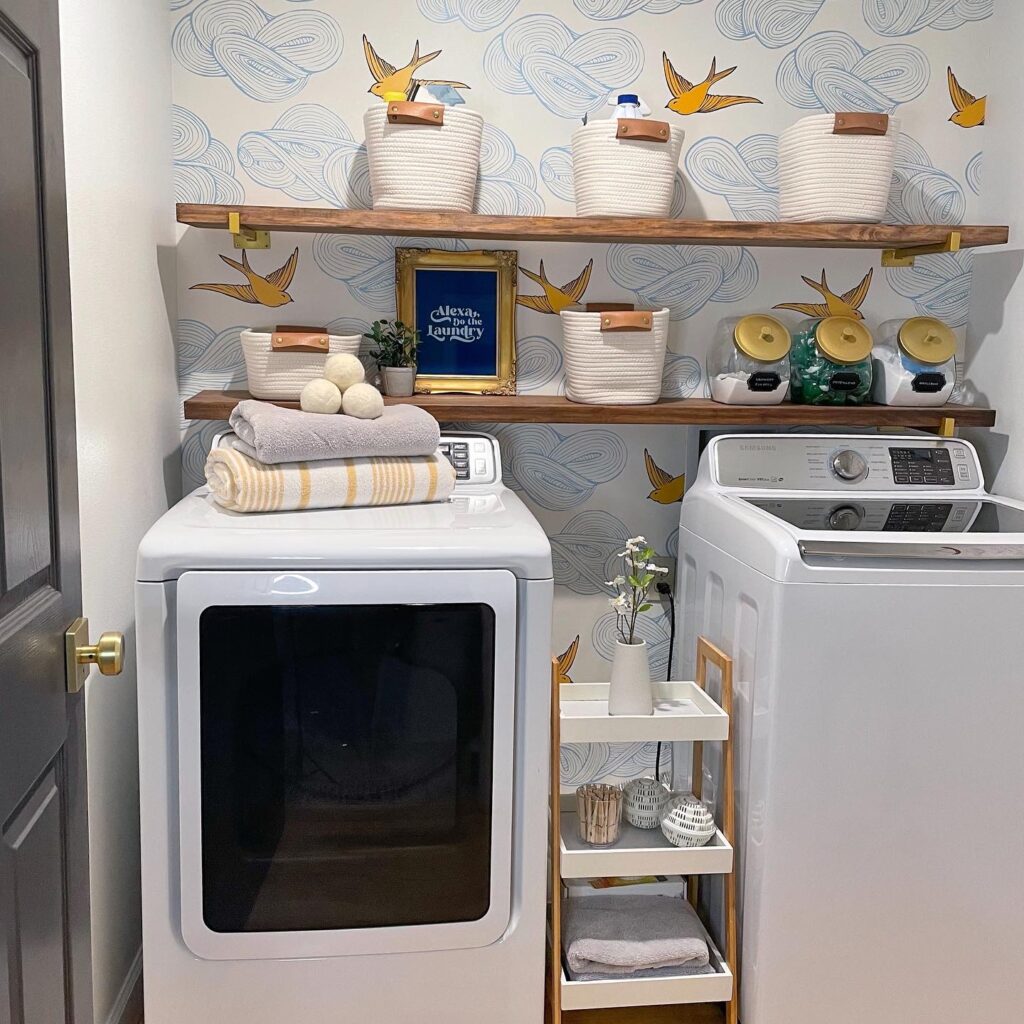
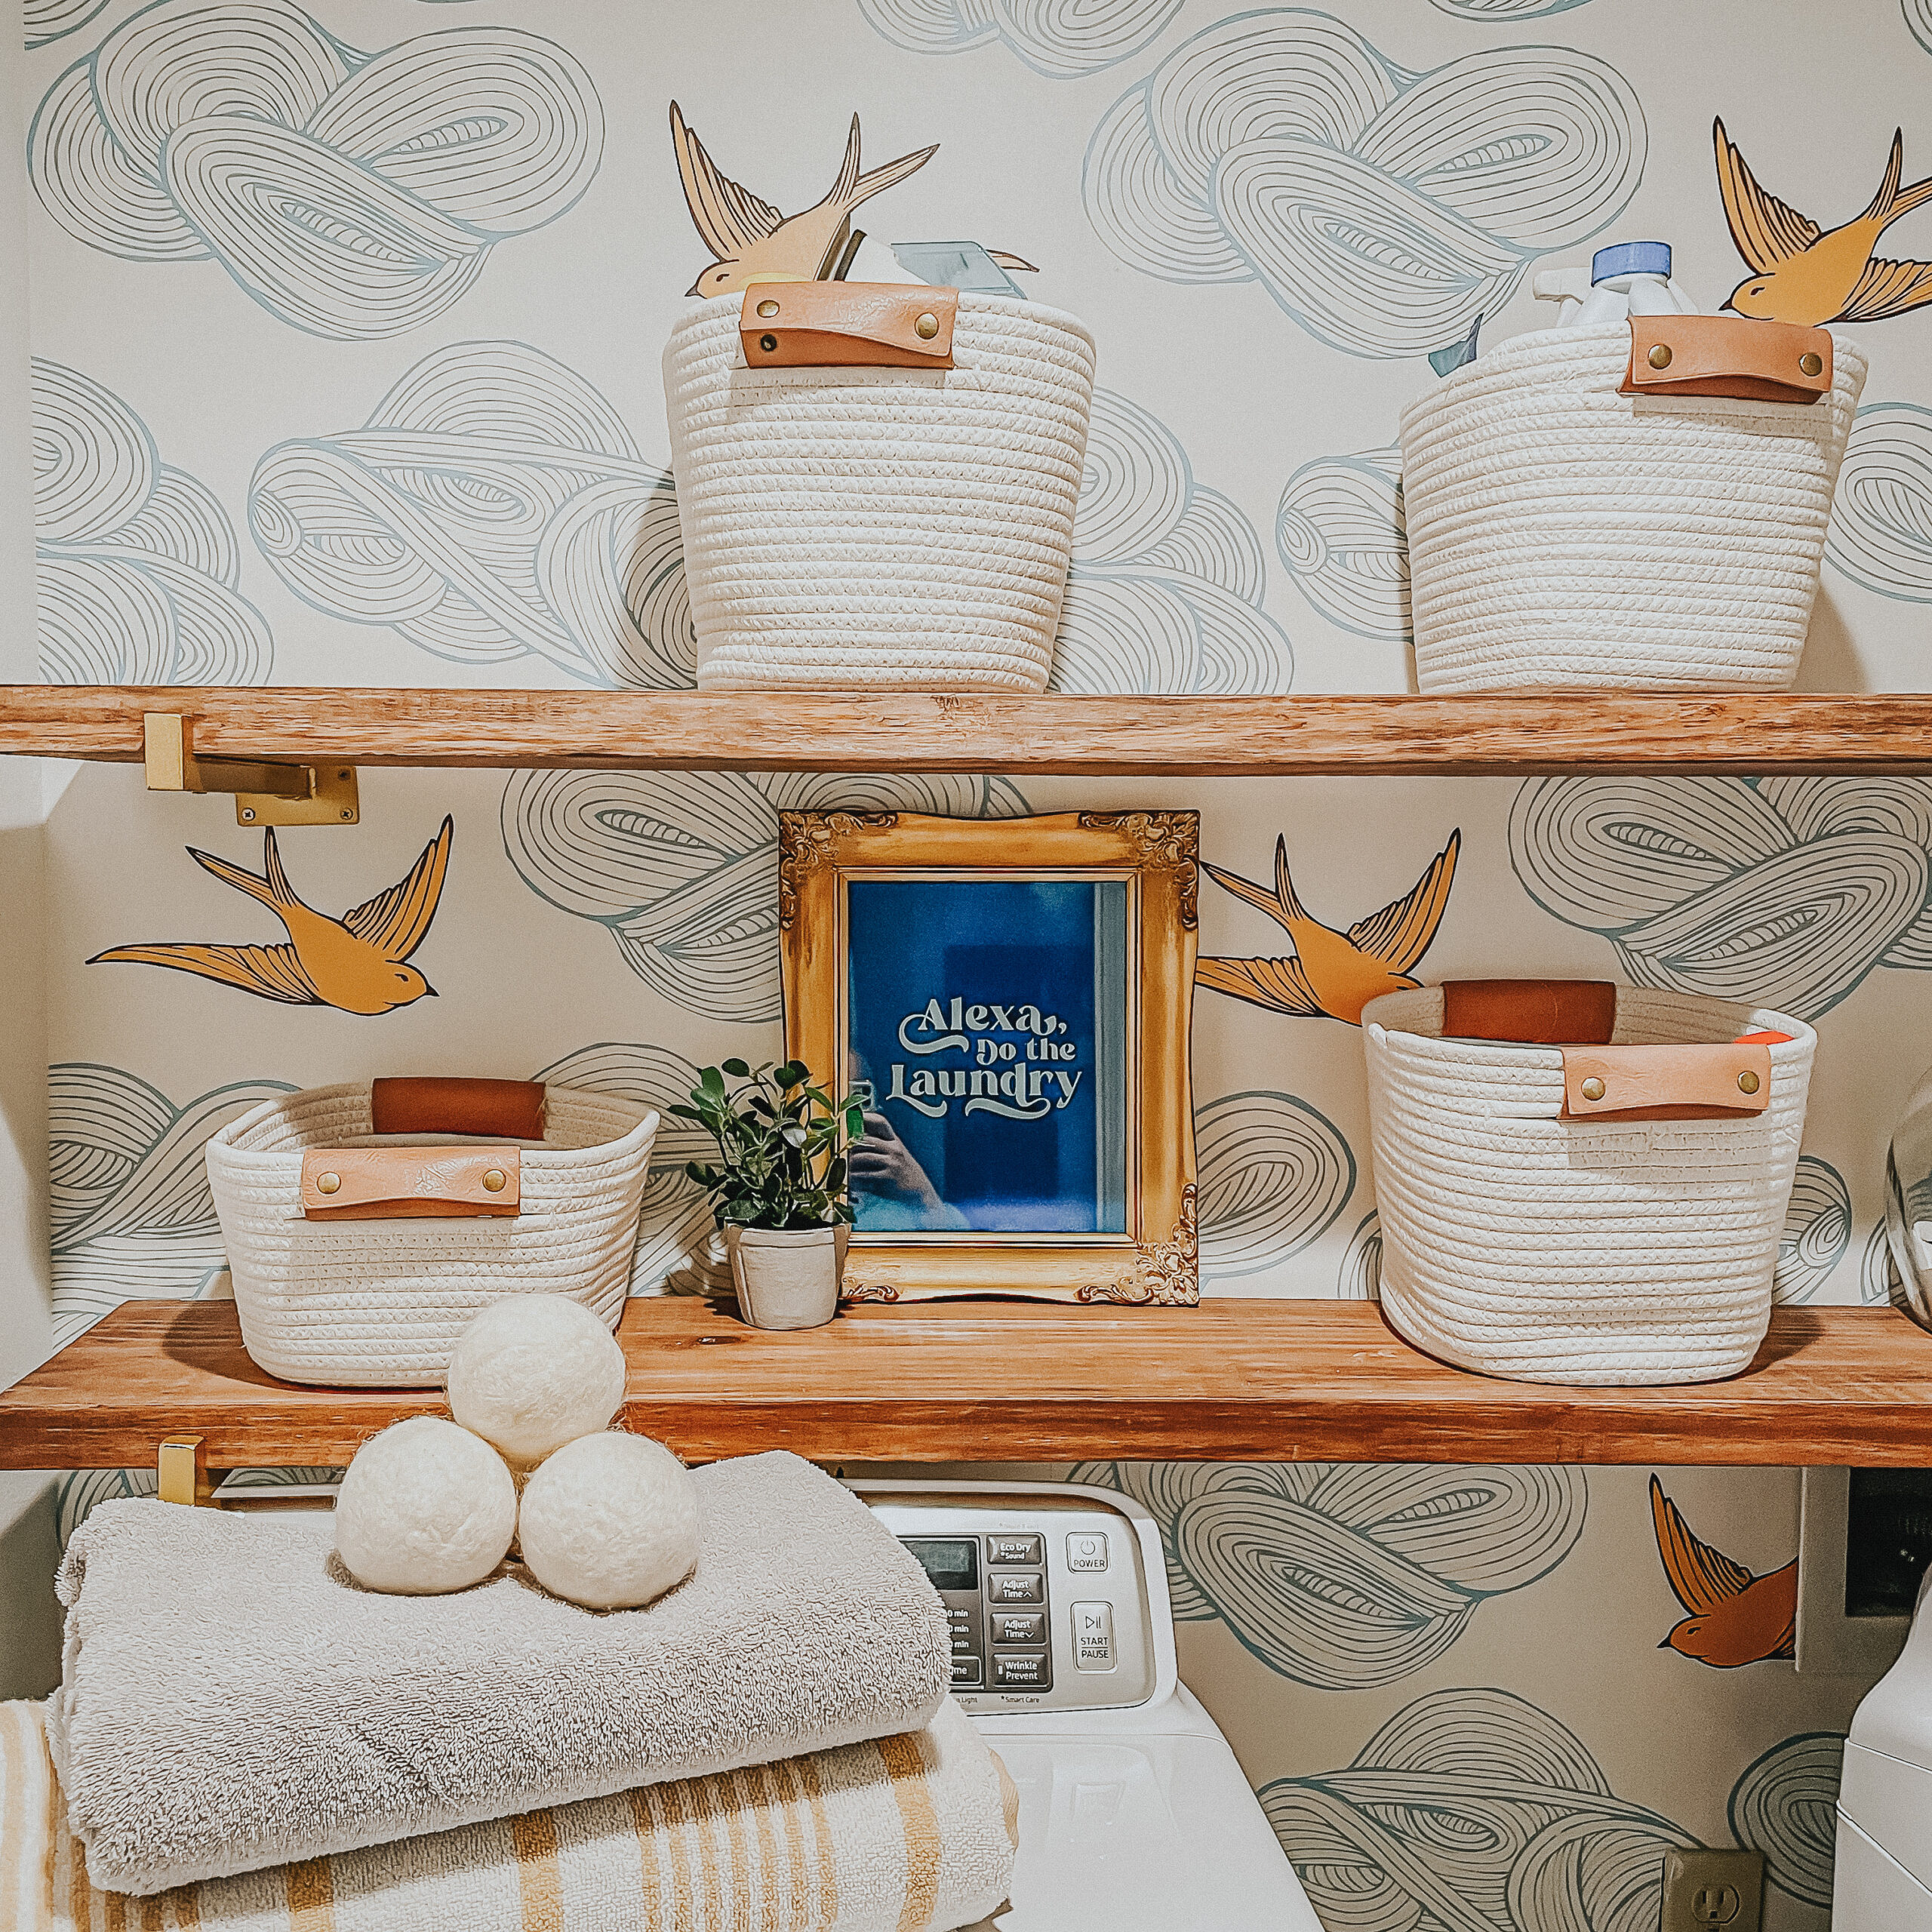
After we wallpapered, I wanted shelves above the washer and dryer but I couldn’t find any floating shelves long enough for the width of the wall that weren’t outrageously priced. So I went to Home Depot and bought 2″ thick pine boards that were 8′ long and 10″ deep. I sanded them with 150 grit sandpaper then whitewashed them and stained them walnut with a gel stain. I think they look awsome! To hang them, I ordered these matte gold brackets and screwed them into the studs.
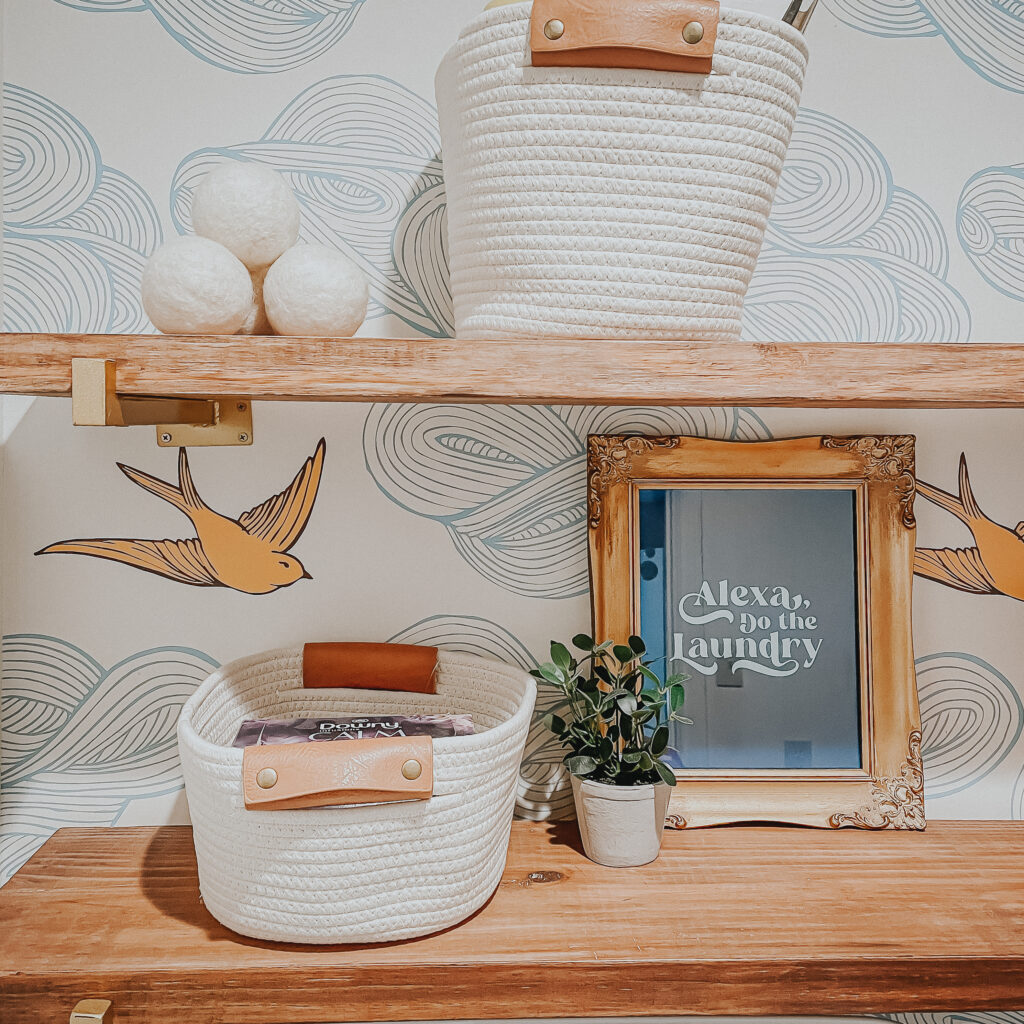
All that was left was styling and hanging art. I bought these rope baskets for everything that we need in a laundry room. Stain remover, bleach, iron, vinegar—you get the idea. I only say that because many people asked if I could fit everything into these baskets that I needed. Yes, we definitely have everything we need.
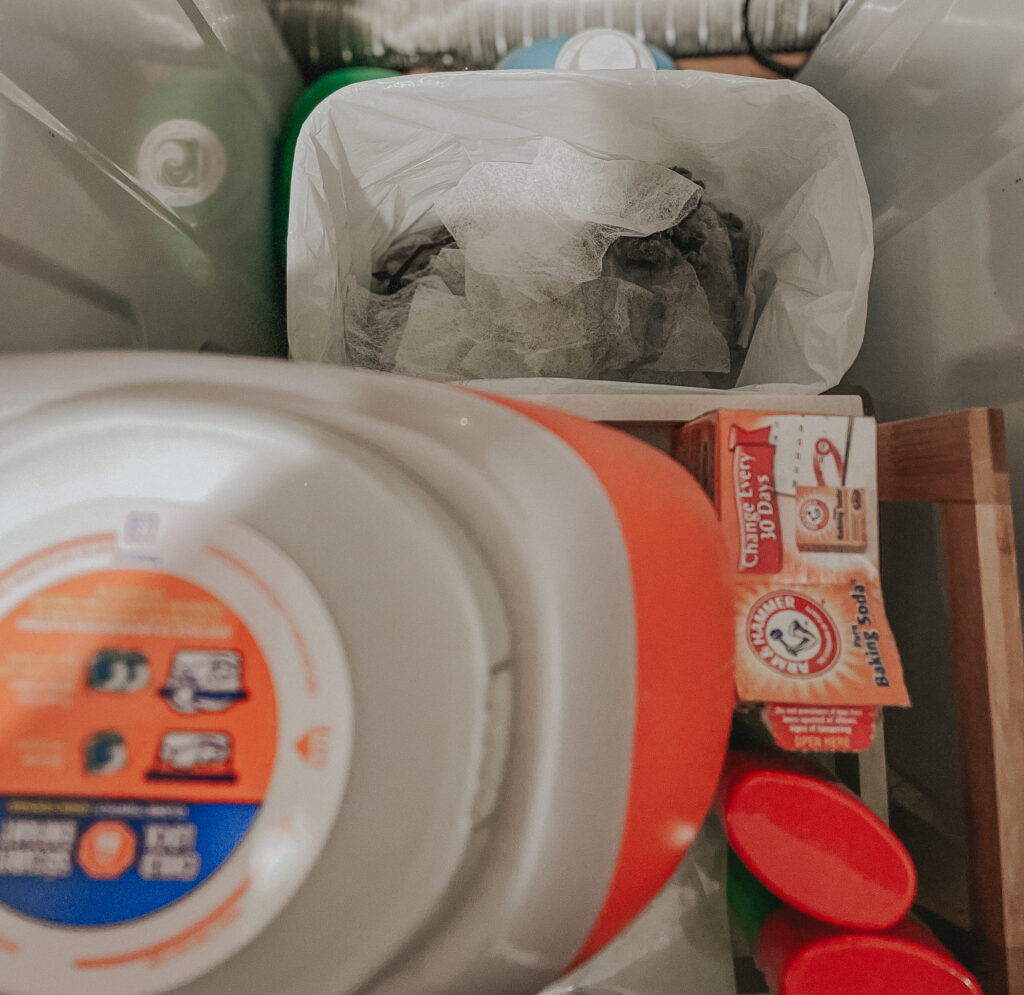
As for the detergent and Oxyclean, I didn’t want unsightly boxes or containers so I decided to decant them into these glass candy jars. I spray painted the lids gold to match the decor. For a little extra storage in case it was needed, I added this little shelf unit in between the washer and dryer. For used dryer sheets I have a trash can behind the shelf unit and I toss them in there. It is hidden!
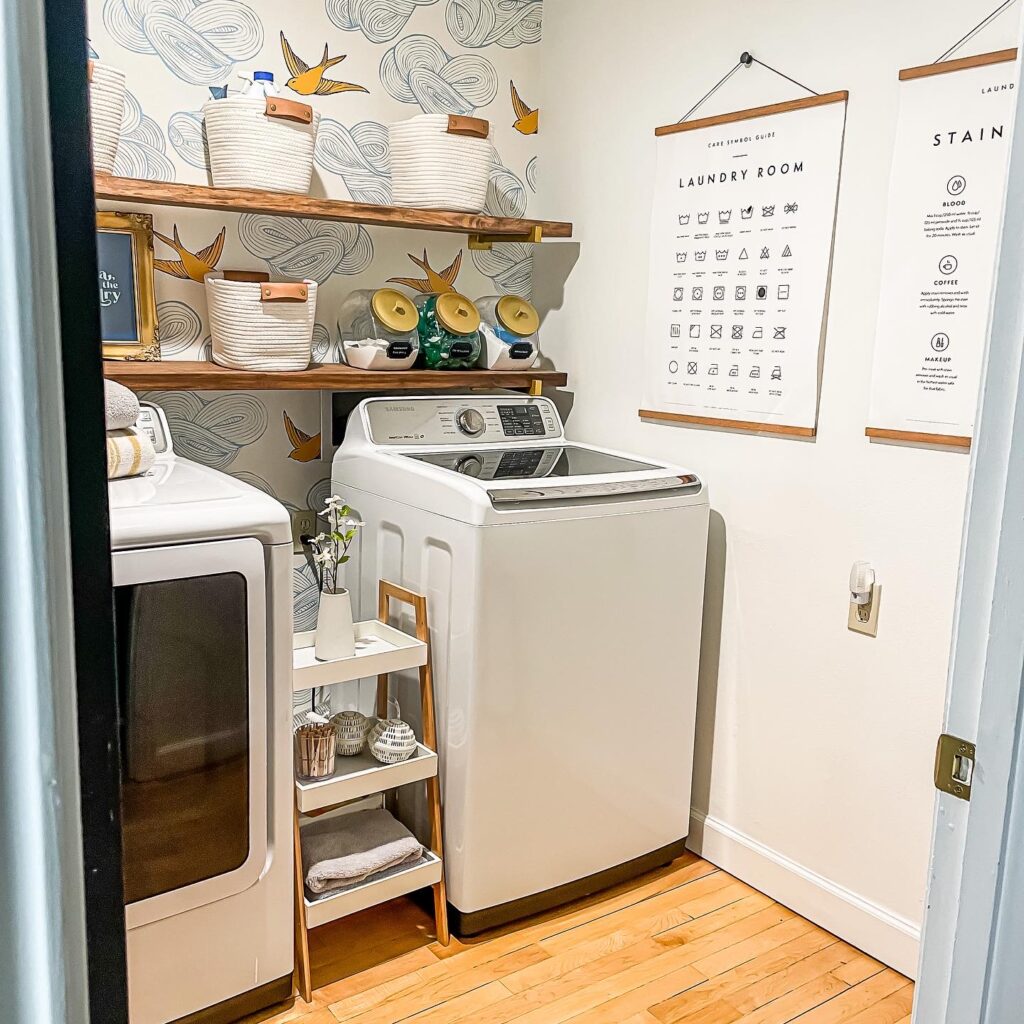
As for the artwork, these were all just fun pieces I came across while looking for laundry art. The Alexa one is my absolute favorite. It is a print and I just found a vintage style frame to display it. The big laundry posters are also an Etsy find, and I love the simple “frame” I hung them in. The fun part are the knobs that they are hanging on. It was a repurpose from some nightstands. You can read about it here.
Overall, this room became cute, cheery and functional! It has really made laundry more enjoyable and now I don’t have to wish “Alexa, do the laundry” was a thing!
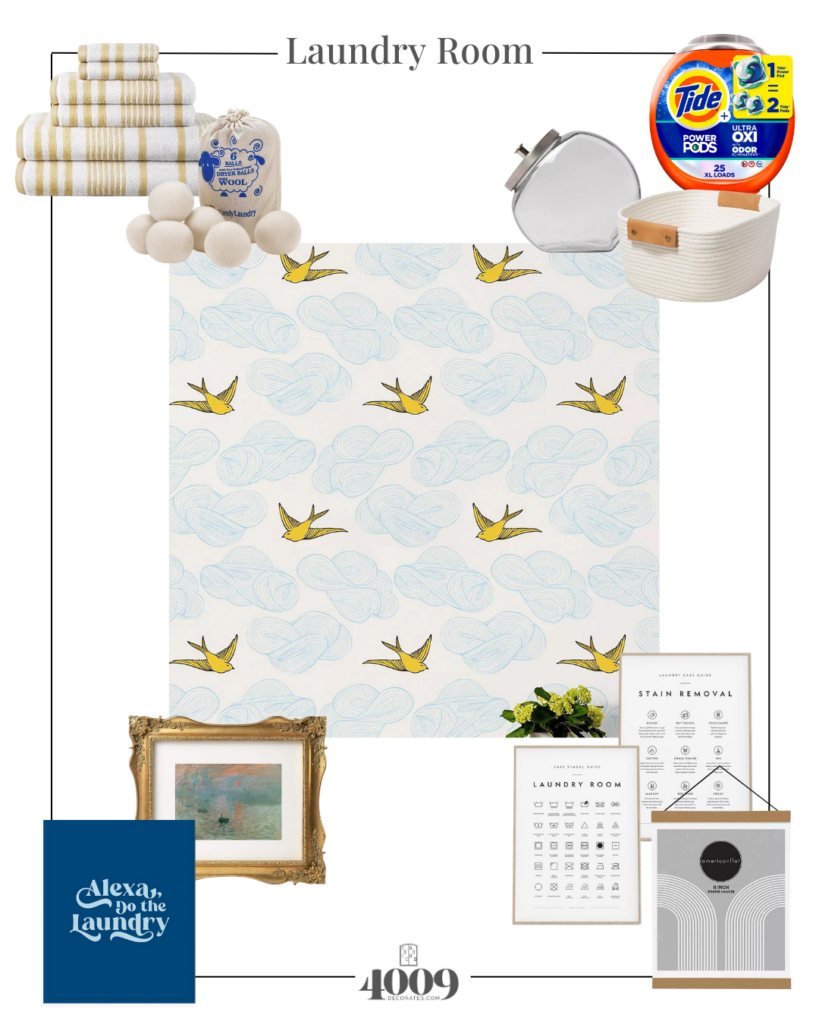
Towels | Dryer balls | Wallpaper | Jar | Rope basket | Alexa art
Vintage frame | Laundry posters | Poster hanger