Our garage was just like any garage, I suppose, in that it was dingy, cluttered and frankly yuck. I know, I know it’s a garage Tracy…but do you even know me?? I wanted to not only add some functionality to the garage, but a bit of fun and cuteness too.
I say, “the garage is an extension of your home so make it over just like you would any other room.” I know not everyone will agree with this, but it was a good excuse to paint the walls and build a super cute mudroom/bench with cubbies!
Here’s how it started…I saw an image on Pinterest that sparked my creativity. It was of a cubby bench made from an IKEA hack. And the image looked almost exactly like our garage. The door with the steps, the space, everything. So I took it to my sweet, willing husband and said: can you build this?
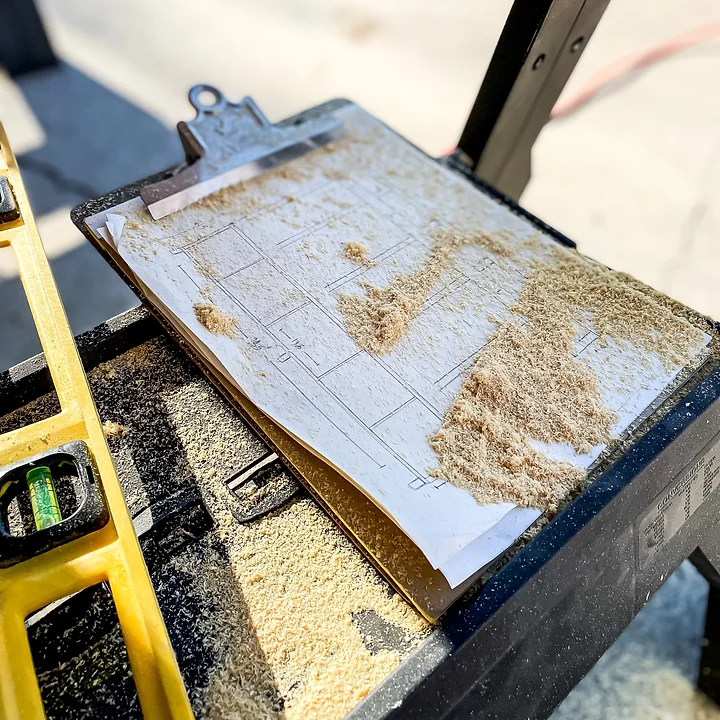
So he pulled out his paper and pencil (you gotta love a man who still uses those vintage tools) and started drawing and measuring. And, before I knew it, we had ourselves a solid plan to work from. Off to Home Depot we went…
Disclaimer: This post contains affiliate links for your convenience. I may earn a small commission through the LTK Program. This in no way adds any cost to you. The fees help me maintain and pay for the use of this site. Thank you for your support!
Here are the supplies we used:
- 5- 1 x 2 boards
- 2- 1 x 3 boards
- 12′ x 12″ pine boards for bench seat
- Decorative legs of choice
- Paint color of choice(we used Behr exterior ultra white in satin)
- Paint sprayer(optional but super helpful!)
- Hooks of choice(here are the ones we used)
- Baskets for the cubbies(we used these from IKEA)
- Wood screws
- Power drill(we love Dewalt brand)
The measurements and number of cubbies, board & battens, etc will be completely custom to your particular space, so measure accordingly. Now, we made the bench come up flush to one of the stairs, but I know not everyone has stairs in their garage so you do the bench height that you feel is best. I suggest getting a chair and measuring it’s seat height to see what is comfortable.
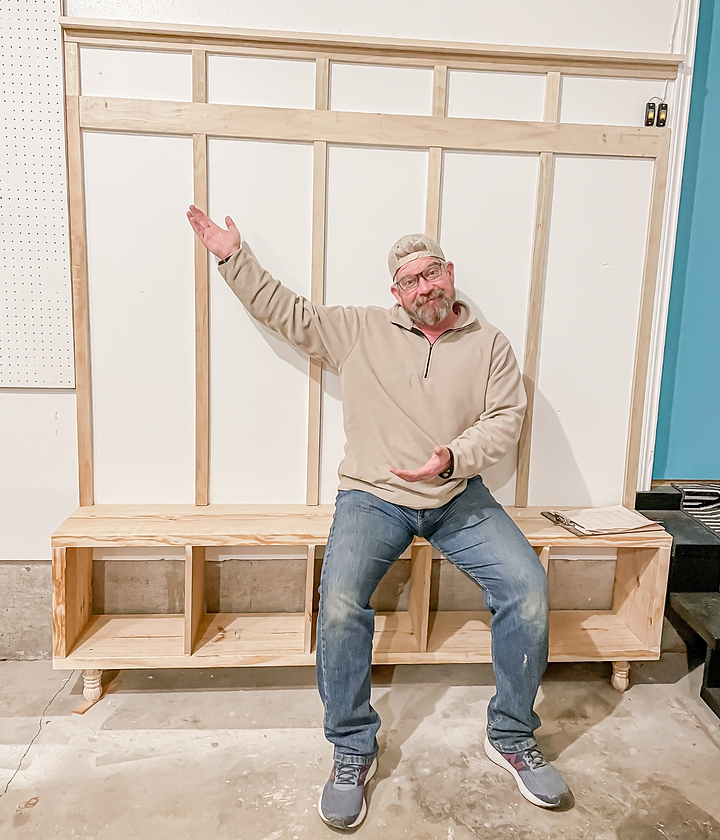
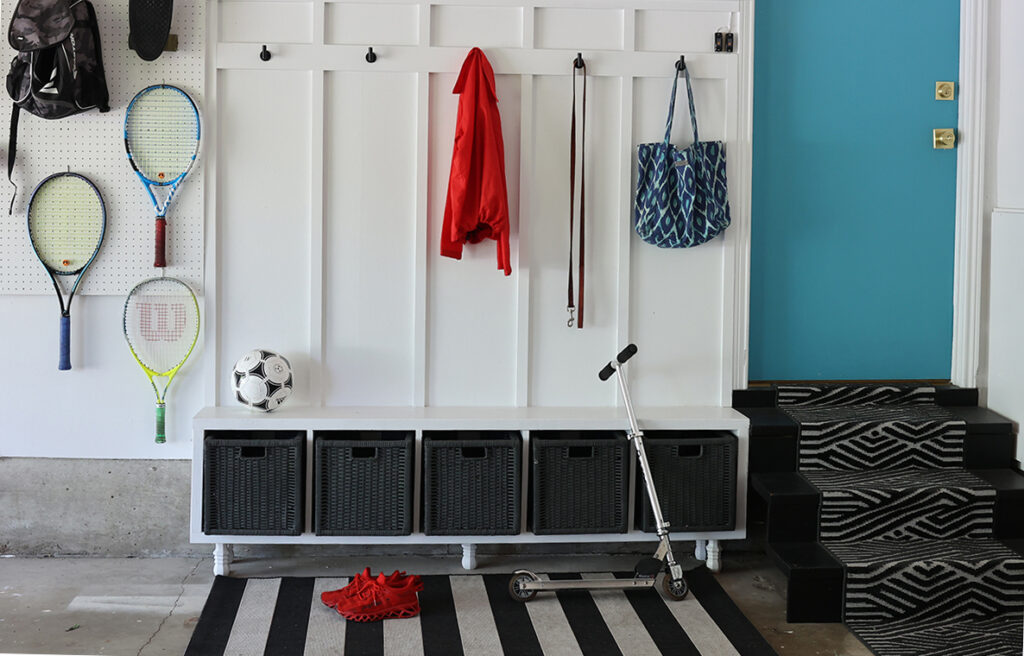
Andy started with building the board & batten wall first. He used the 1 x 2s for the wall boards going vertically and the 1 x 3s for the ones going horizontally for the hooks and for the ledge. Once we screwed these into the walls we assembled the bench. We didn’t make a back for it, but just a box and added the cubby dividers with leftover plywood. It is not attached to the wall or anything. It is really secure under the board and battens. It hasn’t moved in over 7 months, so I think it is good to go. 😉
This project started around 11am on a random Saturday and we were at this point (pictured here) by around 9pm. We wanted to finish so badly but were tired. So we decided to paint the next day. BUT, then I grabbed the paint bucket and pulled out the brush and said: I just want to see what it’s going to look like. Then we both ended up painting the whole thing that night! I added the paint to the sprayer and sprayed the wall. We used brushes for the bench so we wouldn’t get spray all over the floor and stairs.
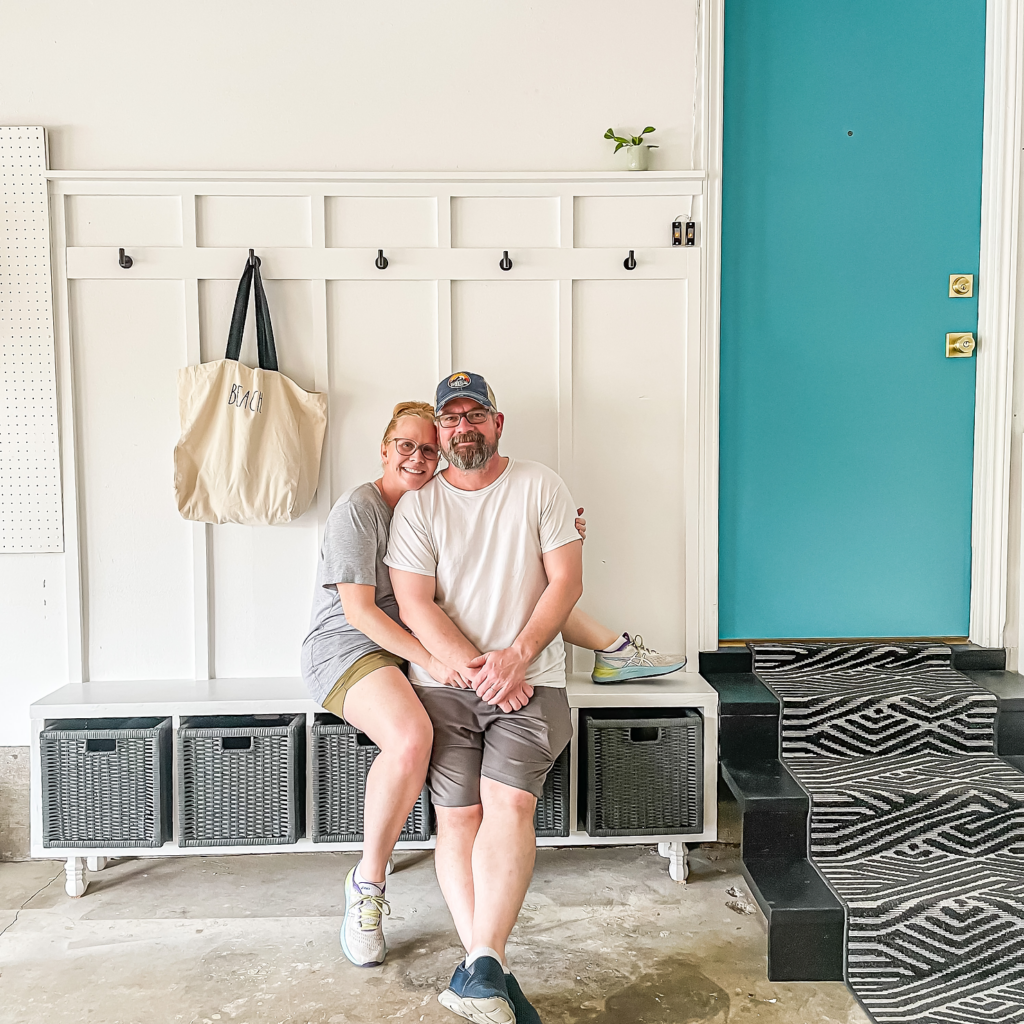
Once we finished the paint(one coat) we then decided it was time to go to bed and finish the next day! We attached the hooks, caulked around the boards and where the boards meet the bench, for a seamless look. Now we can store all our sports balls and some shoes in the cubbies. I also put some pool stuff in there for grabbing on the way out the door. This was a fun, easy one-day project that I think anyone can do at any level with a few tools!
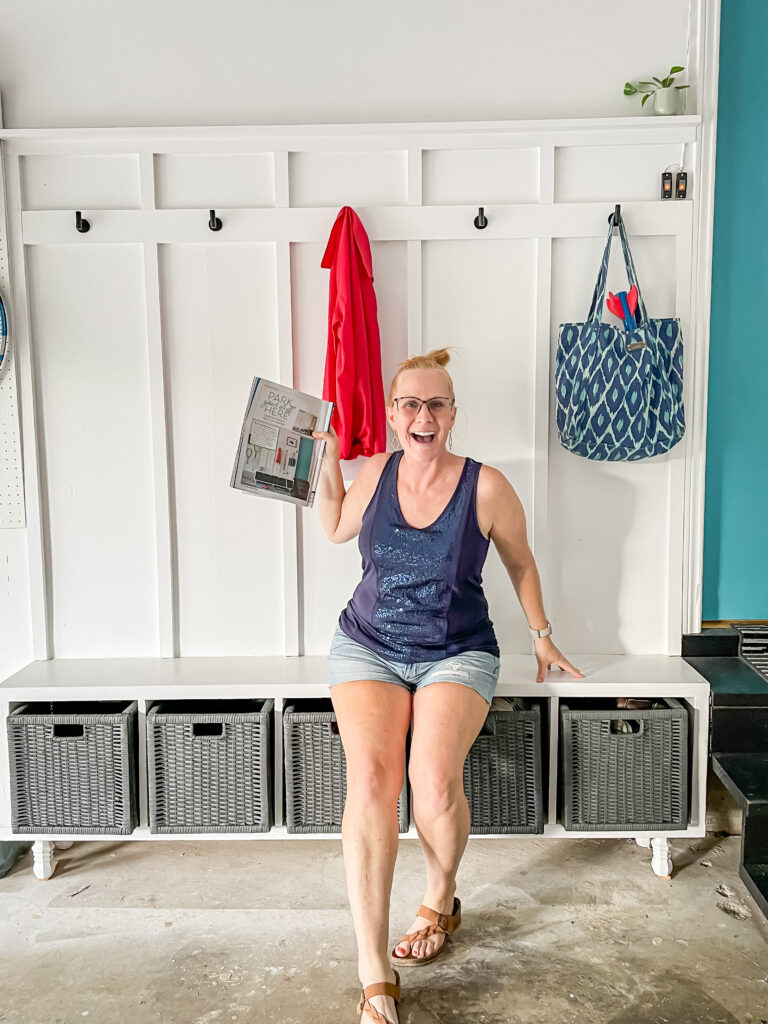
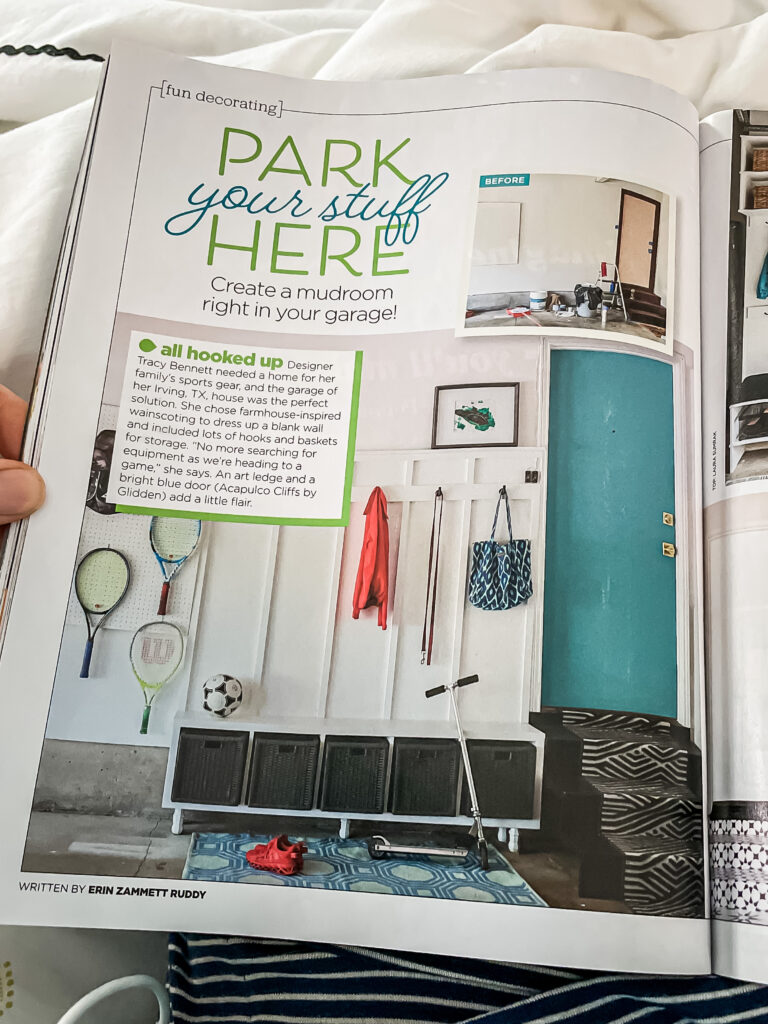
As if we weren’t already proud enough of our work, a few months after this project was completed, I had a Photo Director from HGTV Magazine reach out to me via Instagram after seeing my reel of the project.
They featured our mudroom, along with several others, in the September 2022 issue. It was super exciting and such an honor to be in there! Here are a few photos of the spread and the actual image they used. Below is a source list of all the products. Happy building!