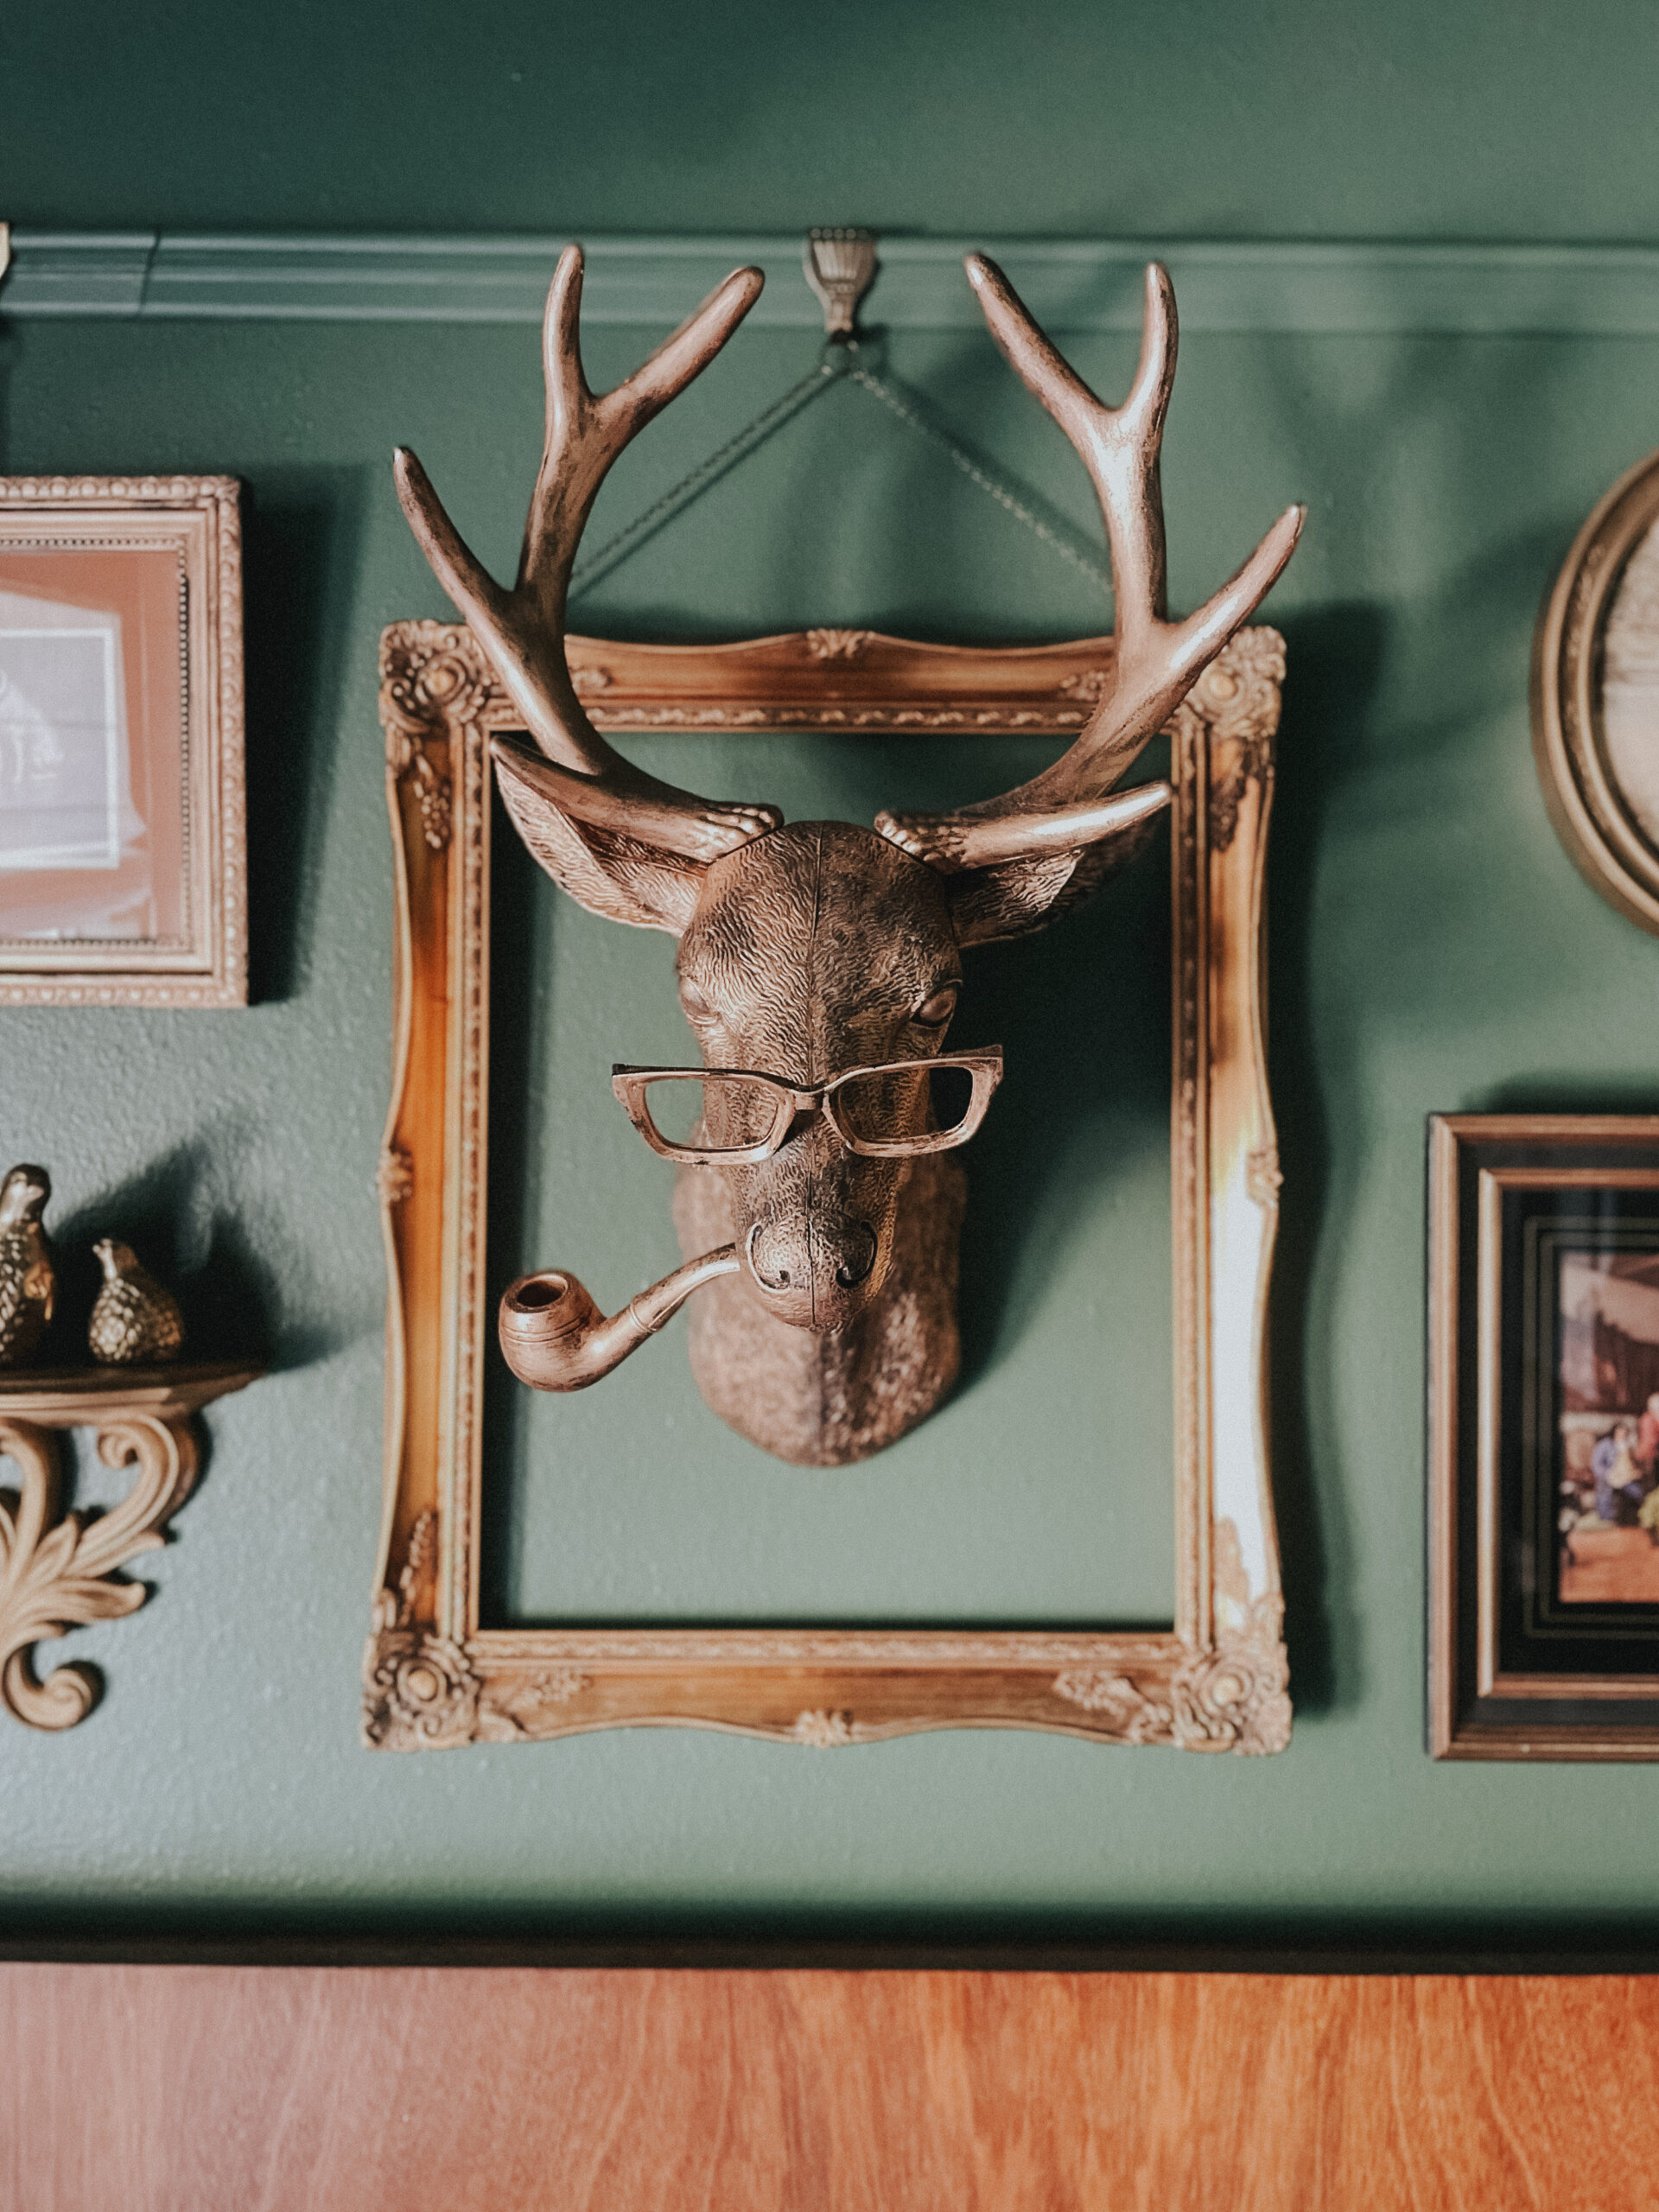

Not many people will search up a DIY deer like this I suppose, but wow was this fun and a super beginner friendly DIY to make! I wanted to give you a tutorial on how I did it all in literally just a few easy steps.
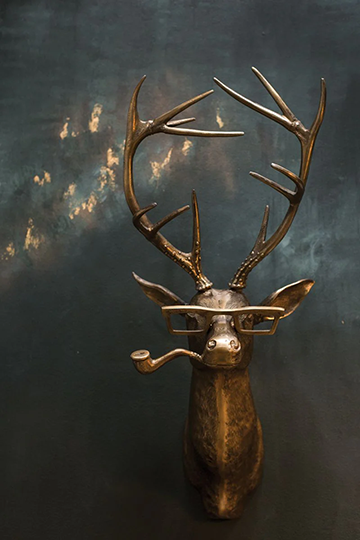
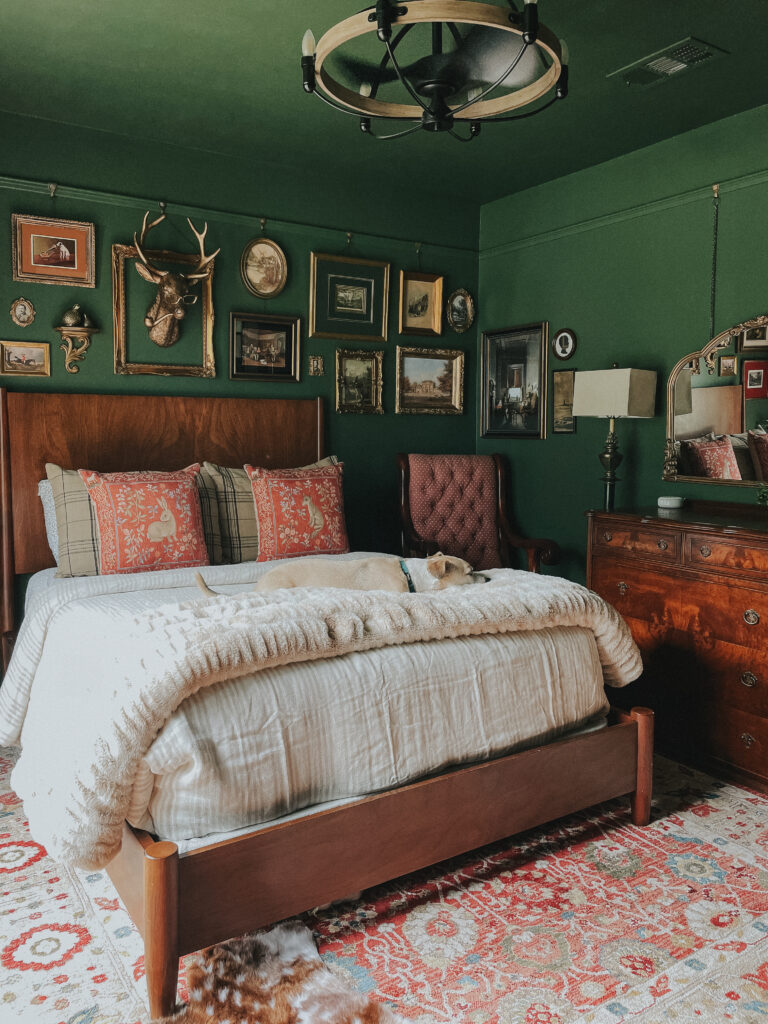
I found the original Frankie the Stag in 2020 when I went on a girls‘ trip to Broken Bow, Oklahoma. He greeted us at the door when we walked in. He was so cute. I did a quick google search and found out the original, real one is solid brass and ranges on different sites from $400-600. Nope. I cocked my head back and forth a few times whilst looking over that internet photo and said: Tracy, you are going to make that!
So I did, naturally. And I want to share it with you so you can do it too. For under $50 or $60 and a few hours of your time.
First, I hunted for deer head mounts. Now, it is worth noting that Frankie is a tall, slender drink of water and no deer head mount I found on the internet has his proportions. You have to remind yourself that when you “dupe” something there are little differences in parts of it that will definitely make it not exactly like the original, but that is what makes it unique too! So I have rounded up some deer heads that were reasonably priced and the one I ended up buying. (Click the image below for all the links)

Here are the supplies you’ll need to make your own Frankie the Stag:
• Antique frame (similar)
• Drill
• Krazy Glue
• stiff small craft paintbrush
Optional: needle-nosed pliers, box cutter, black spray paint
To start, if your deer is not black, I suggest spray painting him black. This way when you brush on the gold Rub n Buff it will show through a bit and make it look like antique brass. If you just want it gold, then just use the Rub n Buff to paint it.

After that, take your glasses and pop out the lenses and break off the arms. You may need needle-nosed pliers for this.
Paint your pipe and glasses the same gold (or color you choose to use)
Use a drill bit that is big enough to fit on the side of his mouth and that the pipe opening will fit in. I had to drill 3-4 small holes next to each other so they made one big hole for the pipe to fit in. If it still doesn’t fit in perfectly, get a box cutter and cut in the holes to make it big enough. The pipe should then fit right in! You may need to wiggle and push it in a bit but mine was snug.

Now for the glasses. I used 3 different glues before finding out that Krazy Glue worked the best. You can try what works best for you. I will say I had to sand a bit of the bottom of the glasses to roughen up the waxy Rub n Buff for adhesion and on the bridge of the snout where the glasses would sit. Then I glued them on and used whatever I had laying around to prop them up for a good 6-8 hours.
And literally that is it!
It is one of the easiest DIYs I’ve ever done but it the most fun and quirky one too!