
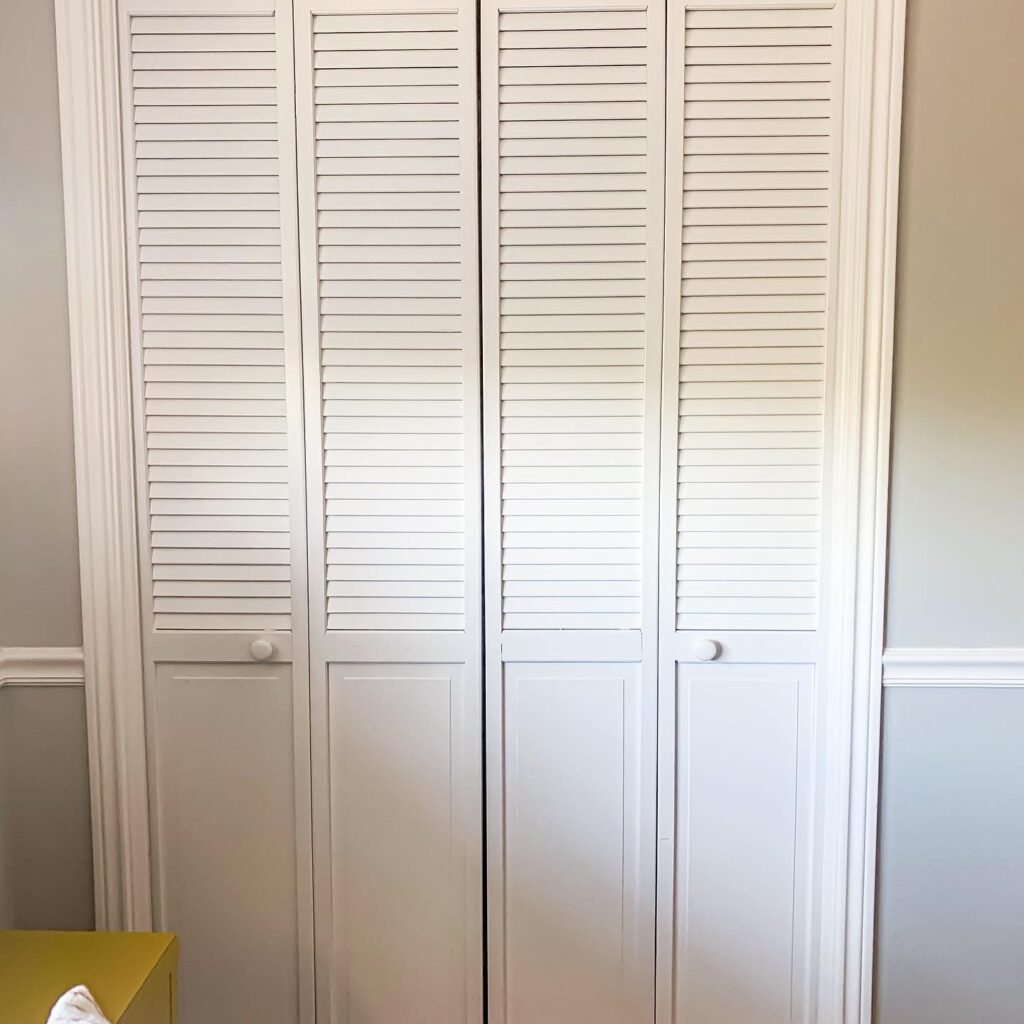
If you have bi-fold or double doors from a house built pre-1990s, I am betting you may have louvered or shutter doors. And, for that I am sorry. I am not sure what focus group got together to come up with this design creation, but for the love of Twizzlers, no. Just no. There is nothing pretty about them. They scream Golden Girls to me. And no shade to Blanche or Dorothy, but that was the 80s and I don’t need or want tropical 80s decor in my home. I said what I said.
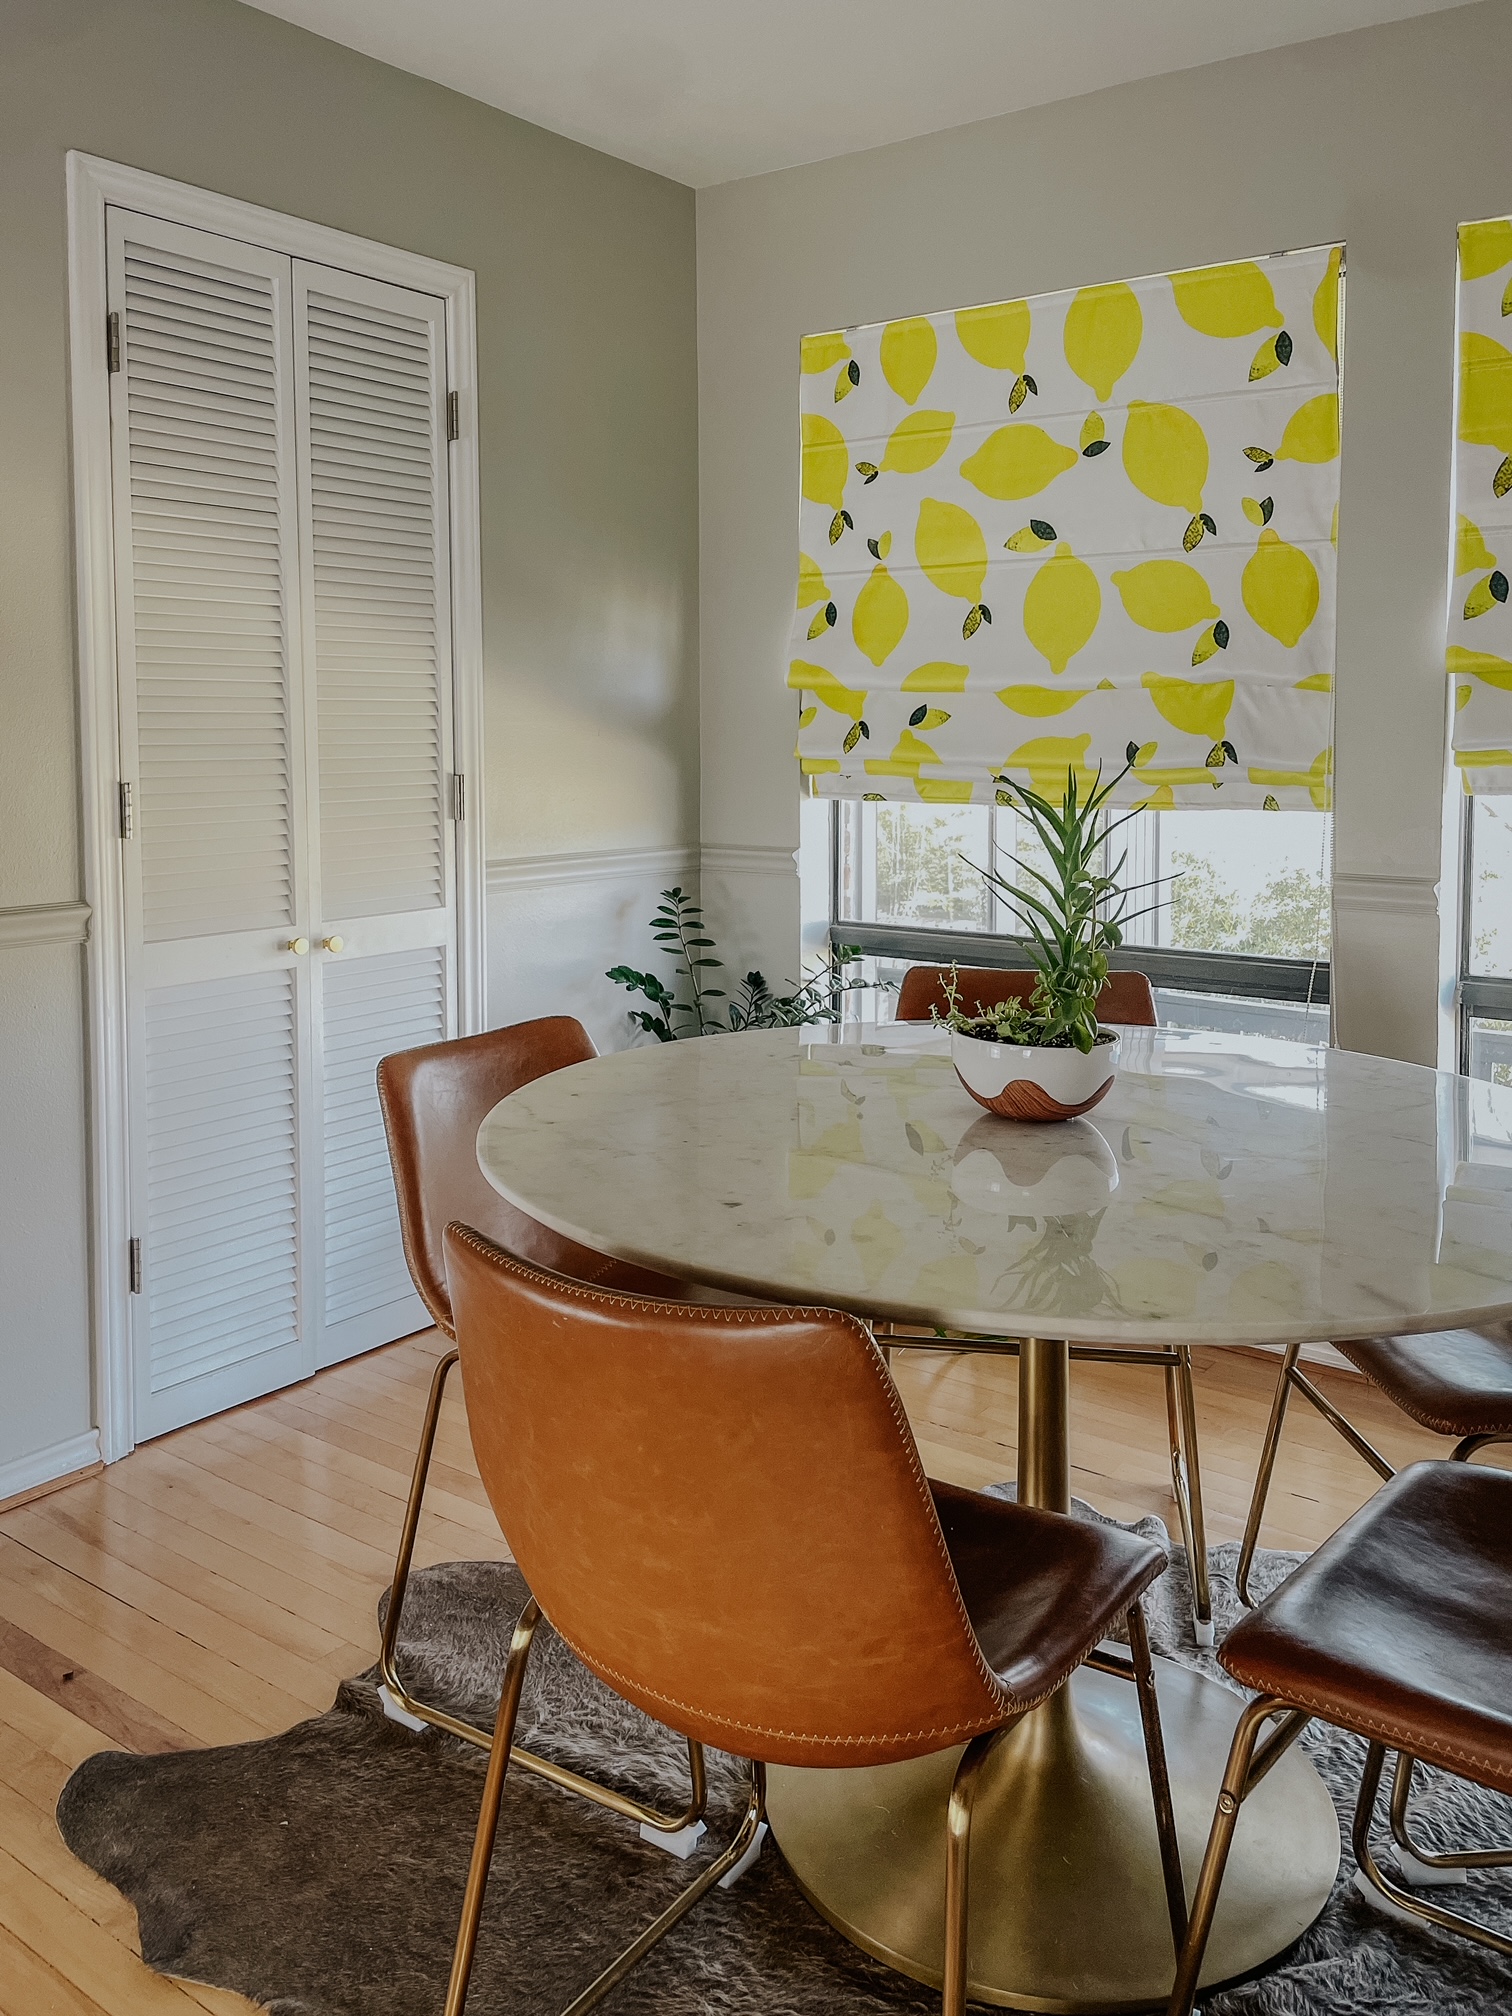
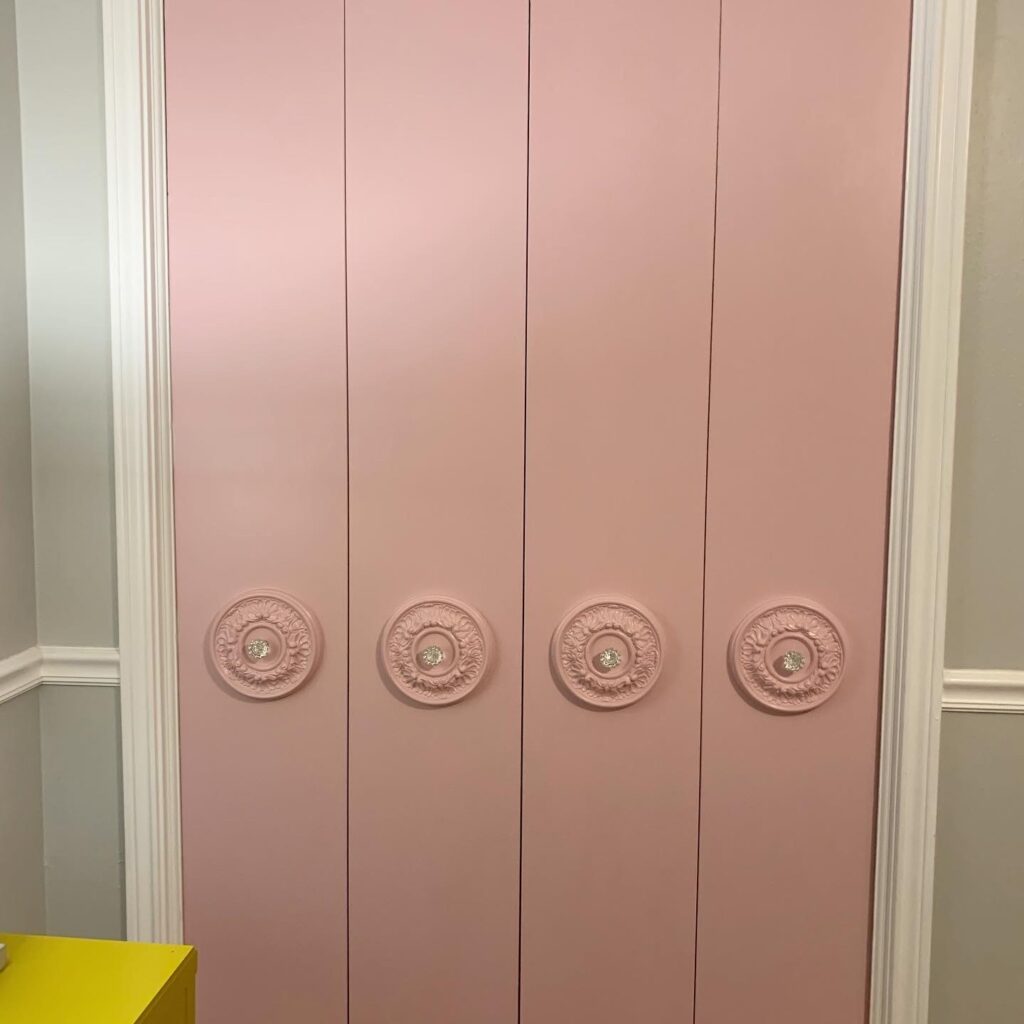
With that, our house was built in 1977 and even though the previous owner remodeled the entire house in 1992, I am certain there are some design choices that were made with the smallest budget in mind. Louvered doors being one of them. We had them in our guest bedroom, the office and our small double pantry doors. We already made over the ones in the guest room(below) and office so now the pantry deserves the same upgrade.
*This post contains affiliate links. That means if you purchase something through my link, while it’s the same cost to you, I get a small commission for me and my family.
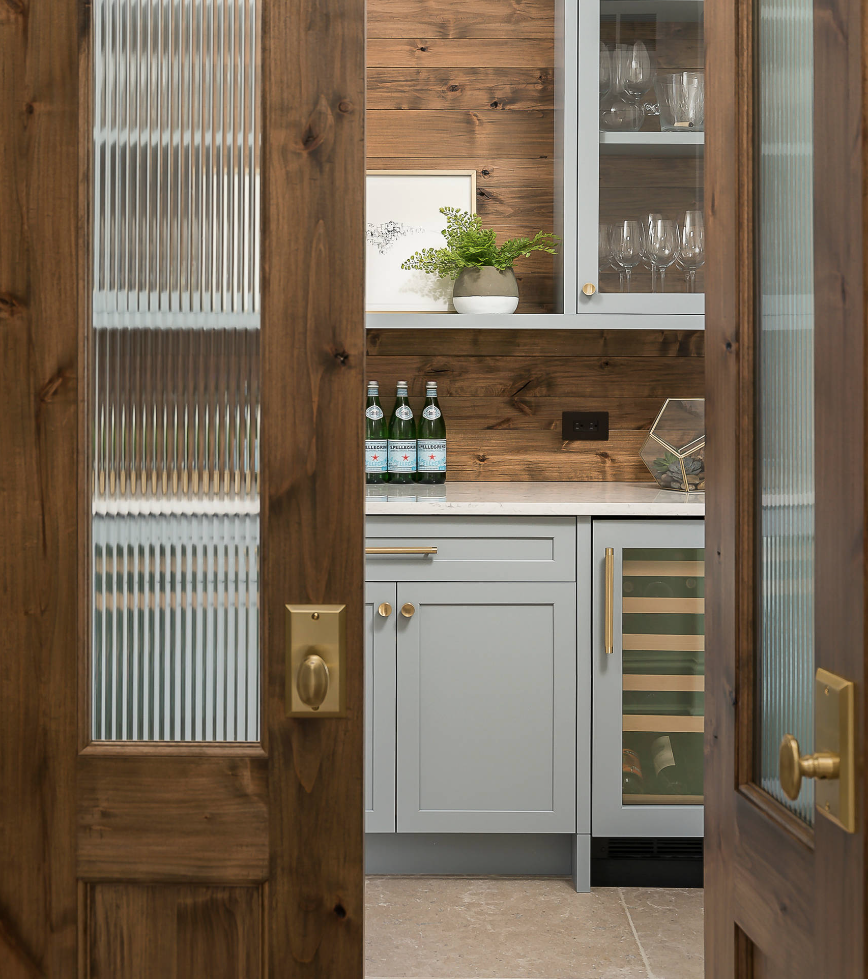
I have done a different design on the guest and office doors so I also want a bit different on the pantry doors. First, I think a reeded glass on top would look so great. I would do clear glass, but I think with a pantry it should be at least frosted or where you can’t see all the food inside the pantry. Even if it was the most organized (it is not!) pantry, I think the look of it would be visual clutter. Hence the reeded glass. If you don’t know what reeded—or often called fluted—glass looks like, here is my inspiration pic.
Since my doors are the builder grade white paint I don’t think the wood is quality enough(for my vision) to sand and stain. So, I have decided to do the “paint to look like wood” technique. Several Pinterest pins and YouTube tutorials later, I gave it a shot on the backside to see if I could pull it off. Guess what? I did!
But…I am getting ahead of myself. Let’s start from the beginning. The first step is removing the shutters from the doors. For now I am removing only the top ones because I think I will be covering the bottom ones with a solid piece of wood much like the photo above. With all my brilliance, I decided to try to cut them off with my handheld circular saw while they were on the hinges. Don’t do this. 😂 The saw needs something to sit on for the blade to turn properly, and it didn’t have that. Sooo….I then removed them and took them to the garage.
Once I had the door on sawhorses I needed to remove the shutters. I tried the circular saw again but again, I didn’t have a flat enough surface or an edge to start from. So I got a mallet and busted them out. It went well–until it didn’t. I ended up busting out some of the edge of the door and big chunks of wood came out. I found some of the wood pieces and I am going to attempt to put them back, but I am not having much success so far. The good news is that it’s on the backside of the door so it won’t show.
I then started to fill the holes where the shutters came out with wood filler. That is why the wood pieces wouldn’t go back in. I had wood filler in it. So I had to scrape out the wood filler but also not scrape the wood. We’re still working on it. Stay tuned.
Next up I wanted to try the wood painting technique. I bought two sample size latex wall paint colors by Behr at Home Depot. One is a lighter brown and the other is a bit darker. Always get the shades that are on the same paint swatch card. I grabbed some Decorative Glaze to mix in with the paint to create the wood grain look.

I started with the base color, the lighter color, and mixed a little with about 2:1 paint to glaze. Then I painted it on in the direction I want the wood grain to go. Let the paint dry then come back and use a synthetic bristle brush to apply the darker paint in the same direction. Let it dry for a few minutes then use a paper towel to wipe in that same direction. I think for the real deal on the front I’ll wipe with a clean brush. It will look more realistic. So far what do you think?
I will add to this post as I finish the project but for now I wanted to catch you up on where we were. Follow along on Instagram stories and I’ll see you soon!