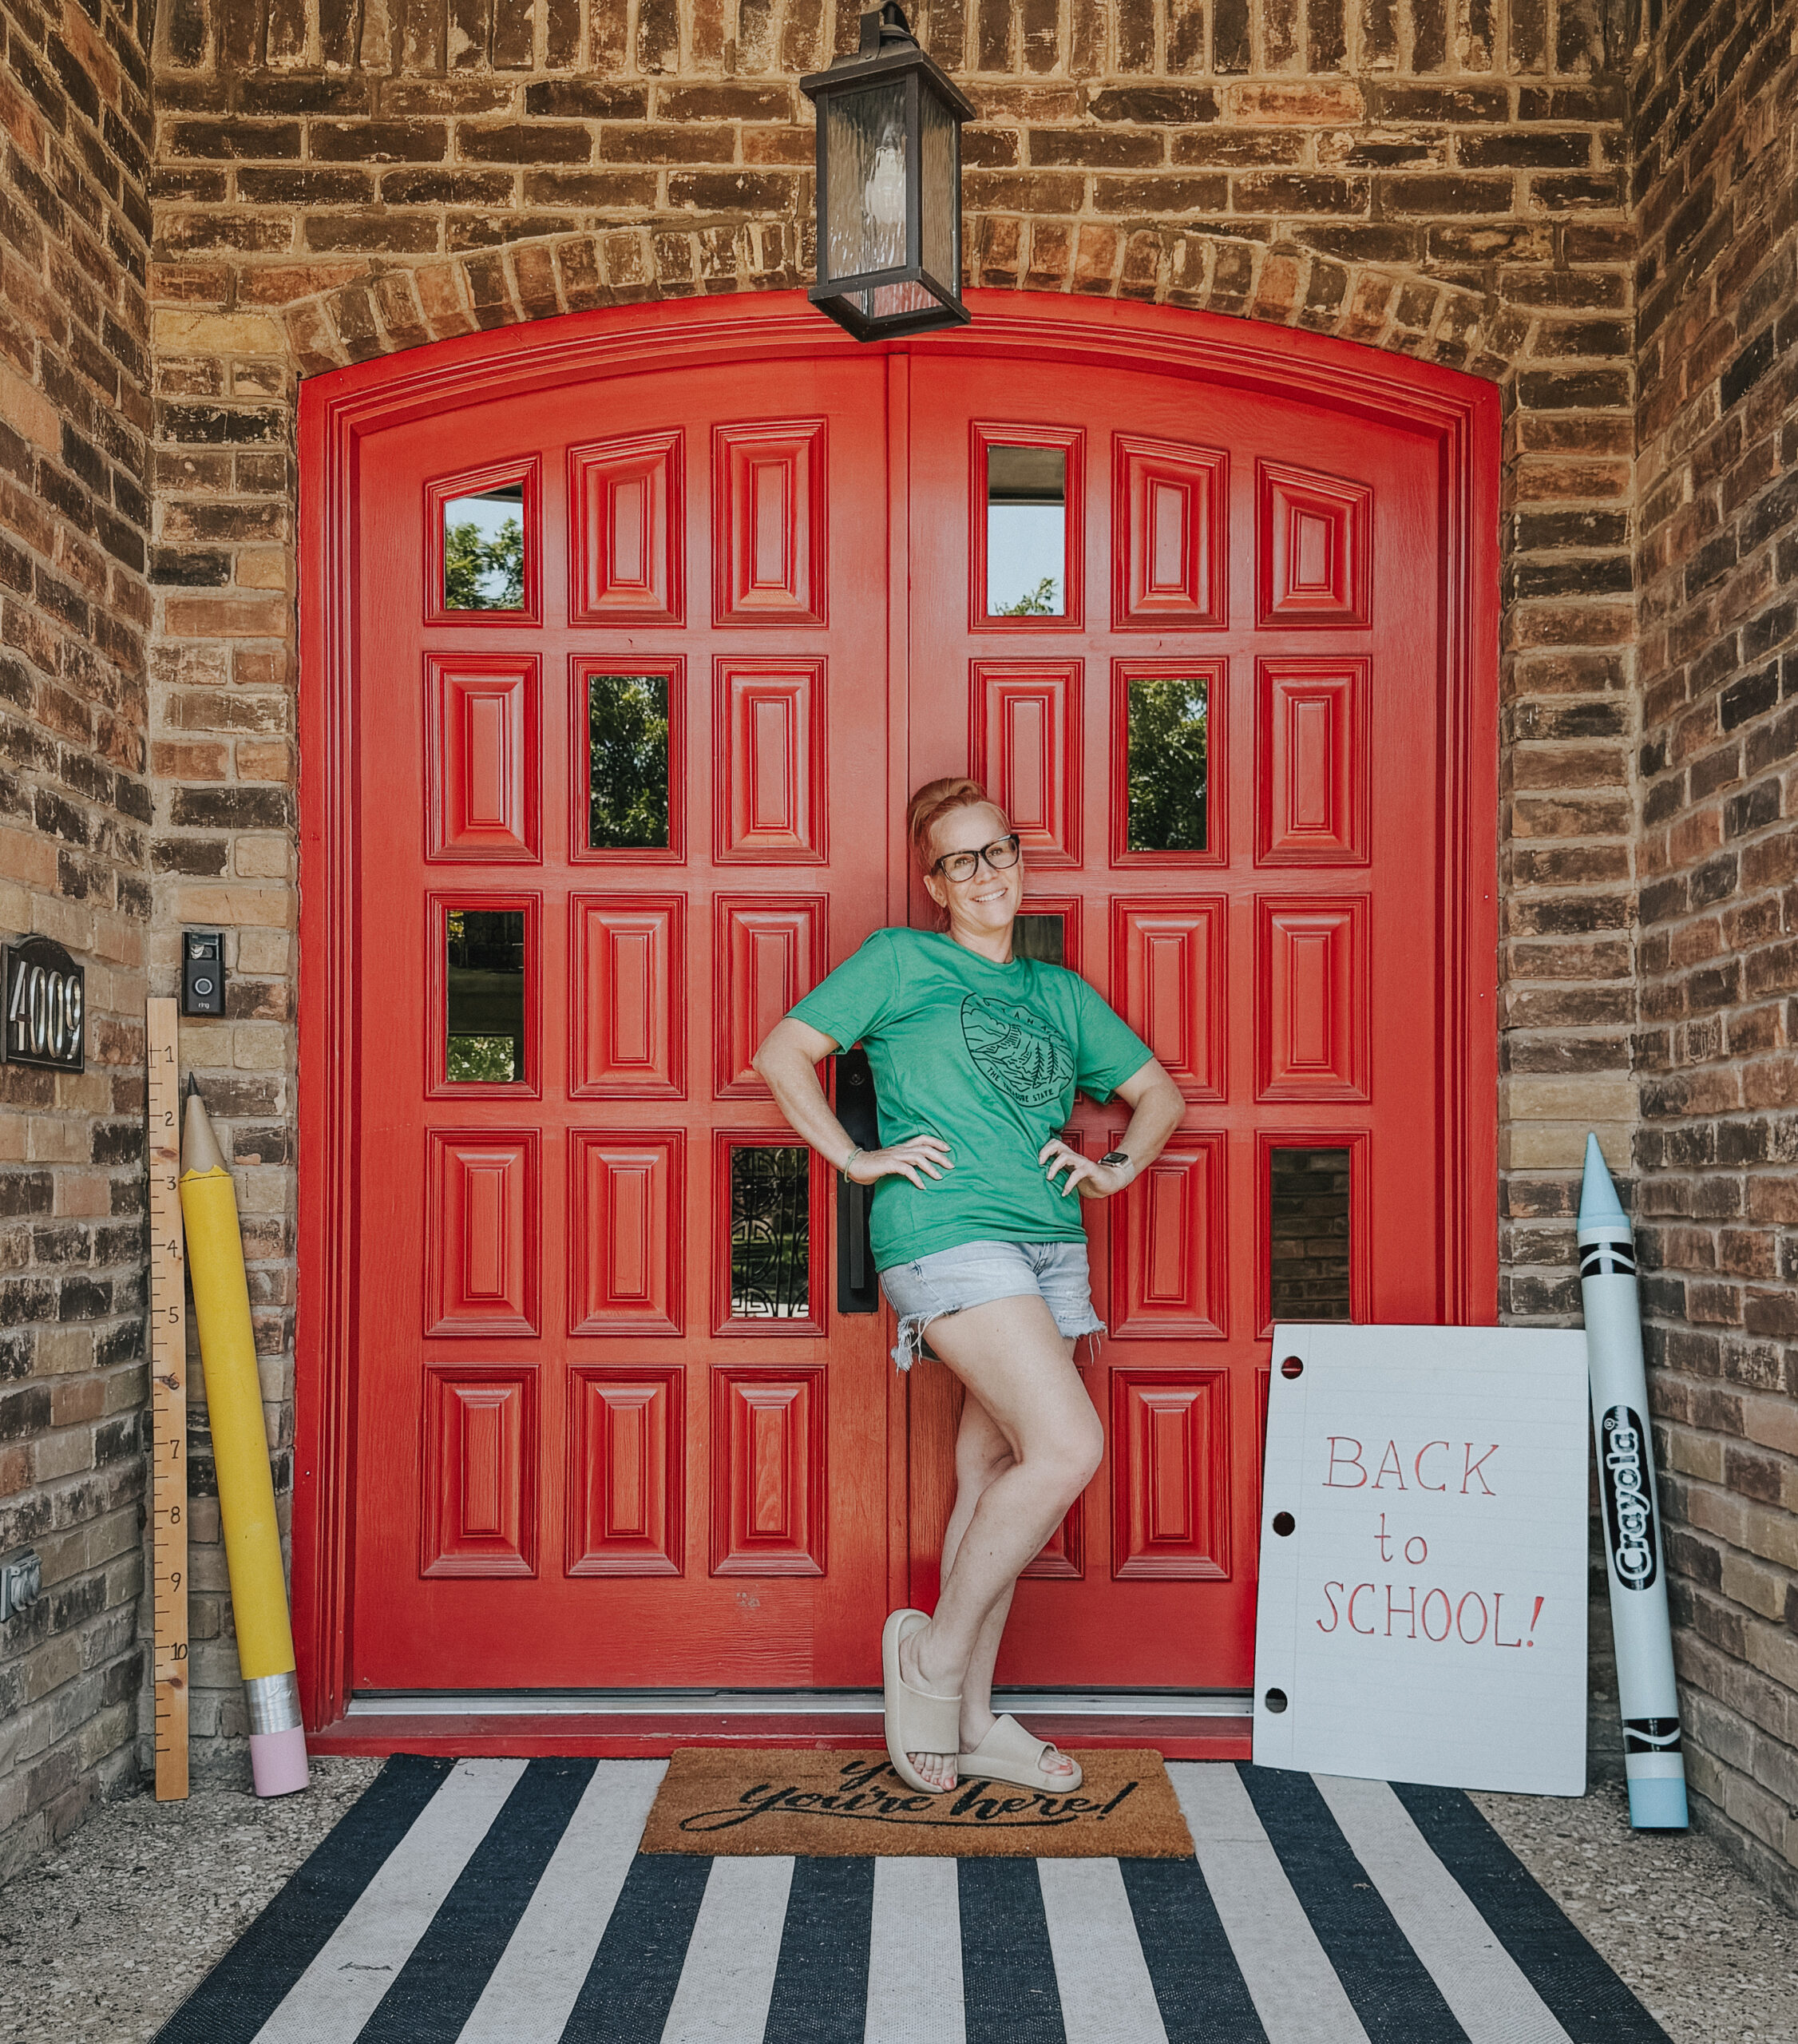

Back to school season is just a few weeks away here, and it’s the perfect time to create some back to school porch decor that makes the whole family smile. I’m a sucker for seasonal front door decor, but the real reason I decorate might surprise you—my 13- and 17-year-old boys absolutely love it. {Yes, still! Swoon.}
A few years ago, I got the idea to create some giant school supplies to kick off the school year in a fun way. They were such a hit—both with my kids and neighbors—that I eventually started selling them on Etsy. (I sold over 15 sets in three weeks!) These days, I only sell the printable crayon label, perfect for cutting with a Cricut or Silhouette if you want to try this yourself.
Whether you’re decorating for the first day of school or planning a cute photo booth for Meet the Teacher night, this DIY back to school front porch decor is beginner-friendly, fun, and totally customizable.
*This post contains affiliate links. That means, while it’s the same price for you, I get a very small commission out of it that helps me and my family. But most importantly, helps fund my estate sale and coffee addiction.

Supplies needed for all 4:
- Mailing tube(2 pack)
- Craft paint in yellow, pink, dark gray and the color of your crayon-one shade darker than the paper that wraps the crayon body
- Washi or silver tape
- Xacto® knife
- Cricut (or a friend who has one)
- This file for your Crayon label and squiggly lines
- Bulletin board paper in the color you want your crayon label
- 20 x 30 Foam core board for your “notebook paper”
- A scrap piece of wood (mine is a 1 x 3) You can determine how tall you want it. This one is 48″. I just used what we had lying around in the garage!
- 7″ x 3″ Paper mache cone
- Sharpie for the ruler
- Gorilla super glue
- Double-stick tape
How to Make a Pencil for Back to School Porch Decor
Supplies:
- Mailing tube
- Pink and yellow craft paint (or spray paint)
- Gray paint (for the lead)
- Paper cone
- Washi tape
- Hot glue
Steps:
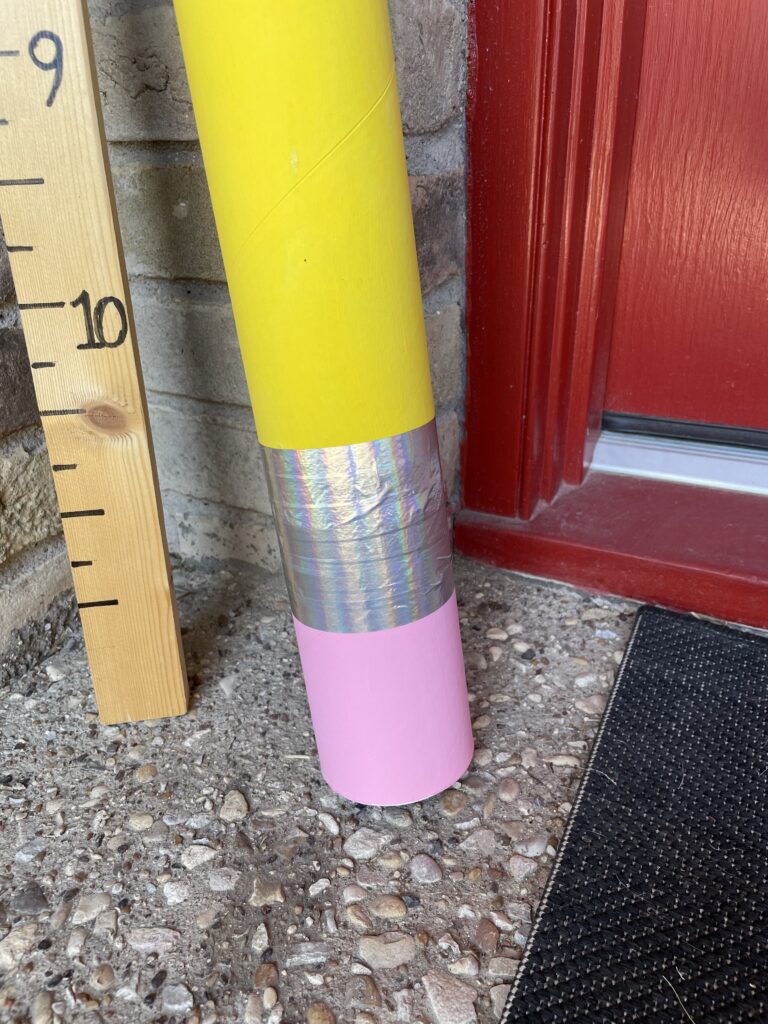
- Paint most of the tube yellow, leaving the bottom 5″ bare. ( I used craft paint but spray paint is much faster and probably easier!!)
- Paint the bottom 5″ pink for the eraser.
- Wrap the washi tape around the middle where the colors meet. (I have about 4-5 inches)
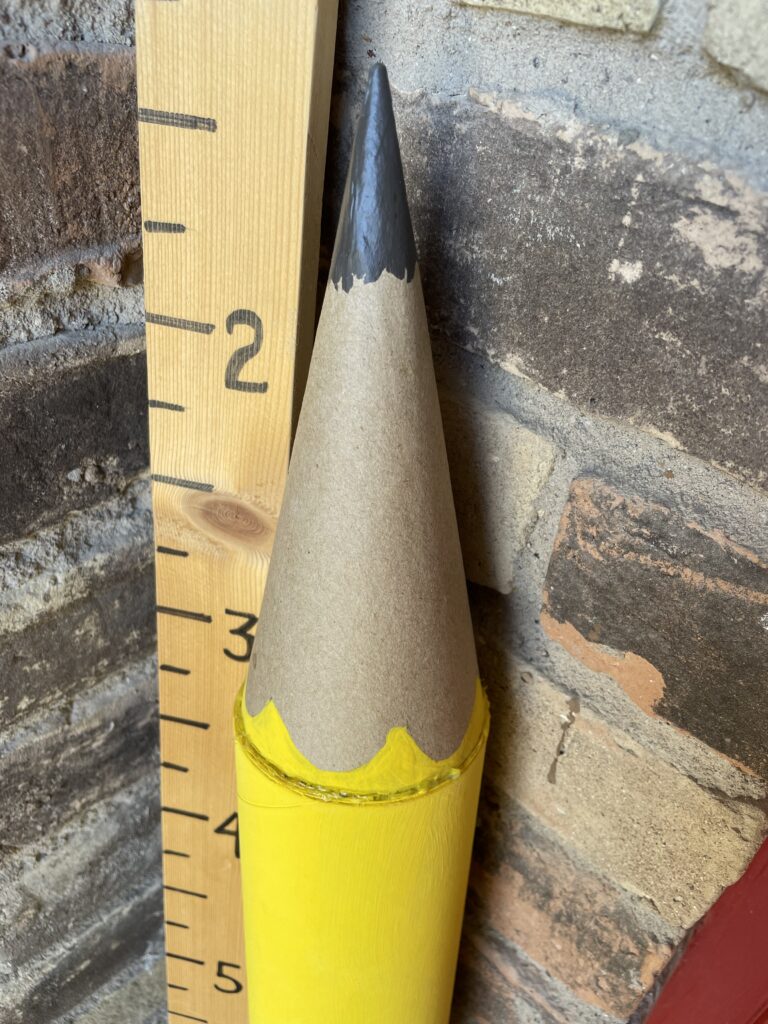
- Paint the bottom edge of a paper cone in a scalloped line to mimic the sharpened end of a pencil, then paint the tip gray.
- Glue the cone to the mailing tube lid with super glue or hot glue and secure the lid to the tube if needed.
So easy, even if you’ve never done a DIY project before!
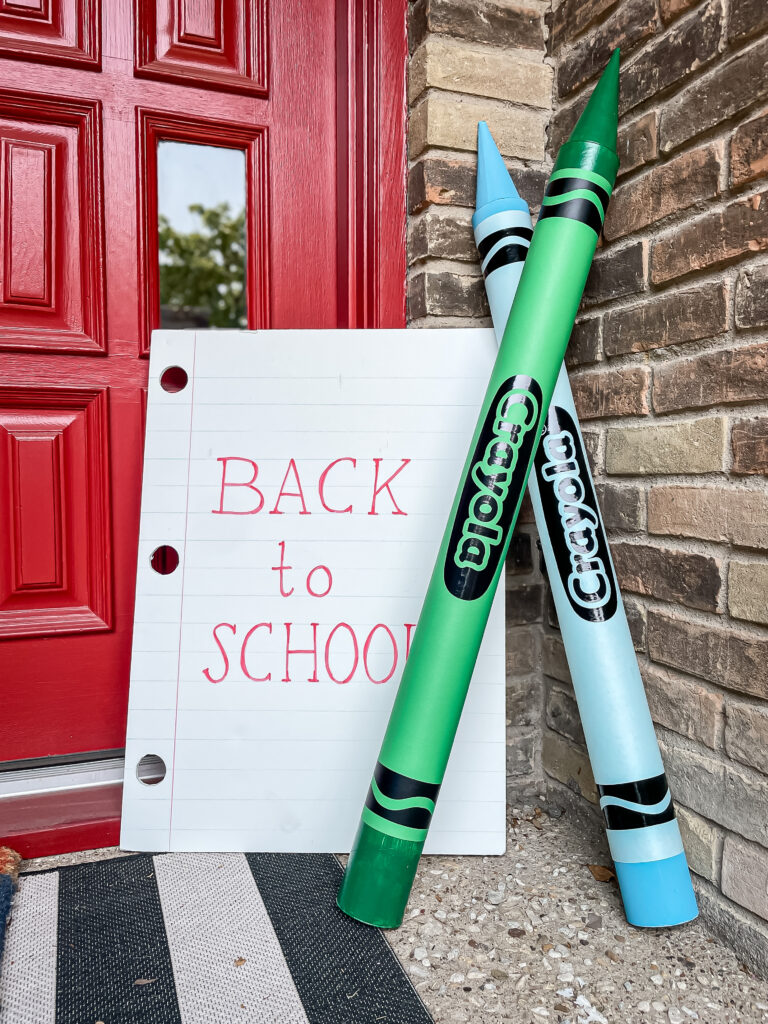
DIY Crayon Craft for Your Back to School Porch
How to Make a Giant Crayon
Supplies:
- Mailing tube
- Craft or spray paint (any crayon color)
- Bulletin board paper
- Crayon label (purchase or design your own)
- Scissors/X-Acto knife
- Double-sided tape
- Paper cone
- Gorilla glue ( or elmer’s glue stick)
Steps:
- Paint the ends of the tube—2–3″ on one end and 4–5″ on the other.
- Cut your bulletin paper to 35” x 10.5” and attach the crayon label to the center.
- Wrap the paper around the tube using double-sided tape and/or a glue stick.
- Add squiggle details 1″ from the top and bottom edges (this is included in the crayola label file above).
- Cut down the cone slightly on the bottom so it fits snugly in the tube lid, then glue it in.
- Snip the tip off the cone for a realistic crayon look.
This part is a little more involved, but still a fun weekend project—even for beginners.
Easy Props for a Festive School Porch Display
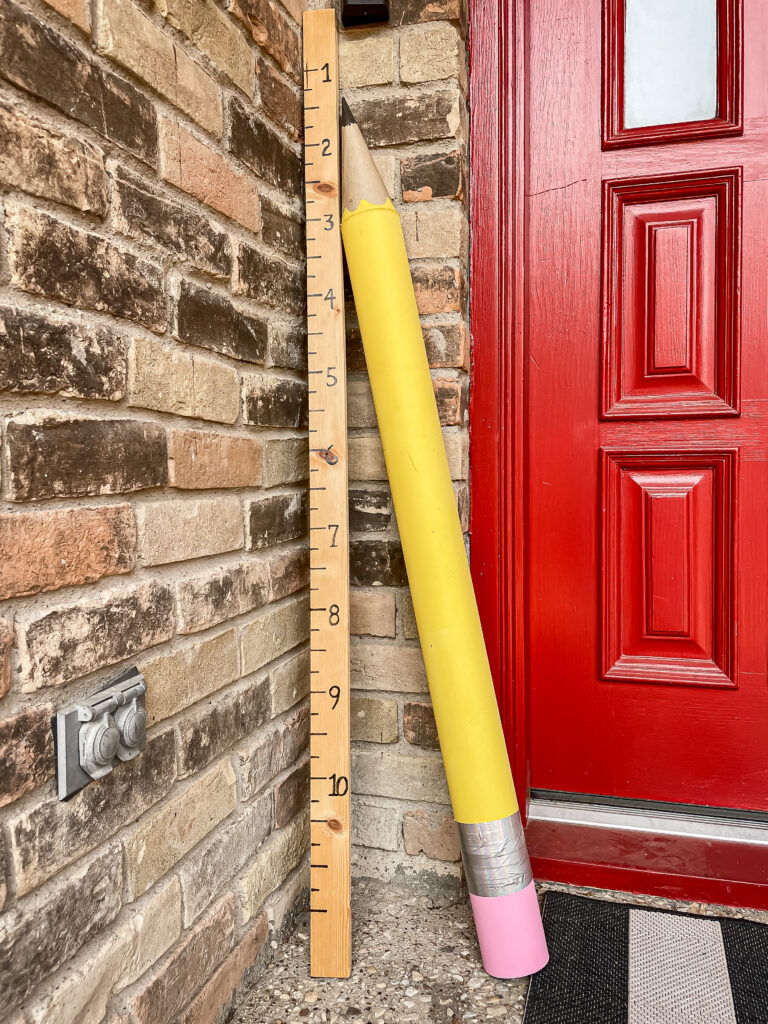
Giant Notebook Paper & Ruler Props
These are super simple to DIY:
For the ruler, grab a scrap piece of wood (I used a 1 x 3) and draw on tick marks and numbers with a Sharpie. (No need to make them accurate—it’s just for fun!)
Cut holes into a foam board, draw a red margin line and blue rule lines with colored pencils or markers. For the holes I found an object in the kitchen that is a small circle (I used the bottom of a small dishabour 3 inches) to trace the holes and cut them out with an Xacto knife. If you don’t want to cut holes you can always just color in black ones!
Use a red marker to write “Back to School” for extra flair.
Ways to Use Your Back to School Porch Decor
You can display everything on your front porch, like I do, or repurpose it for:
- Classroom photo booths
- Meet the Teacher nights
- First day of school snapshots
- PTA/PTO or school hallway decorations
This DIY back to school front porch decor brings joy not just to your kids, but to the whole neighborhood.
Final Thoughts
If you have any questions or want a closer look at the process, feel free to leave a comment or shoot me an email. I’m happy to help!
This project might look involved at first, but I promise—it’s beginner-friendly and totally doable. Even if you’ve never touched a glue gun, you can pull it off.
Plus, your kids (yes, even the older ones!) may love it more than you expect. So, whether you’re making a giant pencil, a colorful crayon, or that fun foam board notebook, this DIY back to school front porch decor adds a cheerful and personal touch to the new school year.
As a result, your porch becomes more than a decoration—it becomes a moment your family will remember.
Ready to get started? Grab the printable crayon label in my shop, get the kids involved, and let the back-to-school magic begin. ✂️📚🖍️