
If you’ve been here long you know I love a good estate or garage sale. So, the last couple of weekends I have gone with my sister-in-law to 3 or 4 estate sales.
Pro Tip: Estatesales.net is the best place to find estate sales in your area!
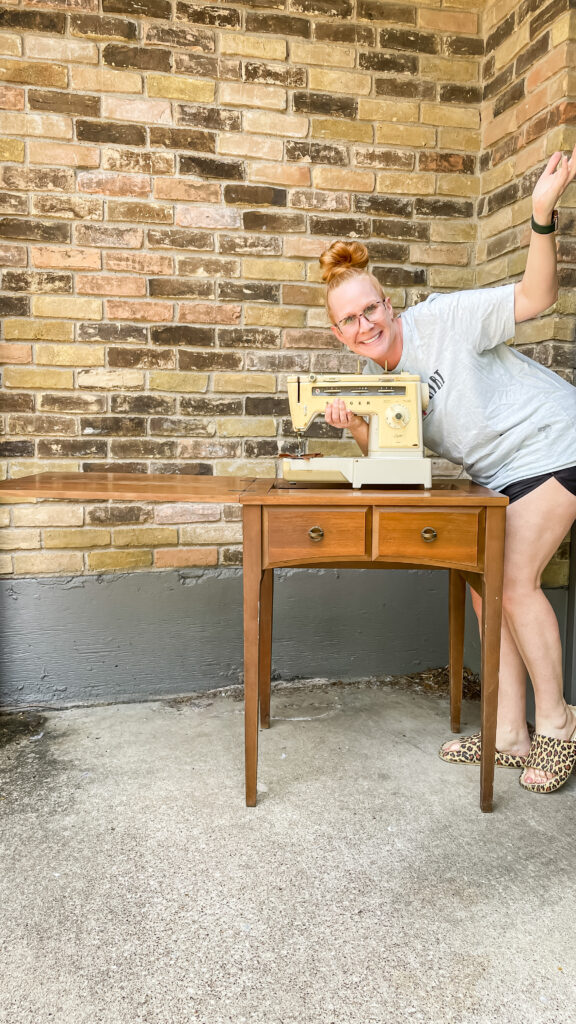
Some were busts, some were overpriced, and a couple were SCORES! On our last one I scored 2 big outdoor planters that I plan on using for the courtyard, several pieces of art, AND an old sewing table with an OLD sewing machine attached. Now, I have never really learned to sew and this one was really old anyway, but when I saw it I immediately knew what I would do with it—turn it into a beverage cart for our back patio for summer!
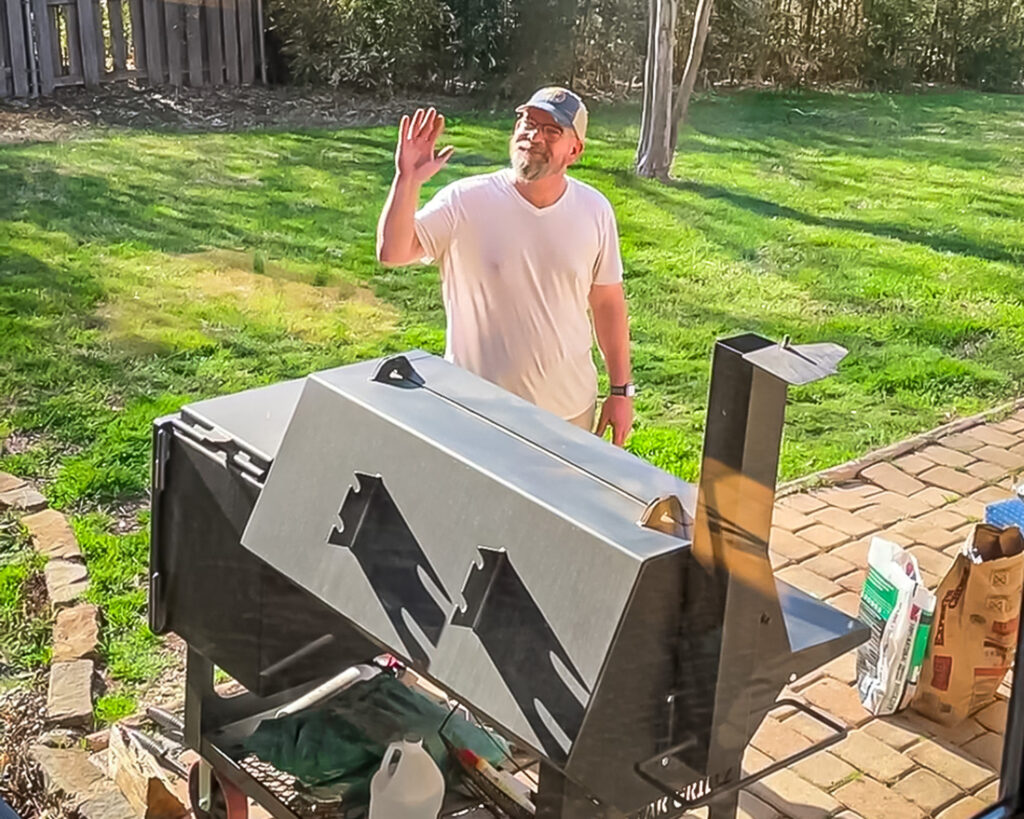
Andy loves grilling out and smoking briskets and sausage, so I figured what a great way to have a little station for cold drinks. Since the table opens up and then the top folds over to make it more compact, it will make it easy to store on the porch or under the eaves when it rains. Let’s dive in the the how-to of the project!
*This post contains affiliate links. That means, while it’s the same price for you, I get a very small commission out of it that helps me and my family. But most importantly, helps fund my estate sale and coffee addiction.
First steps
First, we took the sewing machine out. Andy jumped on this when I went inside to grab my phone and apparently, for anyone wondering, it is super easy because by the time I got outside the sewing machine was out. Soooo…I have no pics or video of it before. ~sigh. I did take a pic of me holding the machine where it once was for reference. It was attached with some hinges and screws, so it is pretty self explanatory on how to remove it. It is still residing on the floor of our garage too. 🥴
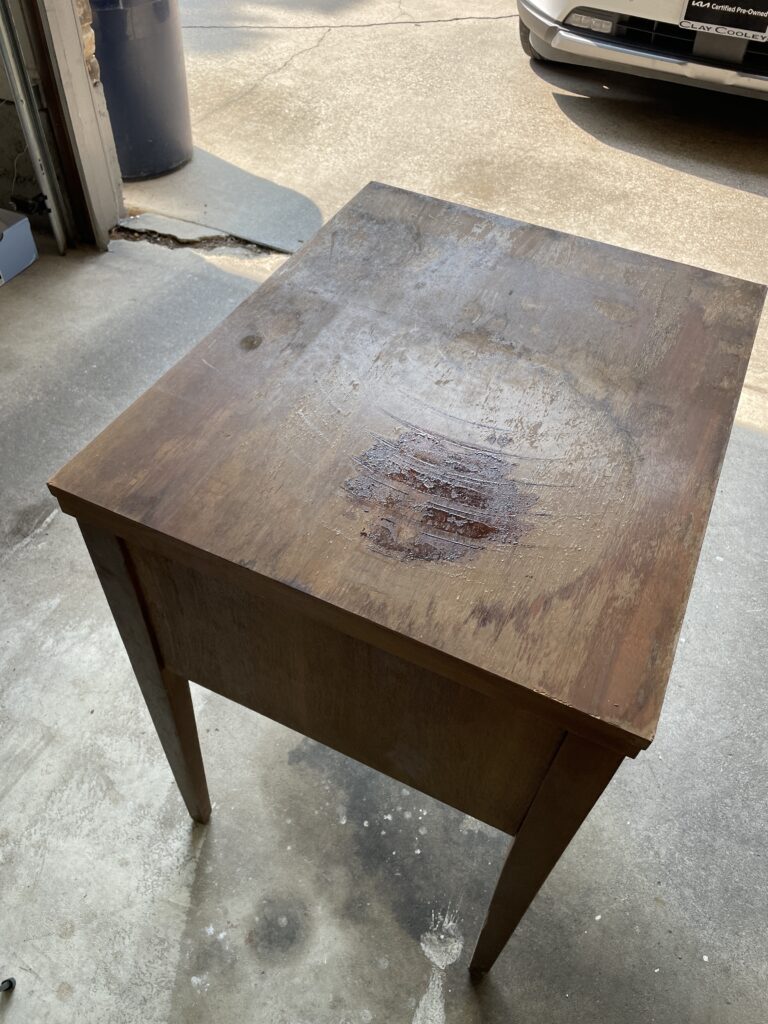
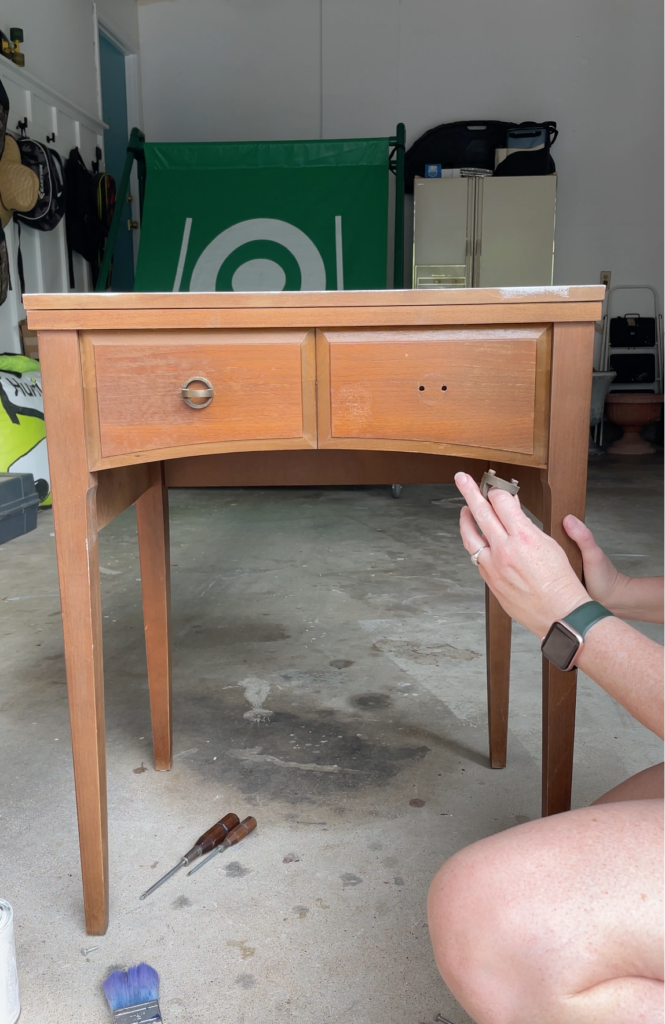
After that I got to work cleaning it and giving it a good scrub. I just used soap and water and a sponge. I knew I would be painting it so I got out my trusty Stix Waterborne primer for hard-to-paint surfaces. Did I think this was a hard-to-paint surface? Not necessarily, but I also wanted this to be a simple project so I decided to have a primer that I knew would get the job done PLUS I didn’t want to buy one and I had this one from when I painted the tile in our guest bath. That being said, I did sand it with my electric sander to scuff it up and get the stain off the top. It was sticky and it was NOT coming off. It still even showed through a bit after I sanded it. Good thing I knew paint would cover it up! I removed the hardware from the faux drawer fronts because I am adding a 10.5″ drawer pull so I can hang a towel on it.
Sanding & Priming
I used a 120 grit sandpaper on my electric sander. I think my orbital sander would work great, but I was out of paper for it and didn’t feel like going to get any at the time. After I got the stains off with the 120, I switched to a 220 to get it smooth and finish it off more. Then, I did a 400 to get it really smooth for the primer. I also filled in the drawer pull holes with wood filler. Be sure to get it on there really well and don’t worry if it is lumpy and uneven. You sand it all down smooth before painting.
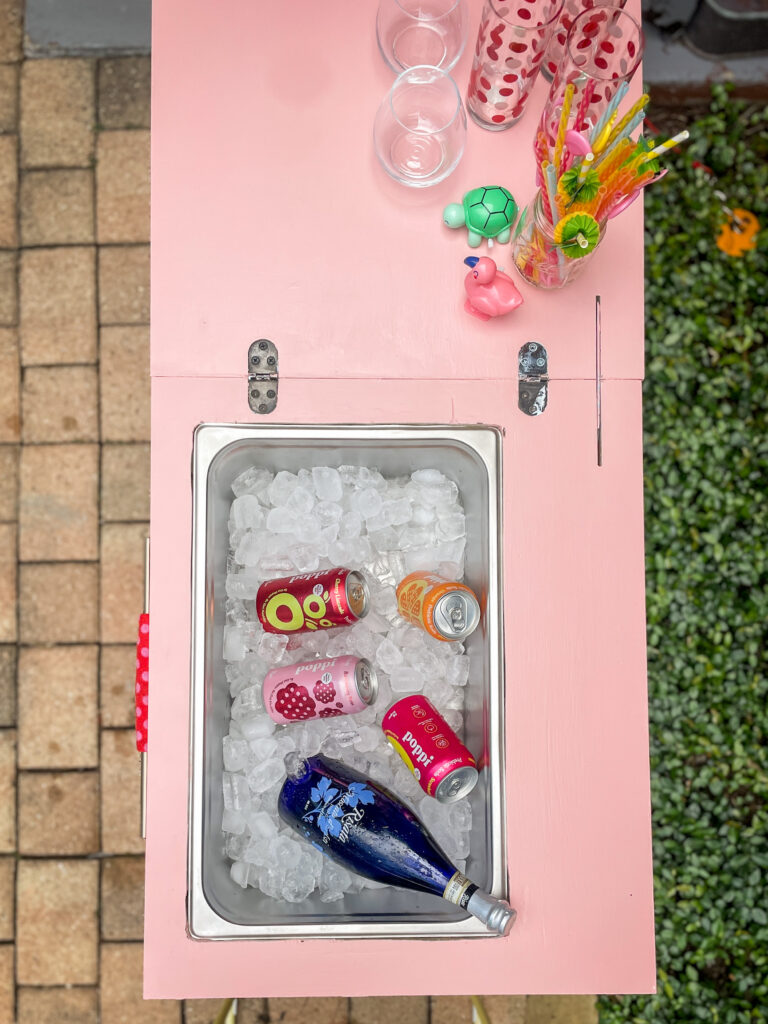
Fitting the drink tub
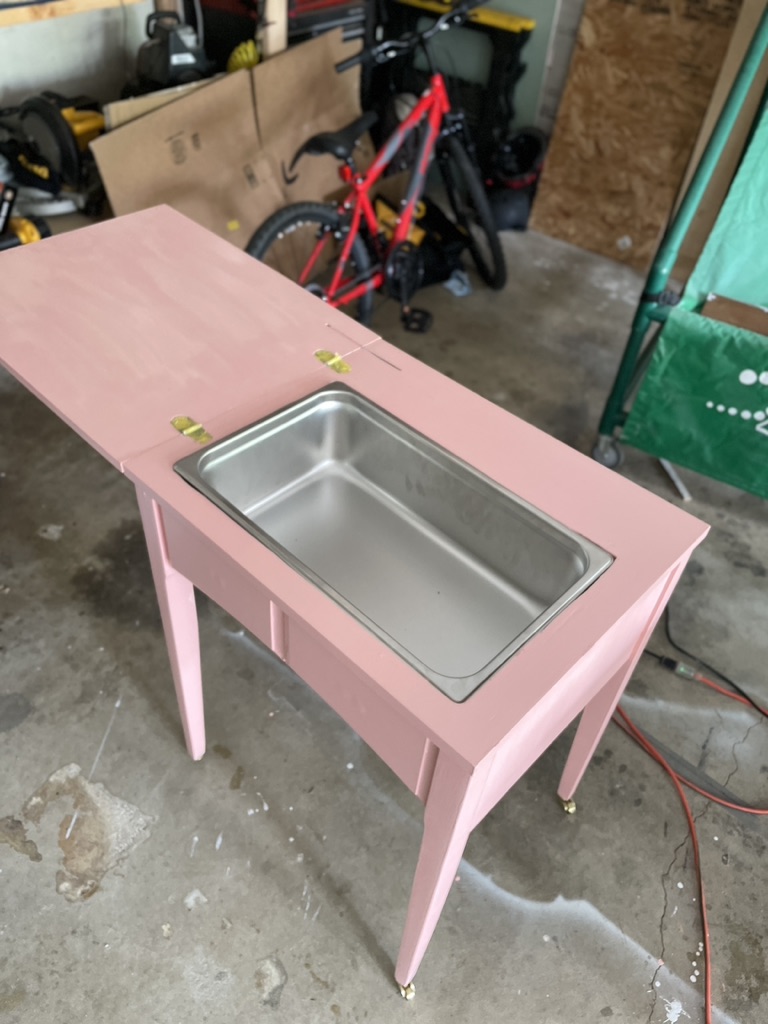
Ok, so I ordered this steam pan which fit perfectly in the hole where the sewing machine once sat. However, since there is a slight lip around the top edge of the pan/tub, it made it so the top of the table doesn’t close flush. Now, I could leave it open but I wanted the option to close it. After some brainstorming, I decided to cut the hole to the exact size of the very outer edge of the pan and have it set down in there. BUT, I also needed a plan to hold it in place especially when it is full of ice and drinks. SO, I added a pine board under it to brace it.
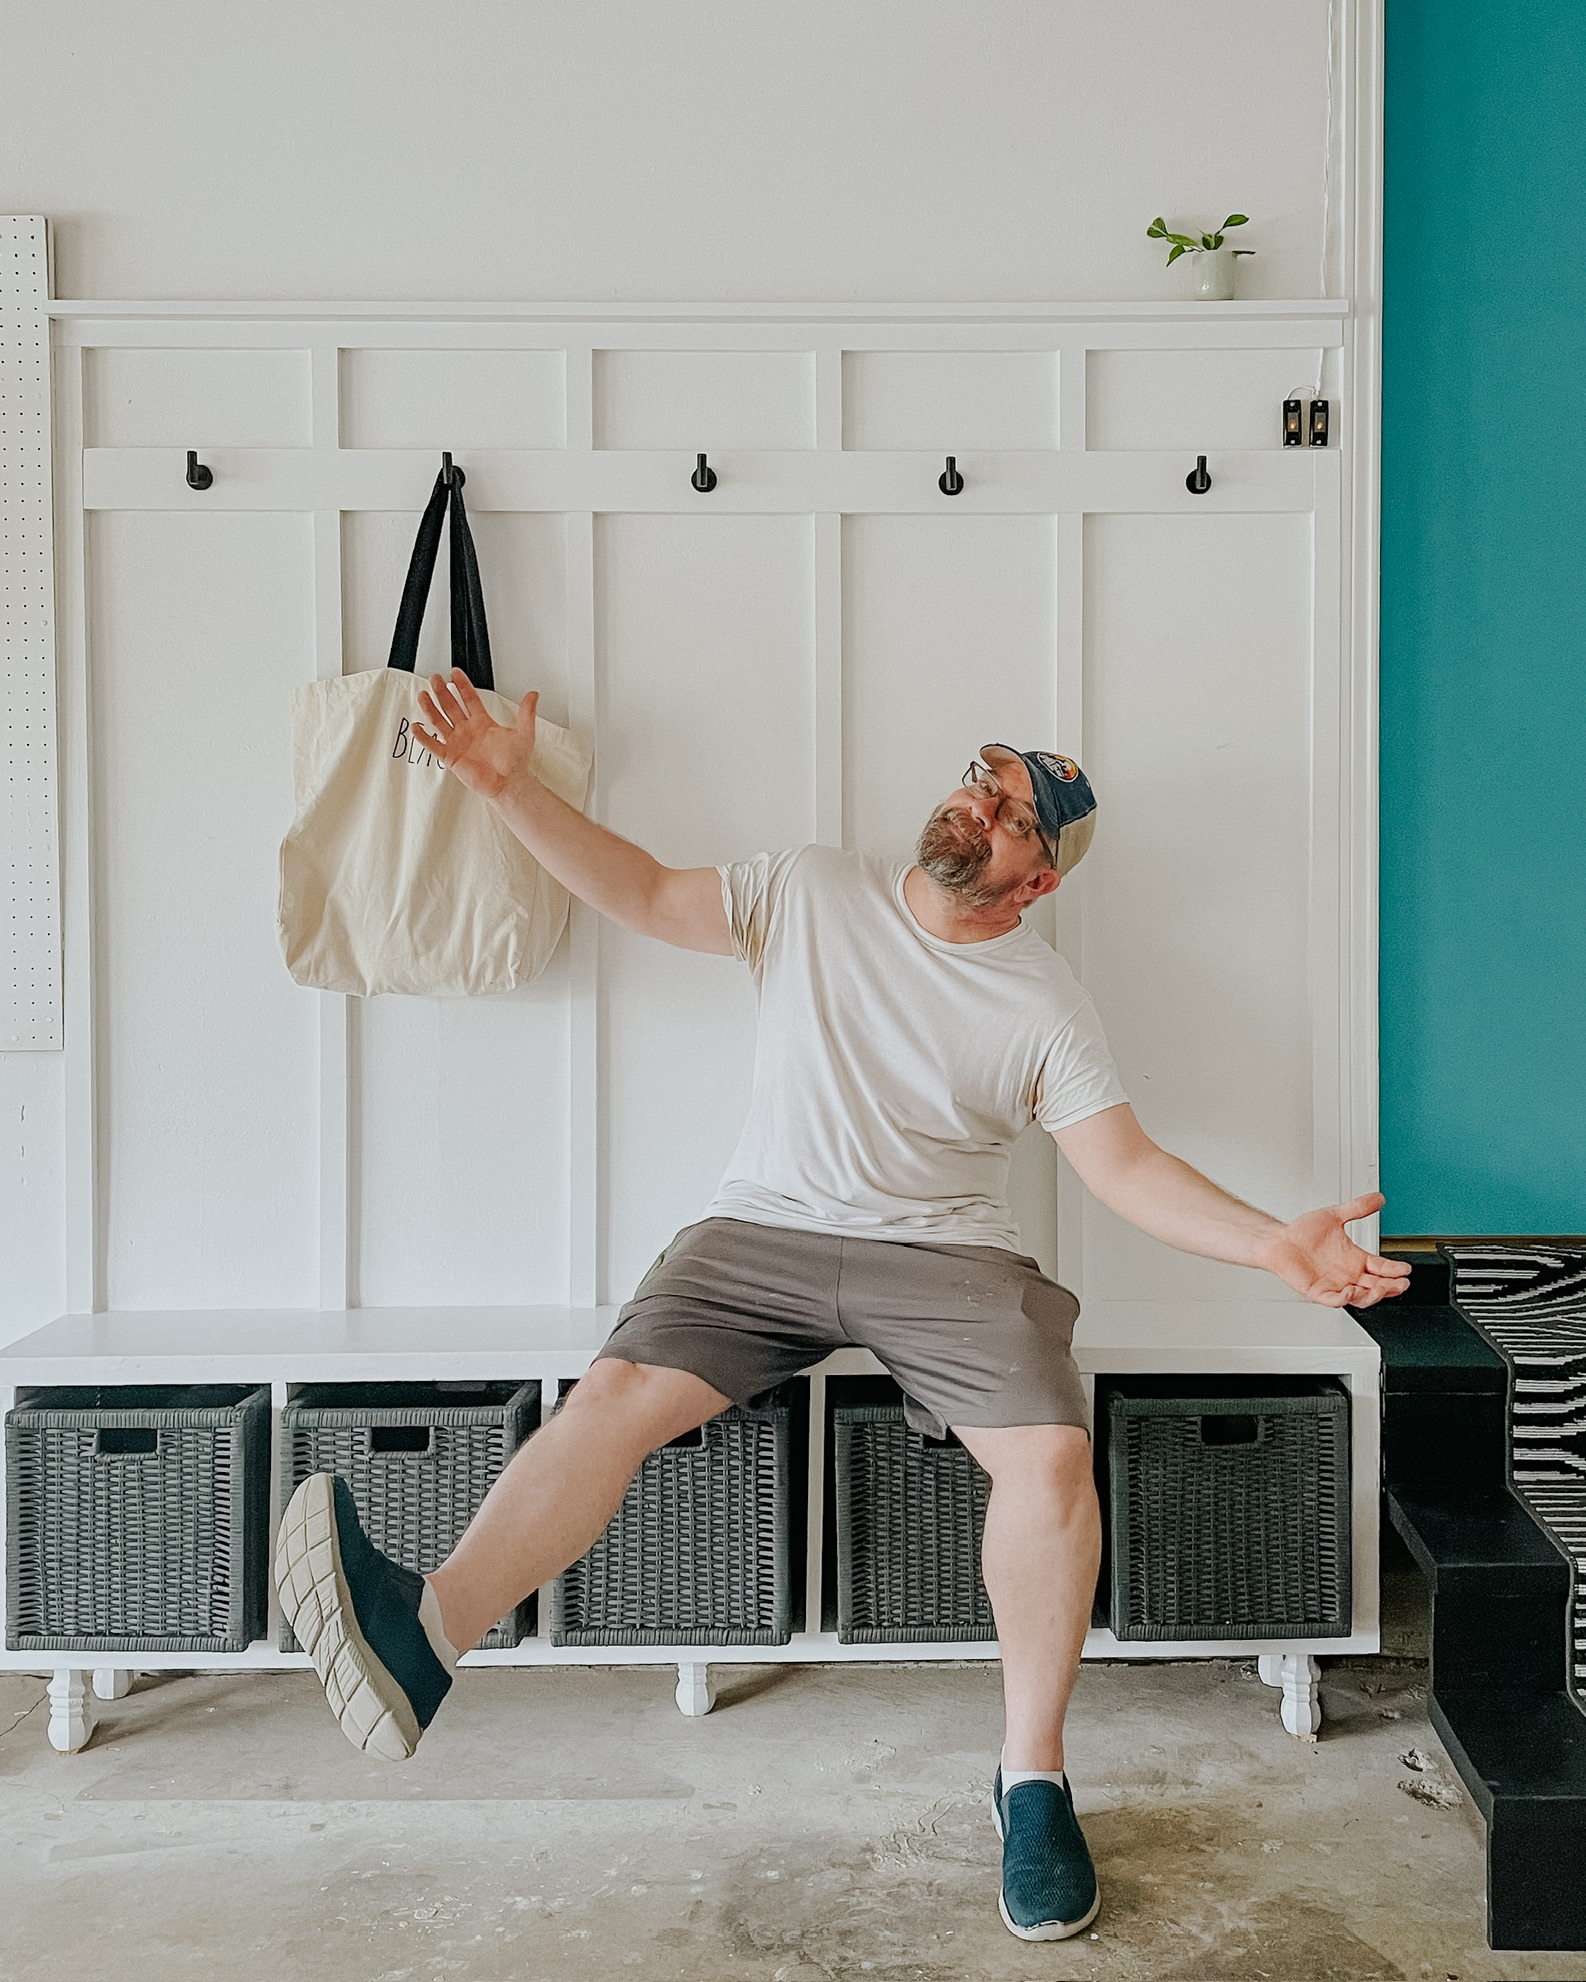
To cut the hole, I put the pan in the hole and traced around the outer edge. I then took our jigsaw and cut it out. If you want some good laughs, I decided to sit on the table and dangle my leg inside the hole while I cut. When I was climbing off the table my foot got caught and I took the whole table with me. You can watch it here. No tables were harmed in the making of this video. I, however, woke up with a really big bruise on my arm the next day and it is sore as all get out! 🤪
Moving on…so once I got the hole cut out I attached the pine board for a brace, if you will. It goes vertically across the bottom of the pan so the pan literally “sits” on it. Now, all its weight won’t be resting on it 100% because the edges of the pan make it snug in that hole. You can see in the picture below.
NOTE: Don’t forget to drill holes in the tub for drainage. You’ll need it when the ice starts melting. I used a Black and Gold Split Point Drill Bit by Dewalt. (I have a Dewalt drill but you can use any brand) I drilled one 1/2″ hole in each corner about 2-3″ in from the sides.
The Brace for the tub
Here is how I built the brace for the tub to rest on and be supported when filled with ice and drinks. I took a pine board and attached it to the underneath while the tub was in there. Well, I measured with the tub in there then took it out to screw it in and nail it to the front. Here is a video on how I did that.
I decided to nail it on the front and screw it into the back so there wouldn’t be a big screw showing on the front. The nail shows a little, but I painted right over it so you can’t really tell.
The legs & casters
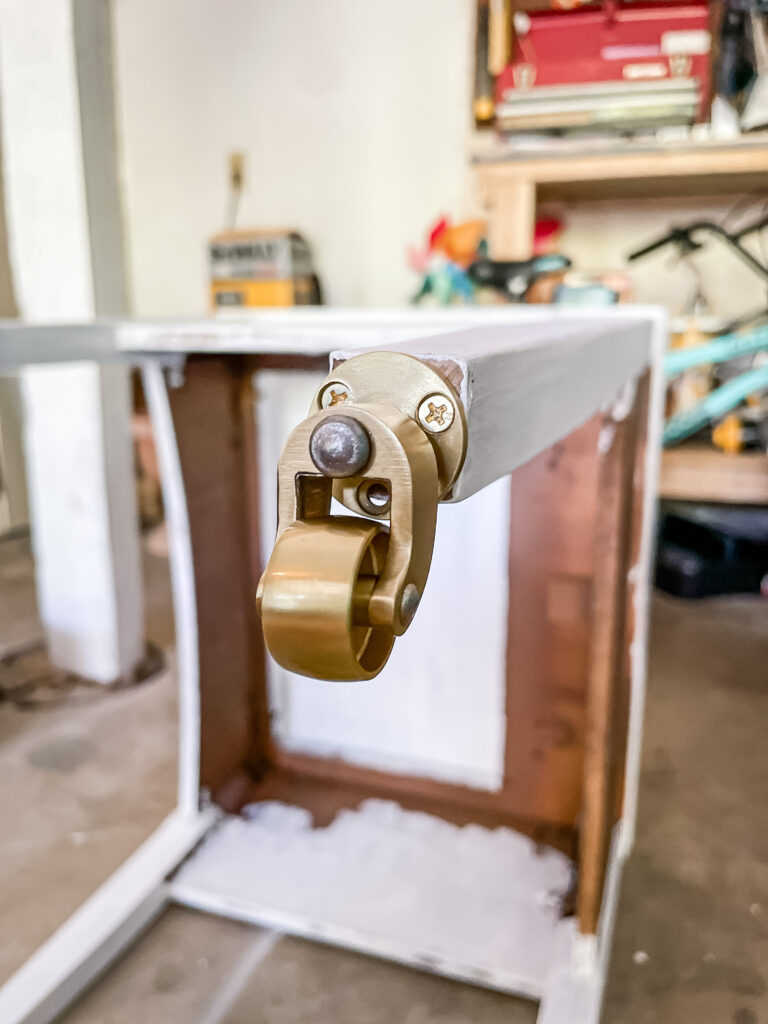
I chose to put little gold casters on the legs so it could easily be moved around and ultimately be more of a “bar cart” vs. drink station so it serves several purposes and can even possibly be moved inside if needed. I had to find casters that were small enough to go on the 1″ bottom of the legs, so I got these on Amazon. They are about 1/16″ too big but it was the smallest I could find and they still allowed me to attach and screw in 2 of the 3 holes. It already had little “feet” on the bottom that were like giant pushpins, so I just popped those out and used the little hole that was there as my guide when drilling for the caster middle screw. So, I screwed them in and then attached them with the 2 screws. One leg actually fit so that I could use all 3 screws. I think they are so cute and the casters are 360º so they move in any direction you need, not just front to back or side-to-side.
Painting
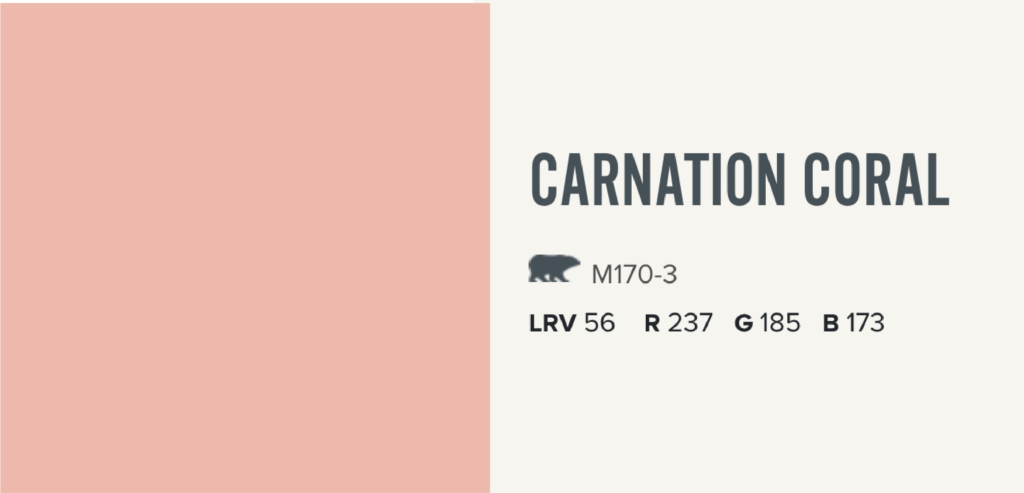
I have decided that this will most likely be a spring/summer table so I thought it would be fun to do a spring/summer color. I wanted a coral-pink so I went with Behr’s Carnation Coral in Enamel Urethane Alkyd because it dries quickly and hard. It is a great paint for cabinets, doors and trim. I bought a quart but honestly I think I could have gotten away with 2 sample sizes, which are $5 each. I think it’s very summer-y and fun!
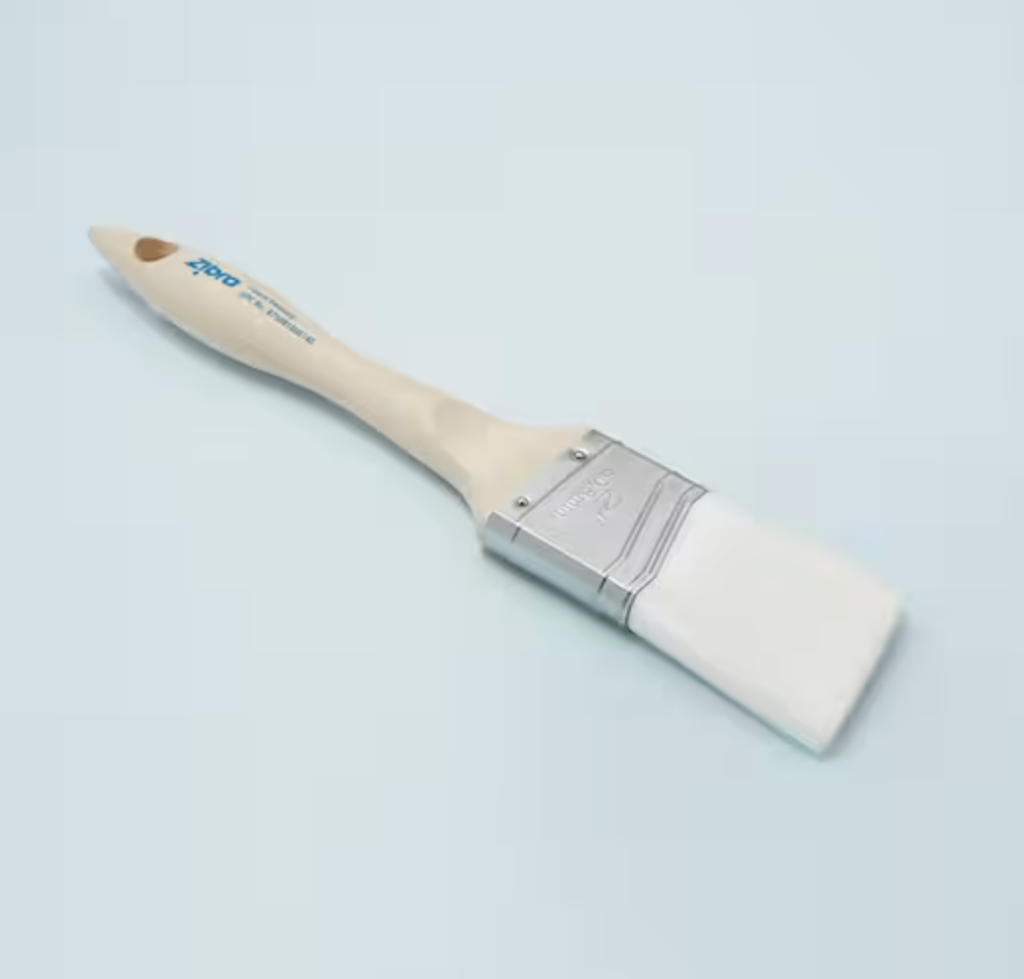
I started off with my very favorite brush, my Zibra, to paint the top and the bigger areas and then finished off with a smaller brush on the edges and legs. The Zibra is great because the synthetic bristles are formulated with a blend of filaments which allow extra paint to be held in the brush resulting in few trips to the paint tray/can. I swear by these brushes!!
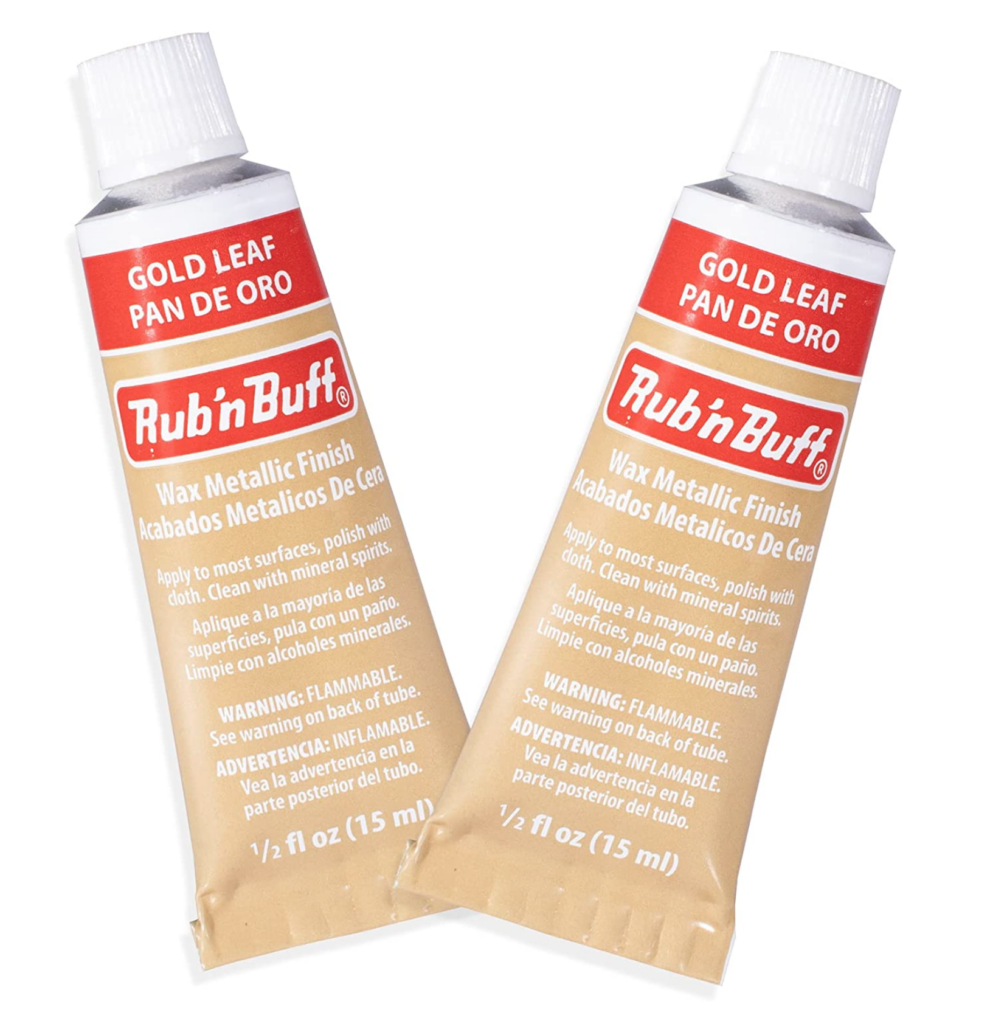
Next, I wanted to make the legs a little “extra” so I used my tried-and-true and VERY fave Rub n’ Buff, which is a gilding wax. It is unique because you can rub it on with a cloth, paper towel or brush and it dries immediately. It is truly amazing. And a very little bit goes a long way so you use very little. I use it for everything from picture frames to furniture.
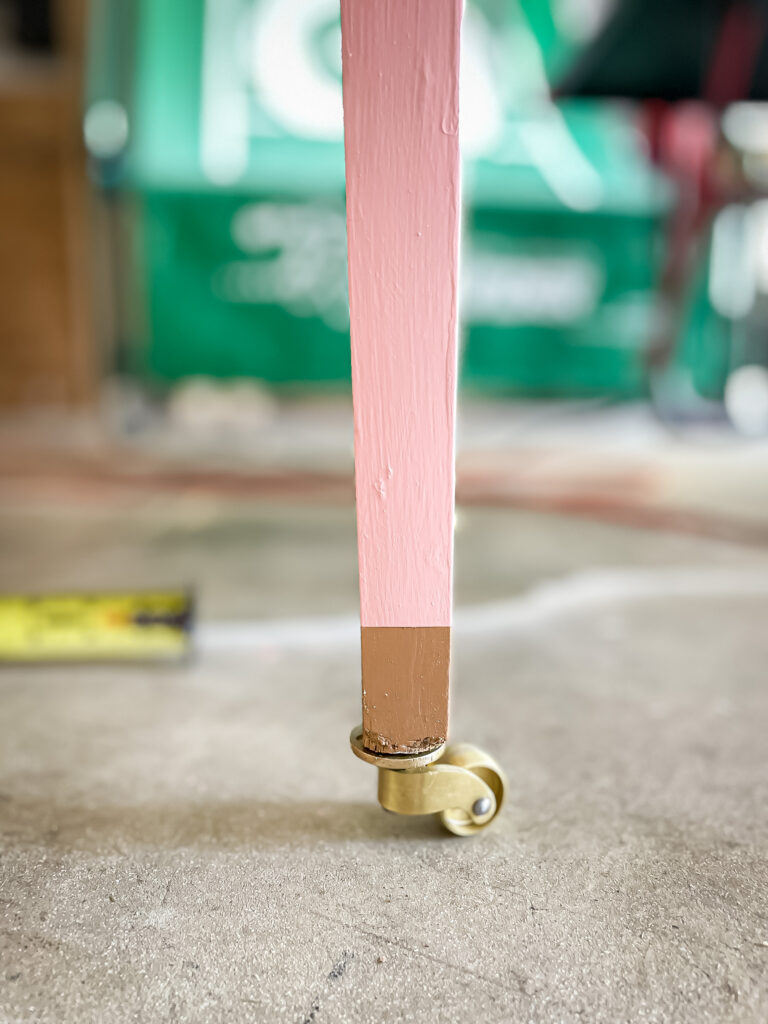
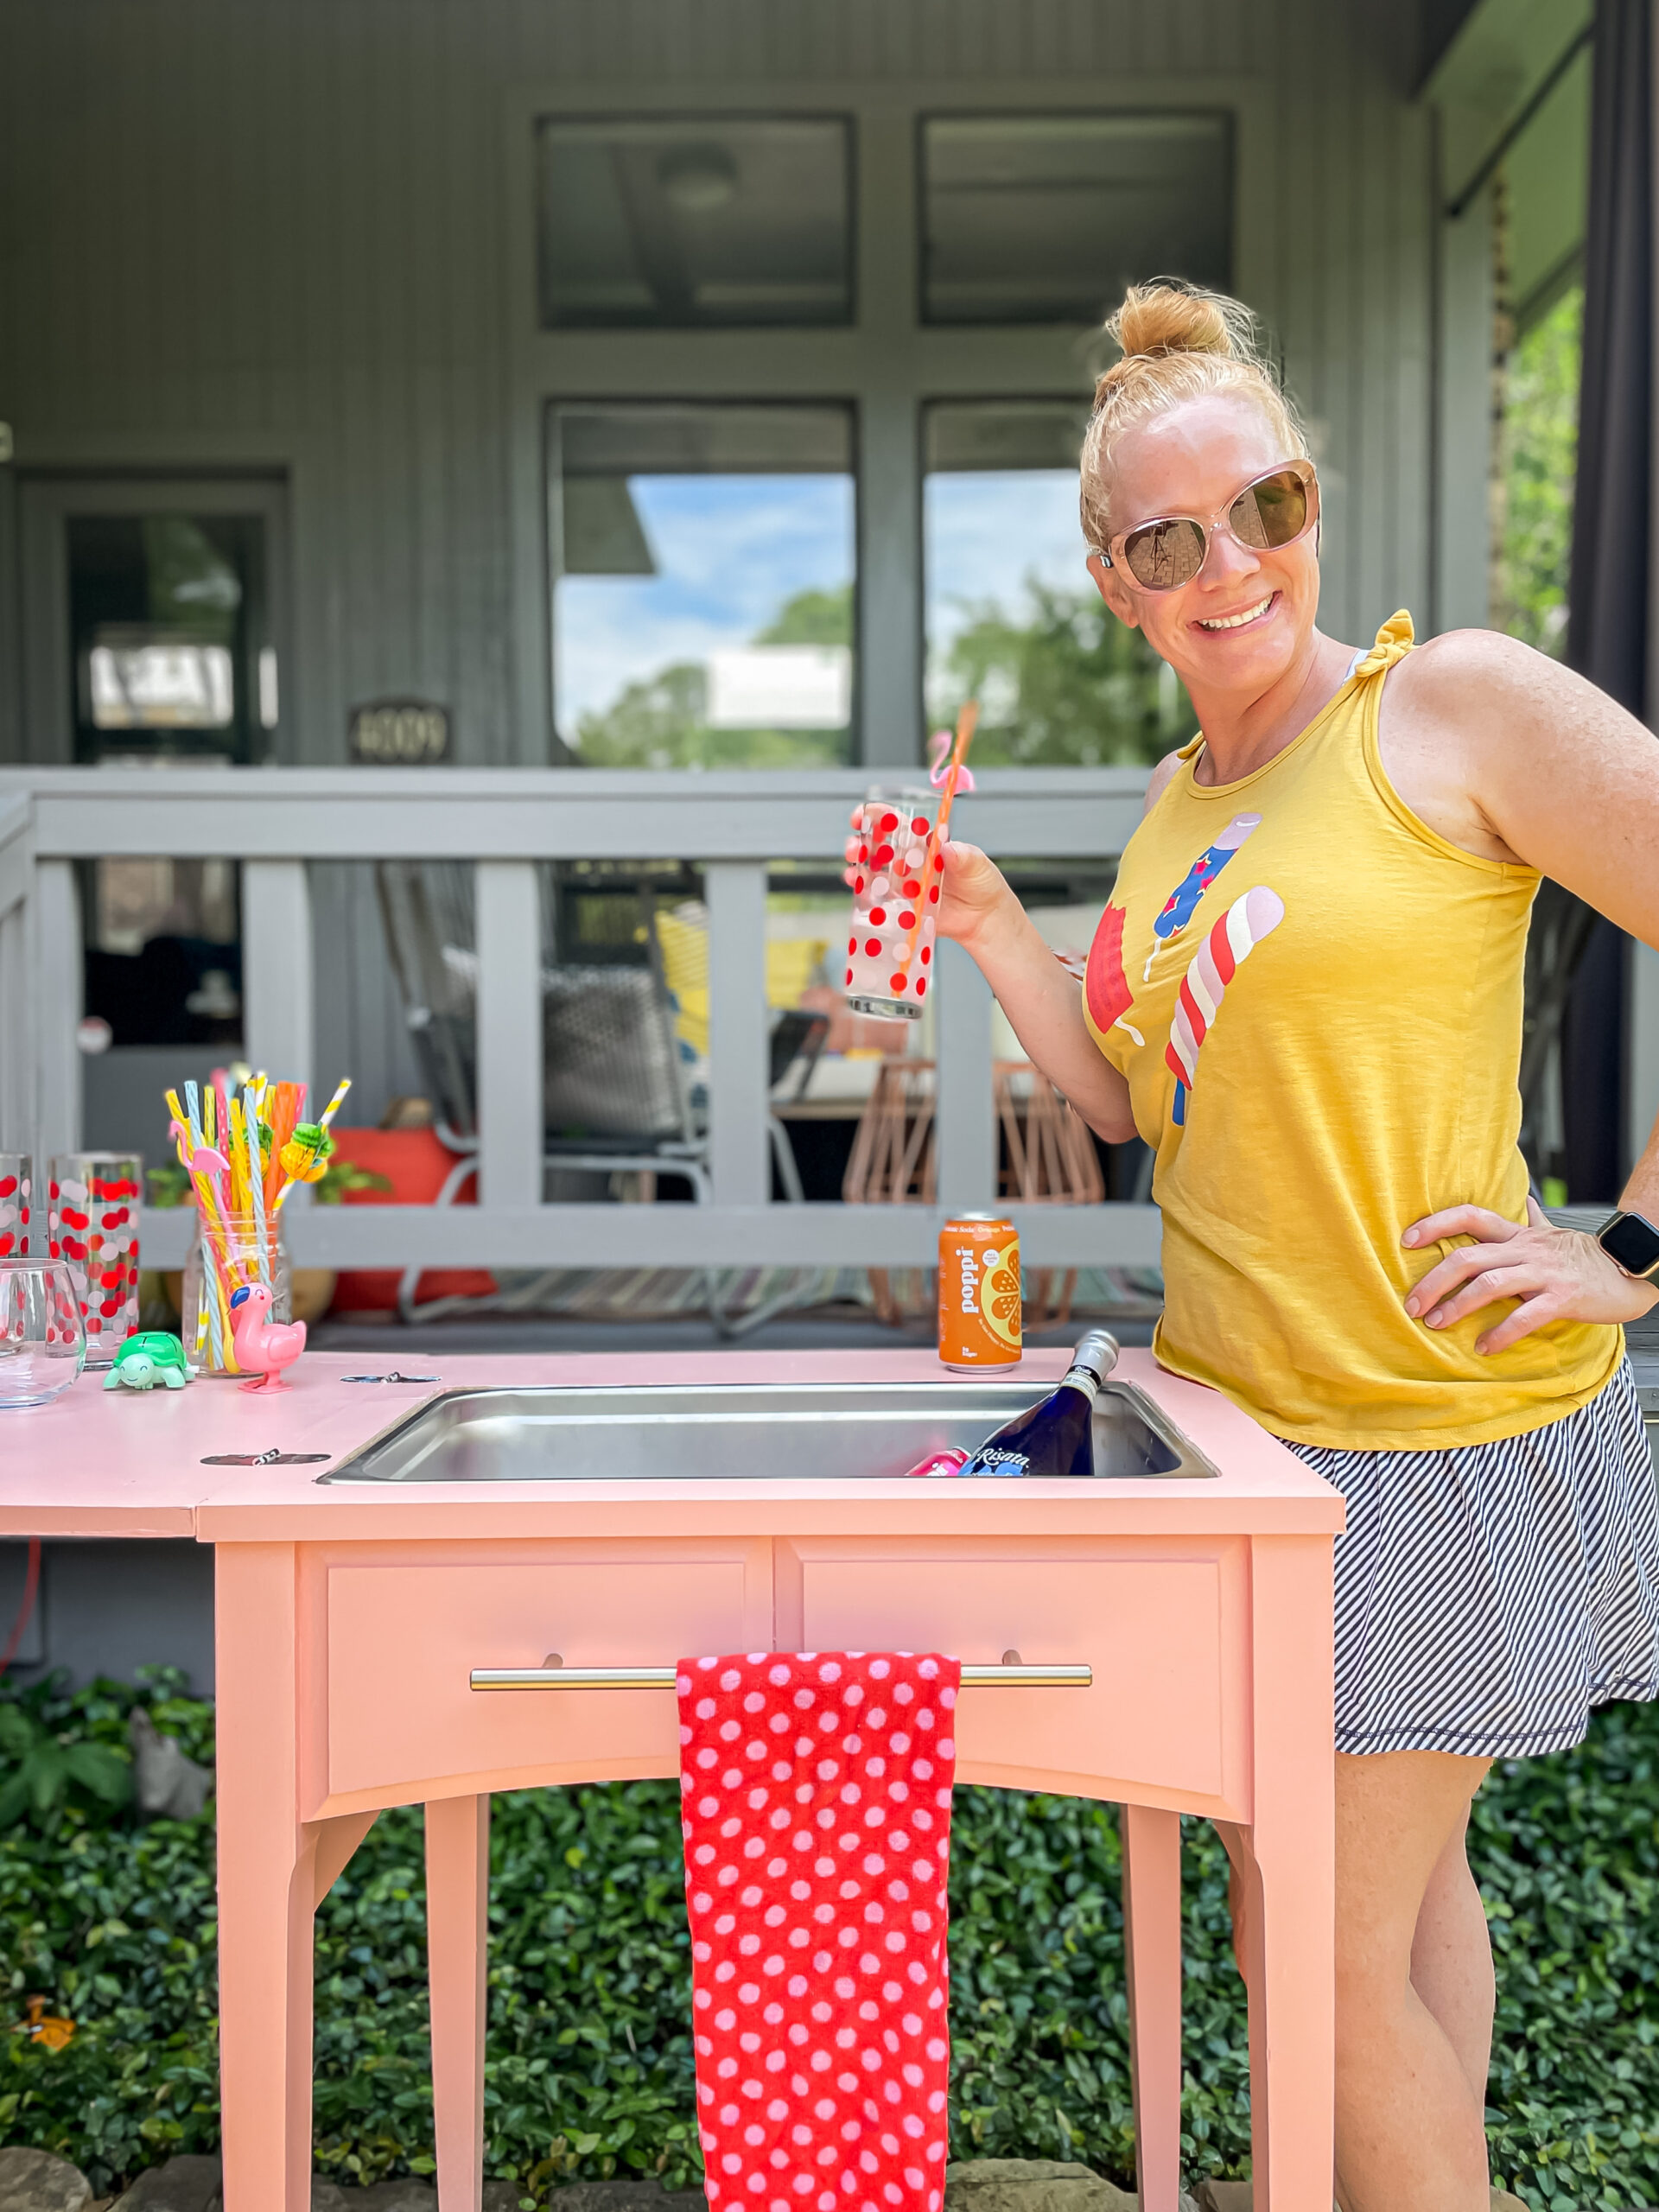
I just taped off 1-1/2″ up the leg with delicate painters tape and brushed it on. You can remove the tape immediately because it is dry about 3 seconds after it goes on. Now we are ready to fill this drink cart with drinks, ice, accessories and enjoy for summer!
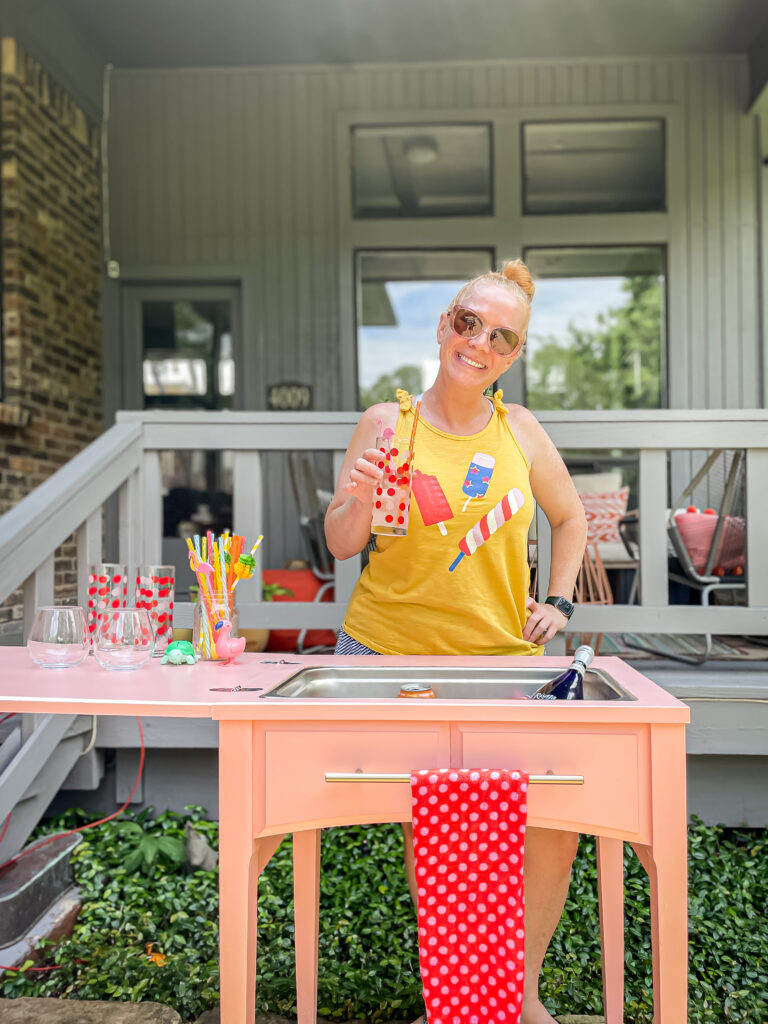
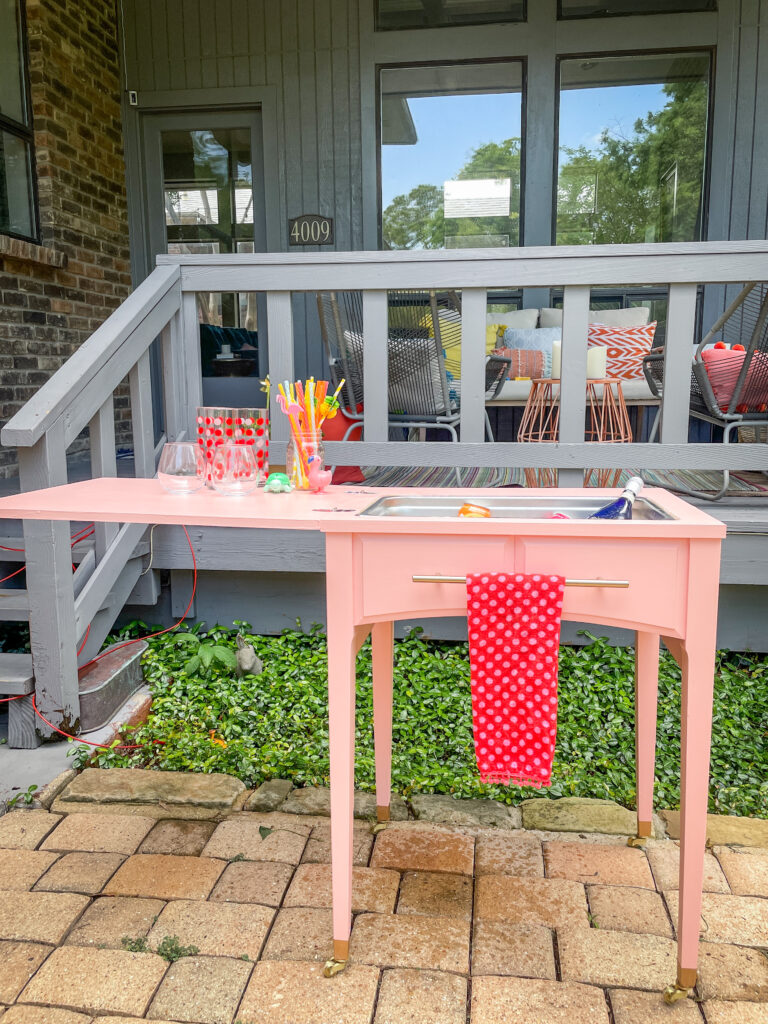
And, when you are ready to store it away, just close the top and push it to its home. You can also use this as a bar cart indoors if you want! It can serve all your drink needs and purposes!