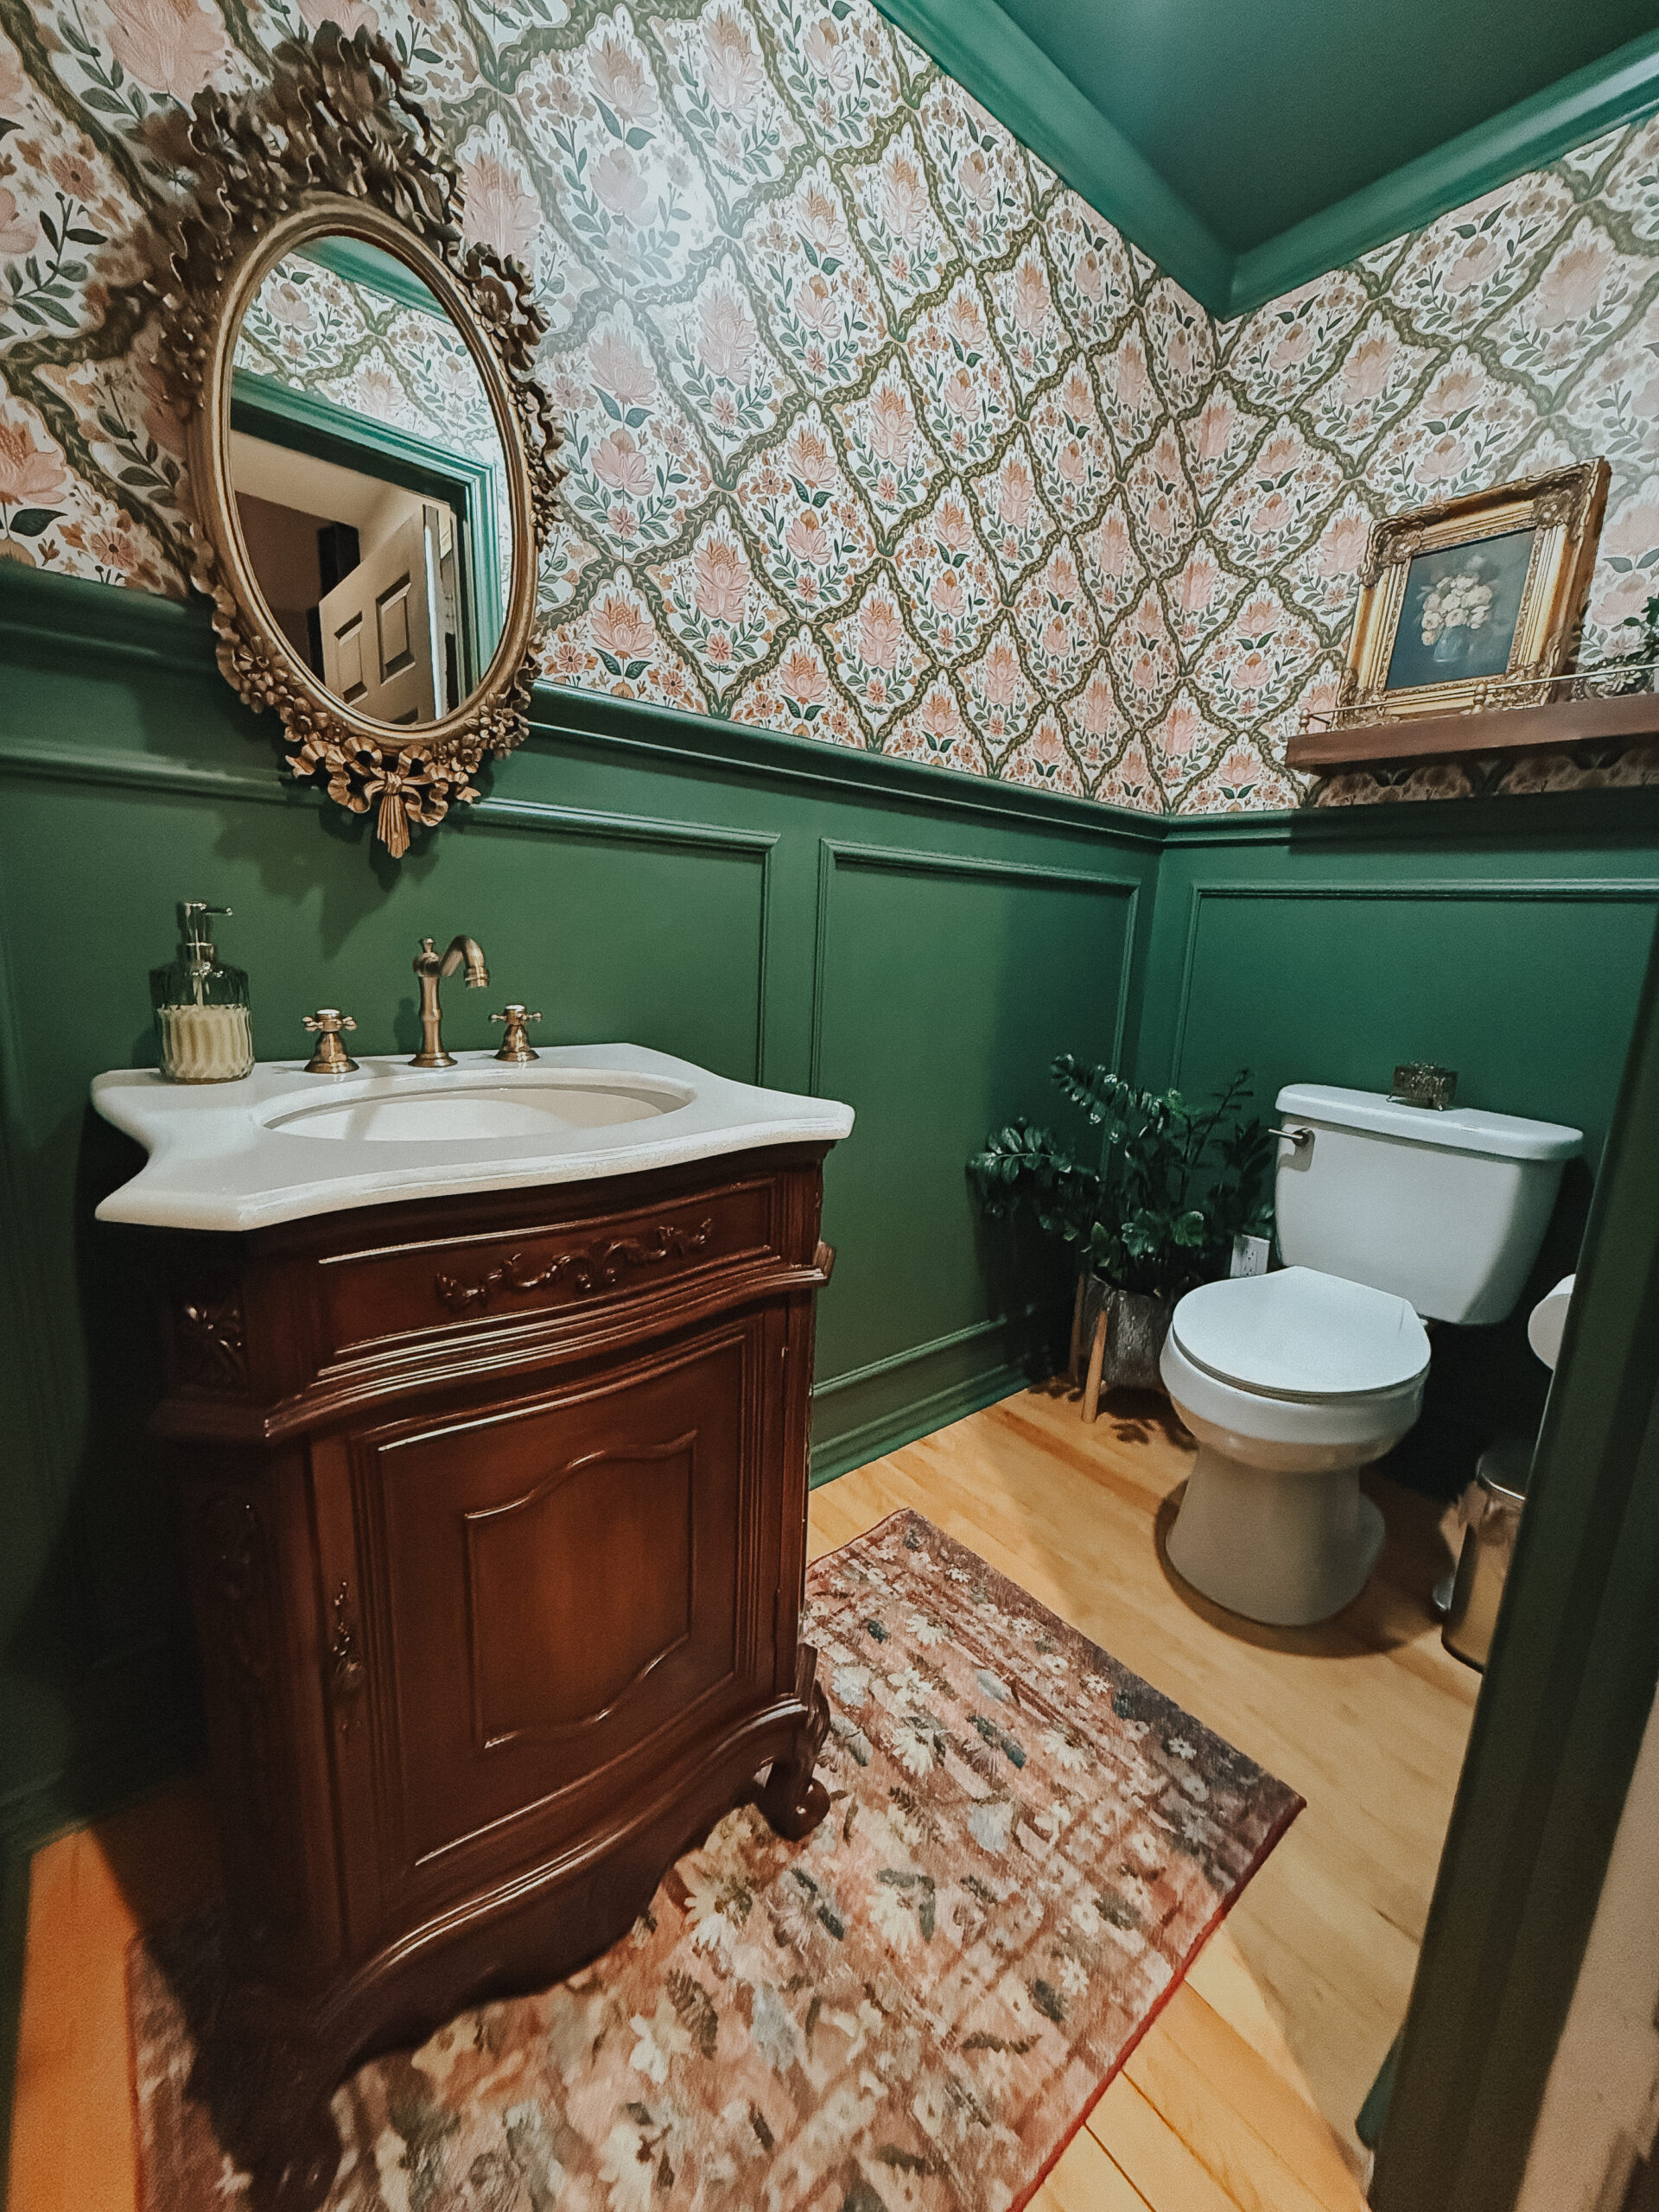
Many of you have heard or followed the One Room Challenge® year after year to see the great transformations so many guests and professionals make to their spaces. It is such a fun way to get inspiration, ideas or just ooh and aah at all the designs and creativity.
If you are not familiar, the ORC® is an enthusiastic forum in which to share the process of transforming a room. The ORC® is not a competition, but rather a celebration of creativity, inspiration, and original ideas. It happens every spring and fall for 6 weeks. Anyone with a blog and/or Instagram account can participate as long as you register here. Each Wednesday participants link up their blog post and/or IG stories, reels or posts of their progress.
Disclaimer: As an LTK Creator/Affiliate, I may earn a small commission from qualifying purchases. This adds no cost to you. I appreciate your support!
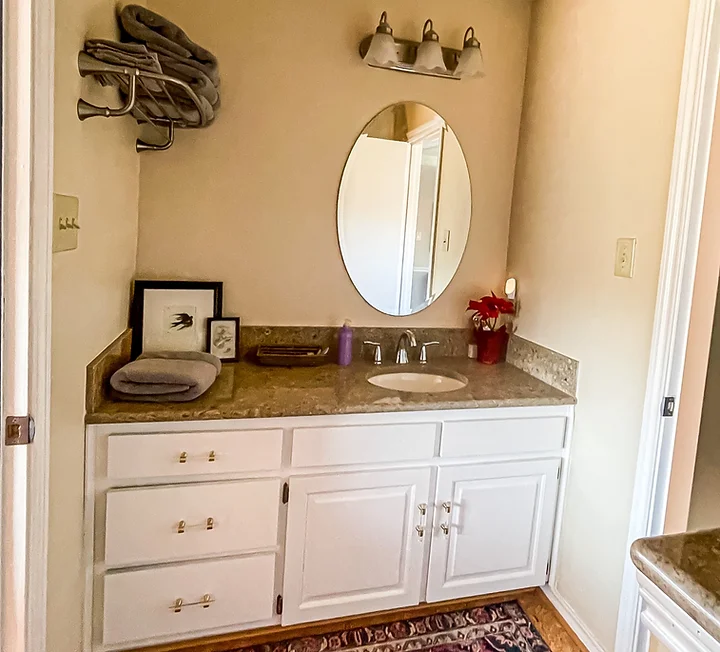
This year I decided to use my already-planned guest bath makeover for the challenge since it fell right during the event time period and I sort-of halfway started the makeover a few months ago but really didn’t do much. I digress. BUT…see how that worked to my advantage??! Now I can have this makeover for my first ever ORC®! I’m super excited to be participating. I hope you’ll follow along and share in my pain points as well as my successes along the way. Because yes, I mess up too. All. The. Time. That is how I learn with each project I do!!
So here we are. Week one. Here is the bathroom in all it’s 1990s glory. Cork floors. Oval frameless mirror. Basic tulip light. Weird towel rack too high for anyone under 5′ tall to reach. Brown countertop. Beige walls.
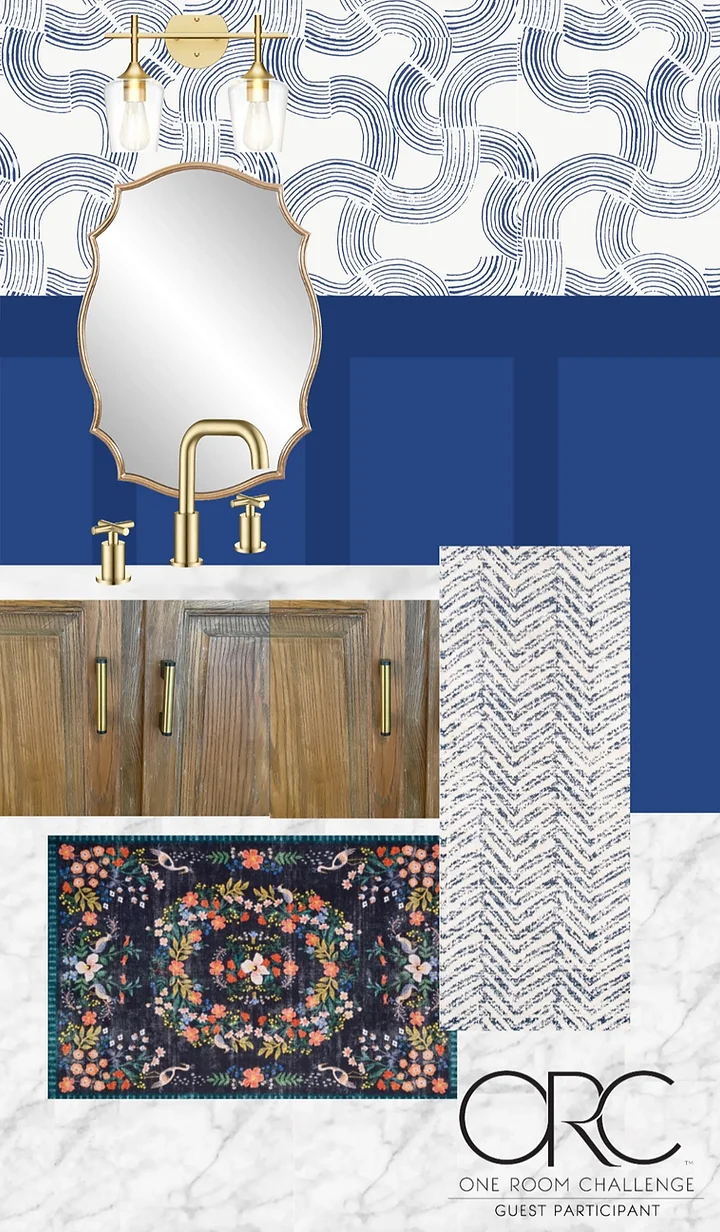
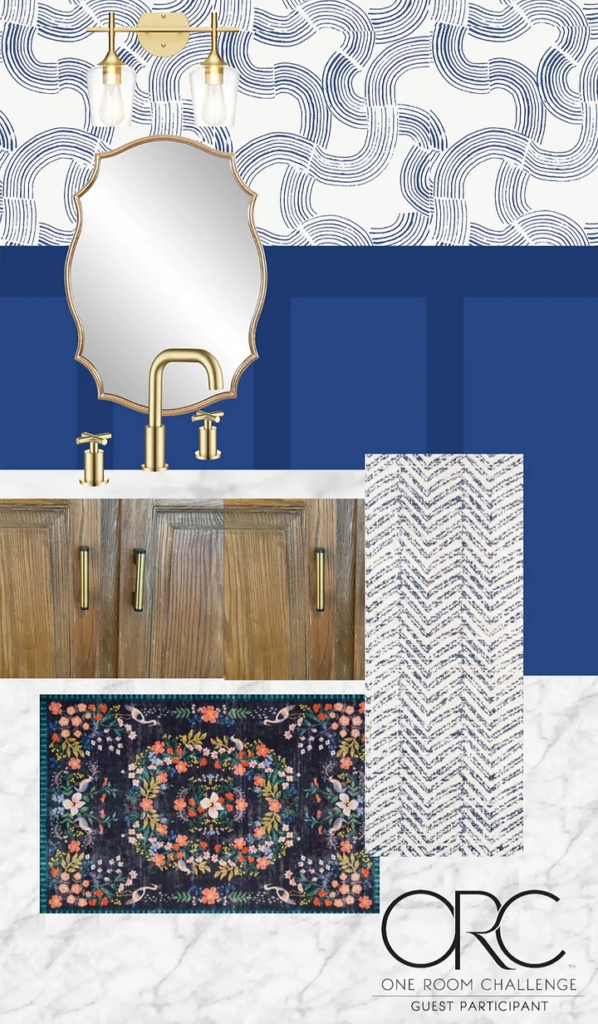
I am here to add color, fun, boldness and most importantly–function! Here is my mood board and a little about what we did in week 1.
First, I started with the vanity. I went back and forth on whether to paint it navy or to strip it and see what wood we had underneath there. Ultimately, I wanted to incorporate the office/old world luxury feel that Andy’s home office has with the bathroom, so I decided on the original wood. {This is a Jack-and-Jill bathroom and the office is on the left side (of the photo) and the guest room is on the right.}
I began by sanding and that wasn’t going too quickly so I pivoted and decided to use paint stripper. Wha la! It is messy, it smells, but it’s SUPER satisfying to scrape that paint right off!! This was not a super easy task since the cabinet doors have those recessed panels and some small intricate grooves to get down into. Full transparency: I did a little bit of work on it and abandoned it for quite some time before coming back to finish. I was super over it. Once I FINALLY got to the wood, I realized it isn’t that orangey oak that most cabinets are. It is actually a really pretty *almost* walnut color underneath, it just needed stain to bring it out. So I decided to stain it with walnut stain. I REALLY love how it turned out. Still debating on what cabinet pulls to use.
Stay tuned for week 2, as I show you how I transformed these countertops with paint and NO EPOXY to look like marble! They’re amazing.
See you next week! And, as always, all product links are in my LTK shop.
