Disclaimer: This post contains affiliate links for your convenience. I may earn a small commission through the Amazon Affiliate & LTK Program. This in no way adds any cost to you. The fees help me maintain and pay for the use of this site. Thank you for your support!
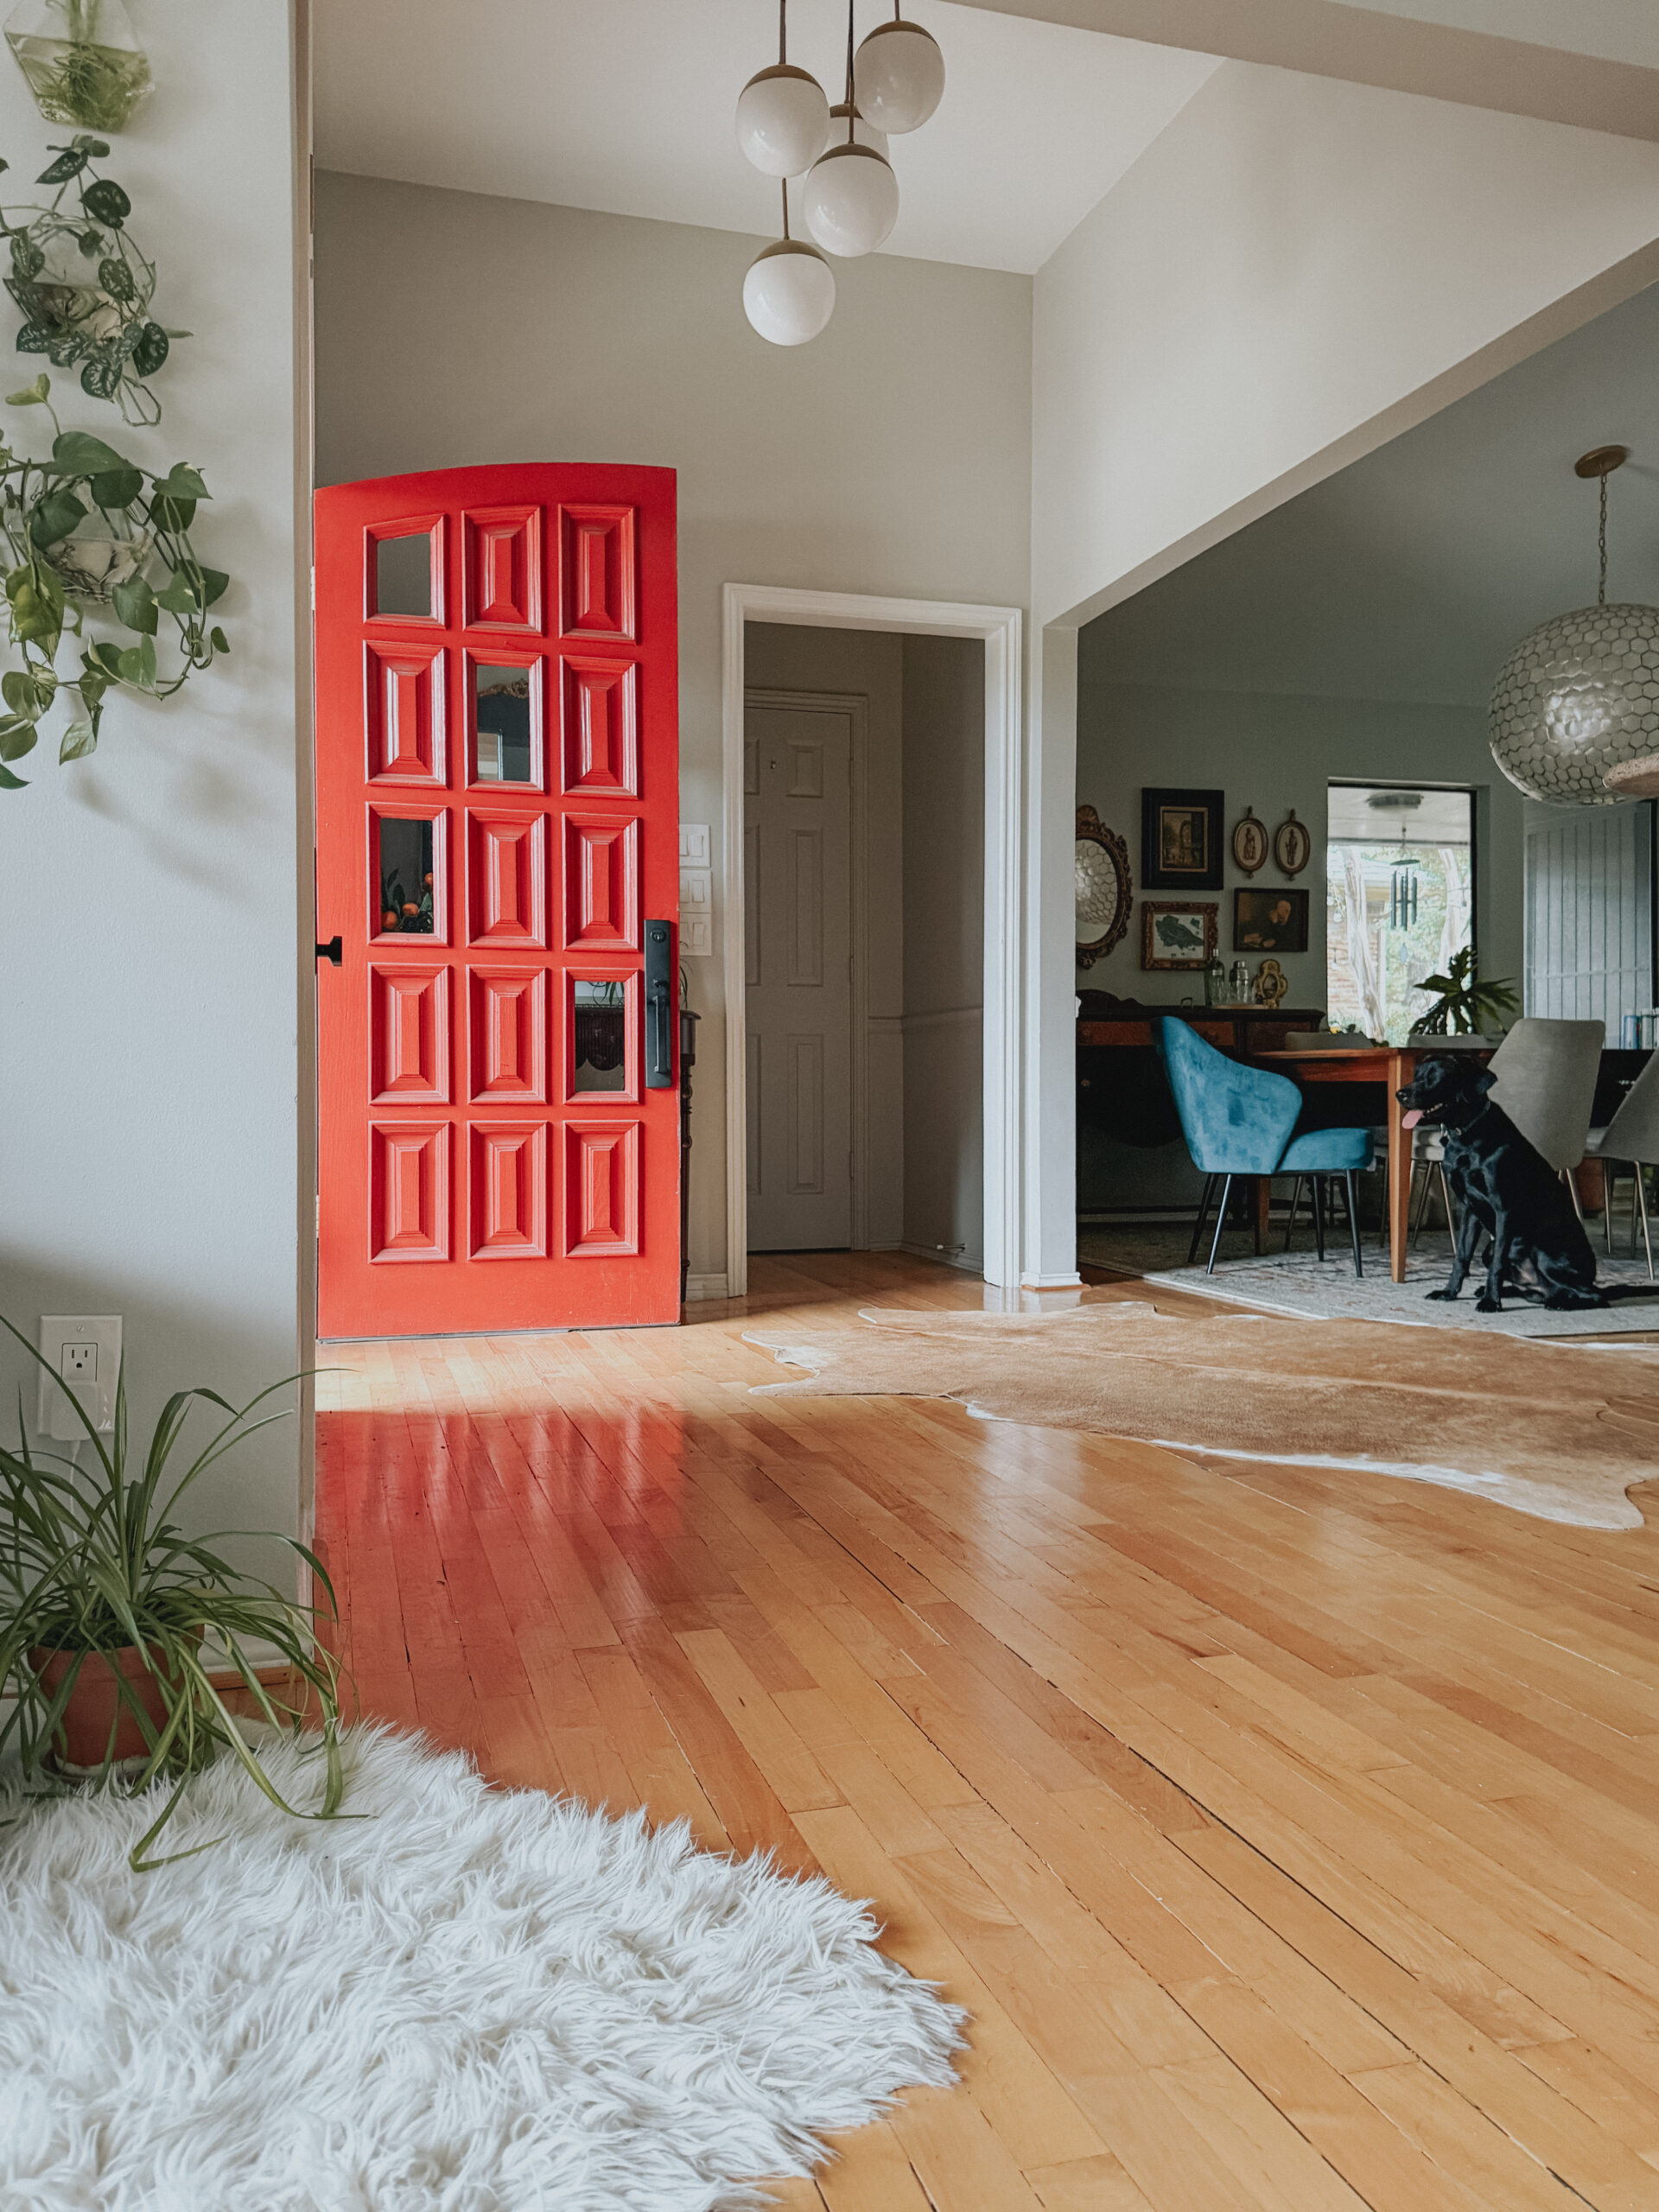
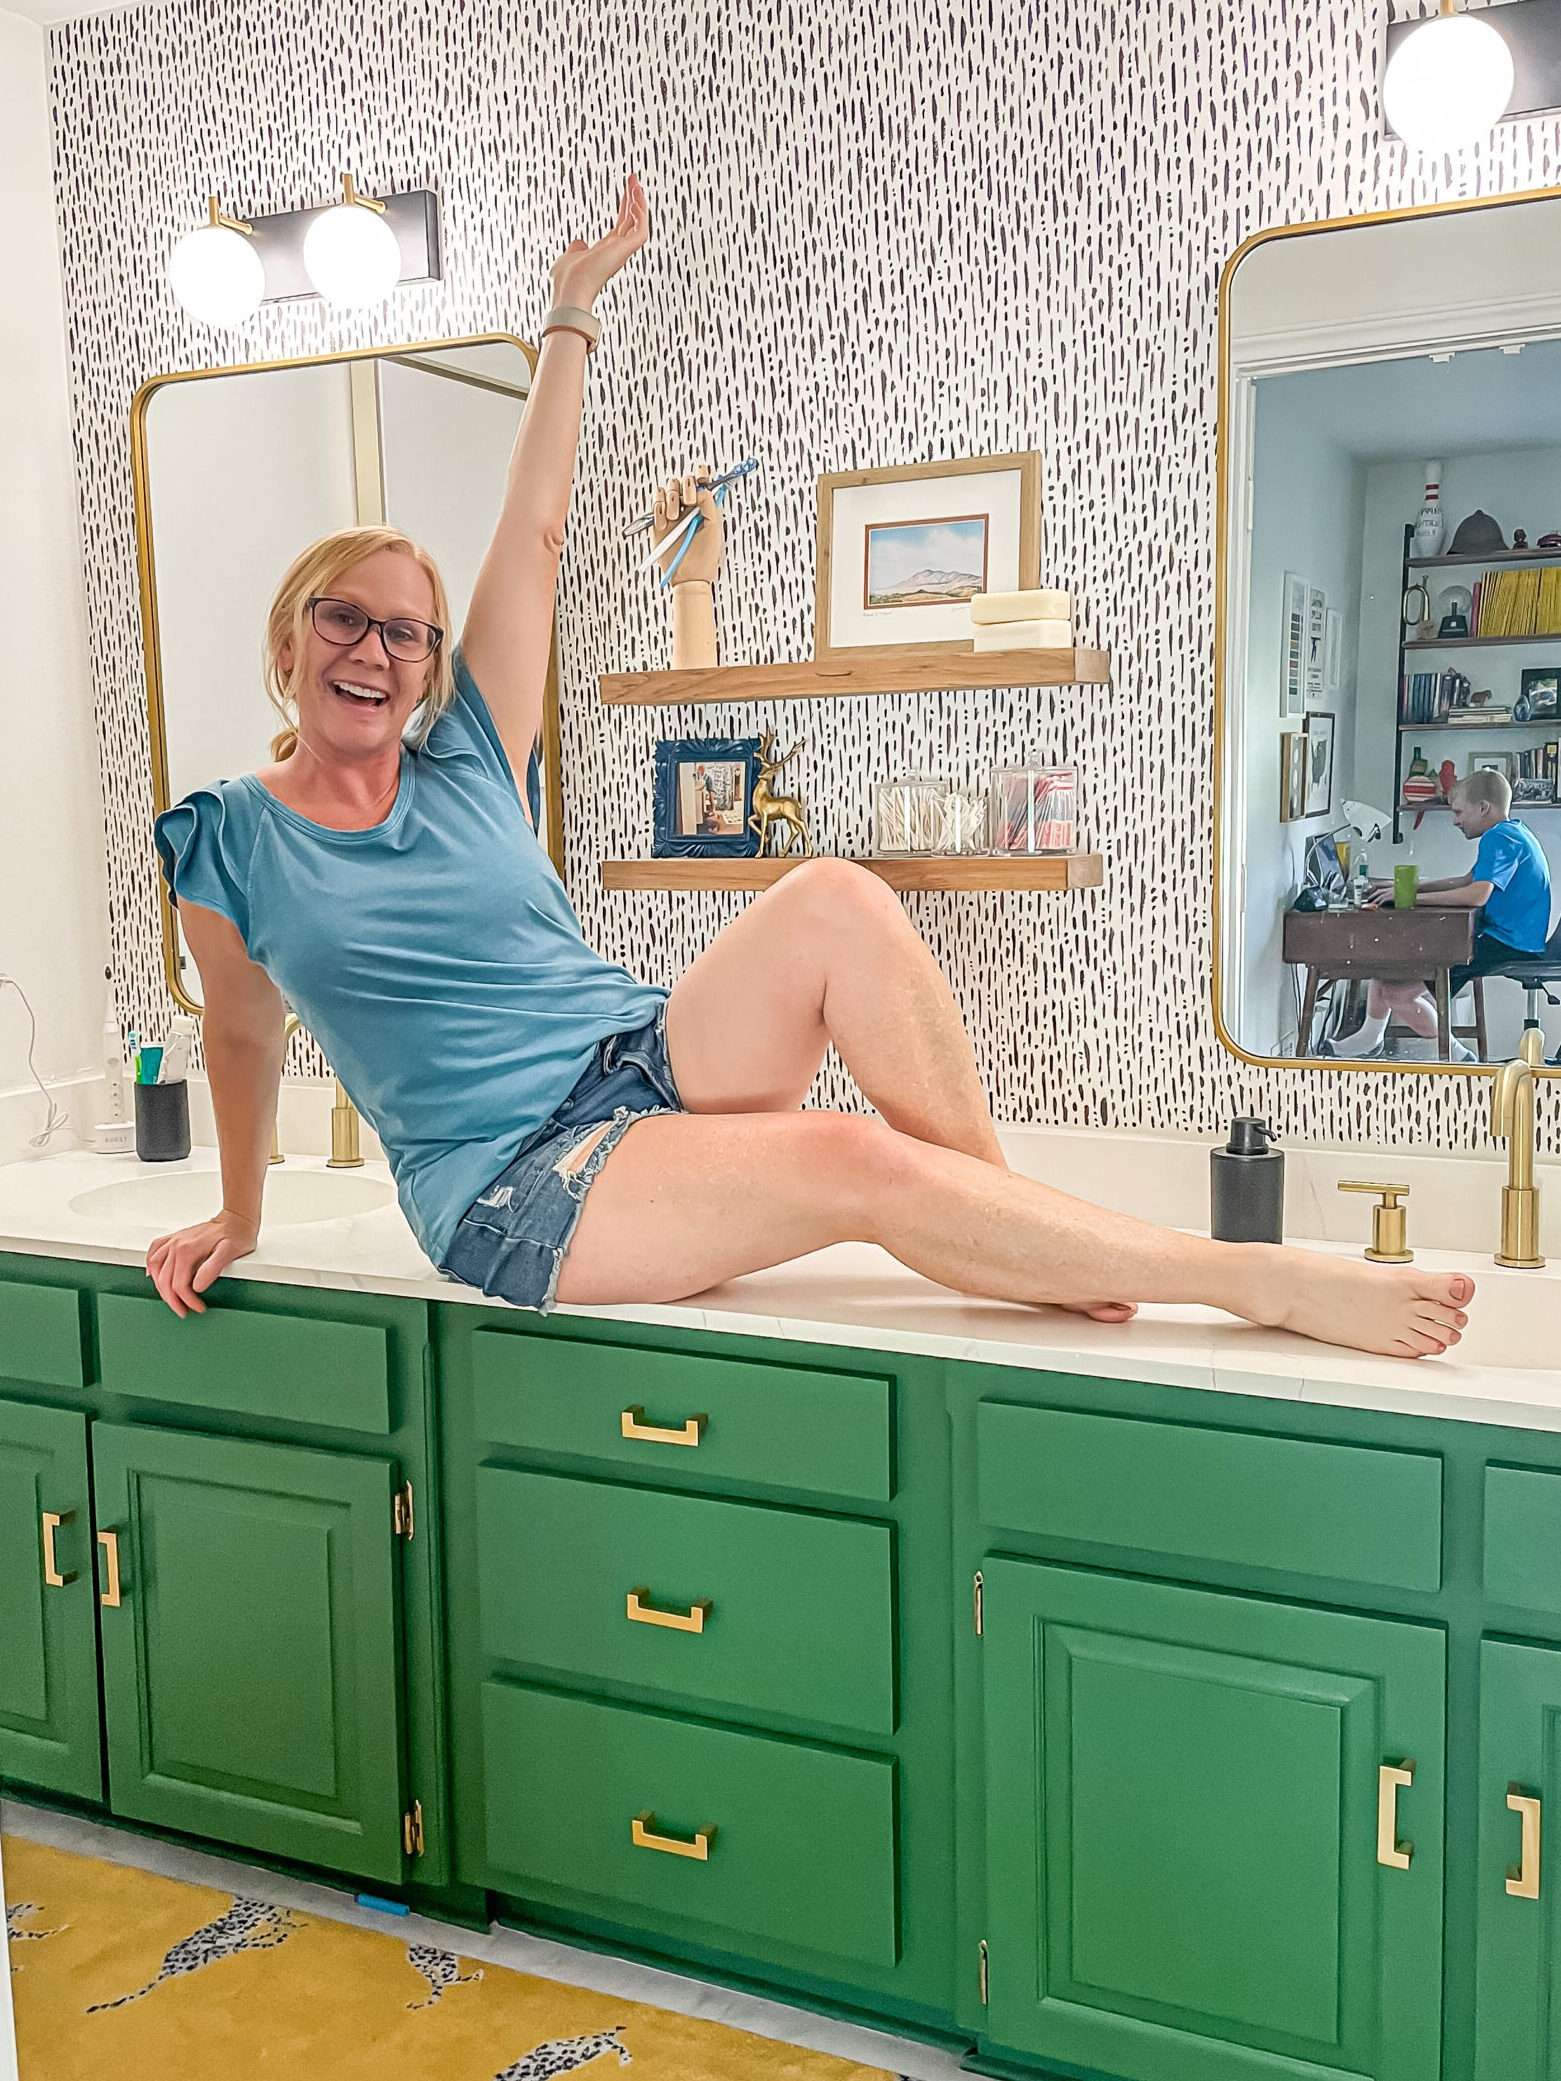
This bathroom makeover is probably my number one asked about DIY. Because let’s face it, there are lots of dated homes out there with those wonderful yellowed cultured marble countertops and built-in shell sinks, am I right? And there are equally as many people out there wanting to change them but due to several reasons, they cannot at this time. This is where I was last November. I had planned out an entire makeover of my sons’ shared bathroom, and I even got a quote on quartz countertops. Even though it was a great deal, once I added in the faucets, sinks, backsplash piece, etc. it was really getting pricey. I just didn’t want to spend that kind of money then, so I went on a research trip!
In the land of Google and DuckDuckGo…boy did I find all the things! Epoxy countertop makeovers being at the top, but man I did NOT want to deal with epoxy. It just wasn’t for me. I (obviously) have a strong aversion to it, so I kept backpacking through Googleland. And just like when you stumble upon any gem, you never remember where it was or how you found it, but there it was: Heirloom Traditions Paint!
I could hear the hallelujah chorus singing as I stumbled upon this website. No, really. So I dove in further onto Facebook, where I found their group and their page and it is full of tutorials, testimonials and before and after pictures. It is glorious! So I read and watched and gathered info for a few weeks. Then I was ready. So I purchased their Carrara Marble Countertop Bundle and was set to start this project.
When it arrived I was ready to go! I started by washing the countertops really well with their Deglosser / Degreaser ( Surface Prep ). After that dried I used a paper plate to pour the base color(I swapped out their bundle color for Cashmere because I wanted it really white. Cashmere is stark white. So if you don’t want it stark stick with the Colosseum that comes in the kit) and start painting on the base. I brushed it on with a regular paint brush then I used their foam rollers to roll in on smooth. This is a step you do not want to miss or forget. I made this mistake at first and used too much paint because I didn’t remember to not brush it all on. You must brush it on then roll it. Yes, it will look streaky and maybe not 100% smooth. Don’t fret! And don’t use too much paint. Just a light coat. Let that coat dry for a few hours. Then repeat until you get the desired look. I had to do 3 coats. I still had plenty of paint left.
Here is a little video of what it looked like after the first coat. Don’t despair! Now, after you do all the base coats, it’s time for the veining.
I waited a few days because I was nervous to do this. It has a tiny learning curve, so I didn’t do it exactly like the Heirloom Traditions tutorials. I found it wasn’t giving me the soft veining look I wanted. So here is the method I used: Paint on your veins freehand with a very small craft brush. The trick is to slightly turn and twist the brush as you apply it. Remember, veining in marble usually goes in one direction. If you want to do an internet search for the veining you are looking for, you can use those images as a guide.
Take their Cobblestone gray paint and mix it in a solo cup or plate with their antiquing gel. I did 1:1 ratio with a little extra gray. Start your first vein. Let it dry a little bit (it won’t take but a few minutes if it’s light). Then take the whitewash and mix it with the base countertop color 1:2 (whitewash to paint) on a plate. Then take their little yellow foam brush (I advise you to get painters tape and put it on the foam brush to remove any lint or hair that might be on it) and roll it in the whitewash paint mix. Roll it onto the vein and smooth it out until the vein looks the way you want it. You can repeat this as many times as you want for the desired look.
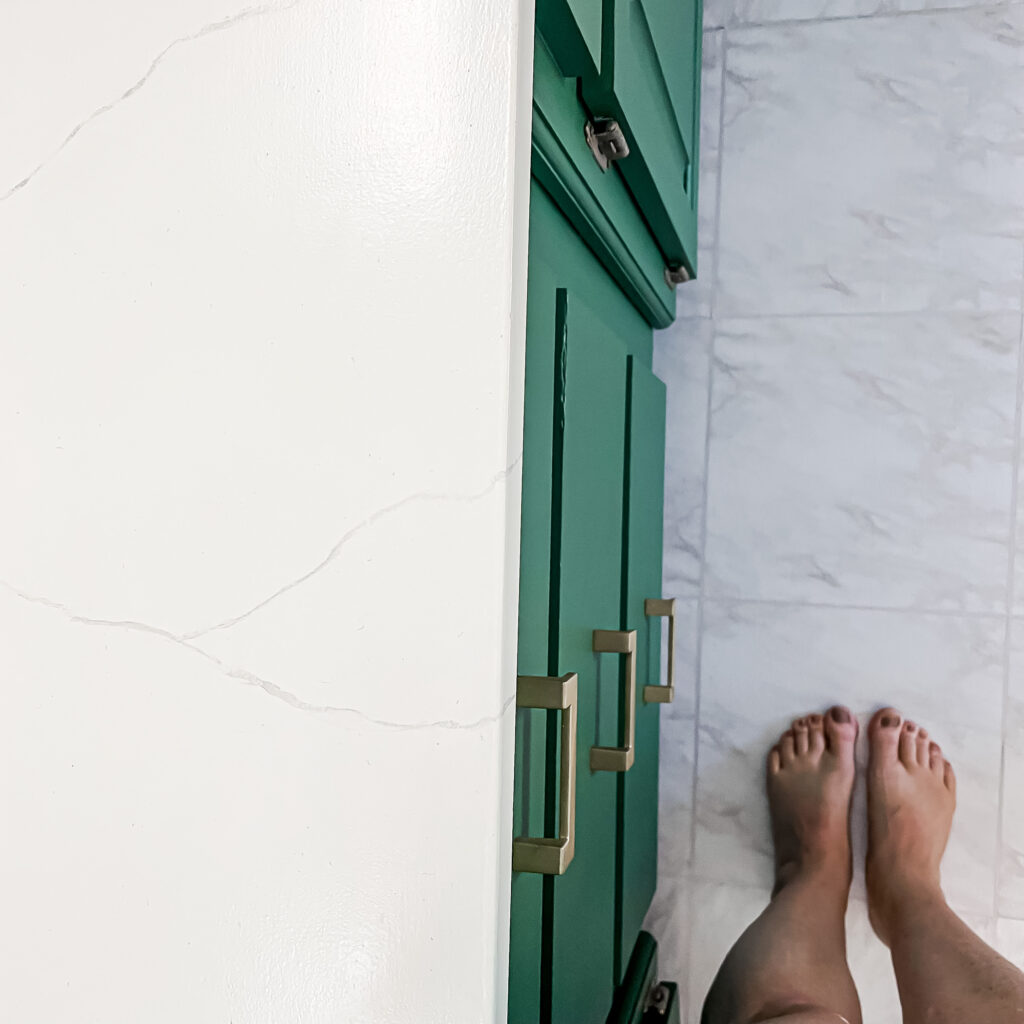
Once all your veining is done and completely dry, apply the water resistant sealer the same way as the base coat. Brush on then roll. Let each coat dry for 72 hours and then apply the next coat. You need 3 coats. I did 4 just to be sure. I also did a bit extra around the faucets and in the sinks. Now stand back and marvel at your work!